CENTRIFY FOR MAC WORKSTATIONS This document provides overview and guidance for departmental IT managers regarding the use of Centrify to join MAC workstations to the AgNet Active Directory Domain.
Transcript
Page | 0
CENTRIFYFORMACWORKSTATIONS
This document provides overview and guidance for departmental IT
managers regarding the use of Centrify to join MAC workstations to the
AgNet Active Directory Domain.
Page | 1
Contents
Overview ……………………………………………………………….. 2
Prior to Beginning……………………………………………………2
Joining a Mac to the Agnet Domain……….………………………….3
Install Centrify Software…………………………………………….4
Join the Domain……………………………………………………..7
Linking Local Mac and AD/Domain Accounts………………...…...10 Application Verification……………………………………………….14 Apple Operational Items..…………………………………………….15 Keychain Password ……….………………………………..…….15 Mobile Mac Login Latency ..………………………………...……15
Page | 2
Overview
AIT recently purchased Centrify software which allows Mac’s to join the Agnet domain and leverage the
existing identity infrastructure and domain policies. Policies that apply include banner display (during
login), screen saver activation and screen saver password lock. The process for joining a Mac to the
domain takes approximately 10 minutes and consists of two steps: Installation of Centrify software and
Joining the Mac to the domain.
Centrify software also provides the capability to link a customer’s domain login to their existing local
identity/profile on that system. On completion of the linking process the user would login with their
domain credentials and have the same desktop that they had setup for their local account. This linking
process takes approximately 10 minutes.
The Centrify software is fully licensed and must remain on the computer while it is joined to the domain.
If you need support from Centrify Premium Services please contact them at the following number and
identify yourself as being associated with Texas A&M AgriLife.
Verify the operating system is Mac OS X 10.7‐10.9 (Centrify does not support earlier versions)
Verify that data on the system is backed up
Verify the system owner knows their keychain password
Verify the system name is within the windows AD naming format of 15 characters maximum; the preferred format being AAAA‐#####‐D (AAAA‐ unit name prefix, ##### ‐ last five digits of system serial #, D/L ‐ desktop or laptop designation)
Verify the system is connected to the LAN via cabled connection and wireless is turned off
If a Mac is already joined to domain it will need to be unjoined prior to utilizing the Centrify tool to join the domain (May also need to disable the Apple AD plug‐in)
Page | 3
Joining a Mac to the AgNet Domain
The process consists of two parts: Install Centrify Software and Join the Domain
Install Centrify Software
0. Using ADUC, create a computer object, in your Computers OU, with the name of the computer to be jointed to the AgNet domain.
1. Download CentrifyDC‐5.1.3‐mac10.7.dmg file from enterprise file server \temp\centrify folder
on to a USB drive
2. Login to the Mac with an account that has administrative privileges.
3. Insert the thumb drive and copy the CentrifyDC‐5.1.3‐mac10.7.dmg file to the desktop.
4. Double click the CentrifyDC‐5.1.3‐mac10.7.dmg file to open the Centrify for Mac OS X
NOTE: The Centrify screen will present two options. Do not initiate the AD Check option.
It is not properly configured and will return inaccurate results.
5. Initiate the install of Centrify by double clicking the Centrify Installer program (labeled
CentrifyDC‐5.1.3).
Page | 4
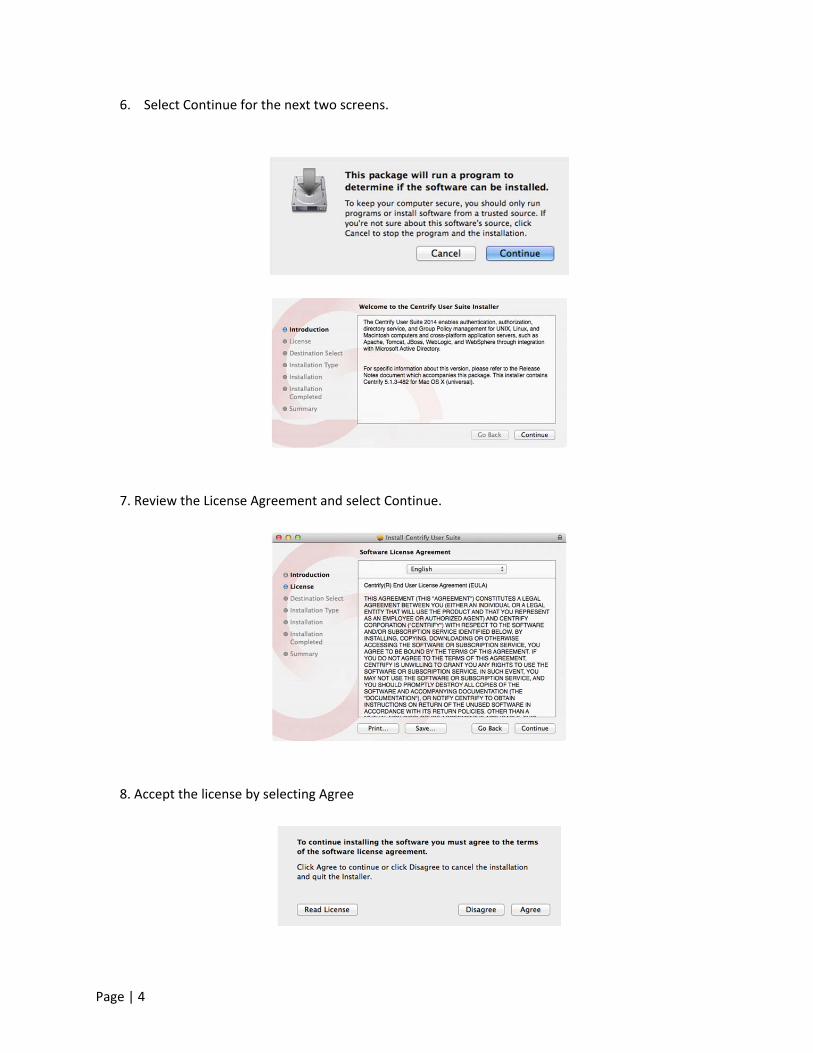
6. Select Continue for the next two screens.
7. Review the License Agreement and select Continue.
8. Accept the license by selecting Agree
Page | 5
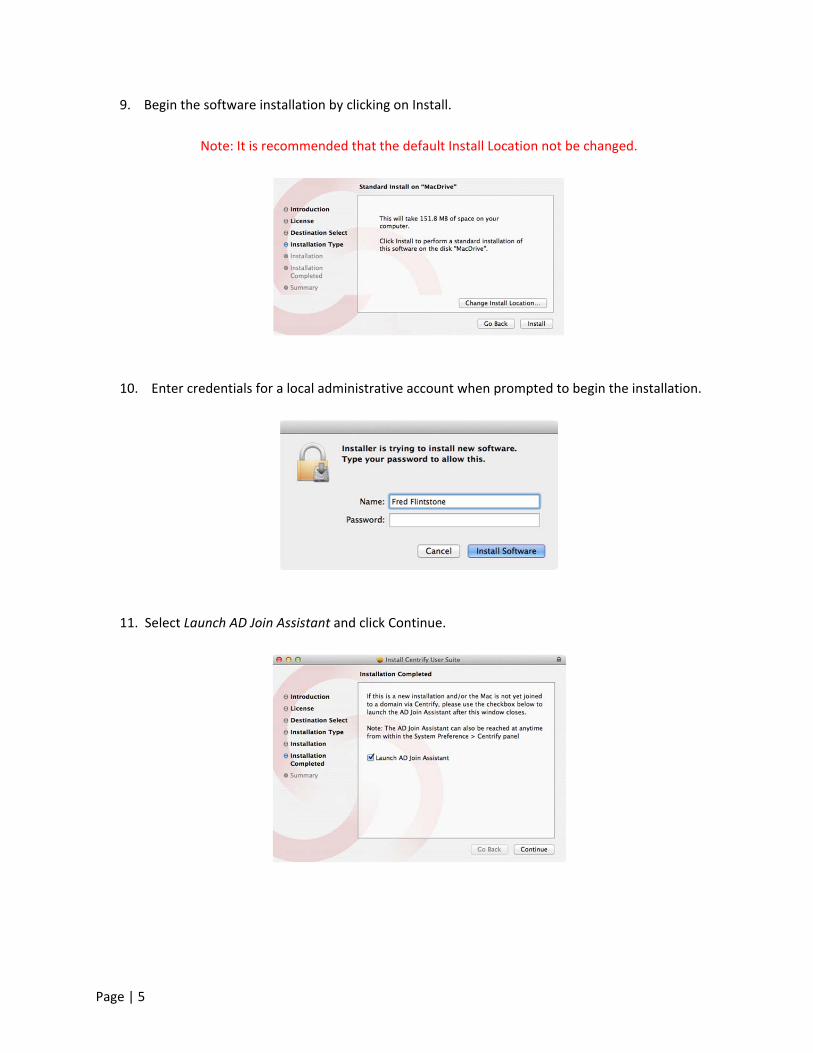
9. Begin the software installation by clicking on Install.
Note: It is recommended that the default Install Location not be changed.
10. Enter credentials for a local administrative account when prompted to begin the installation.
11. Select Launch AD Join Assistant and click Continue.
Page | 6
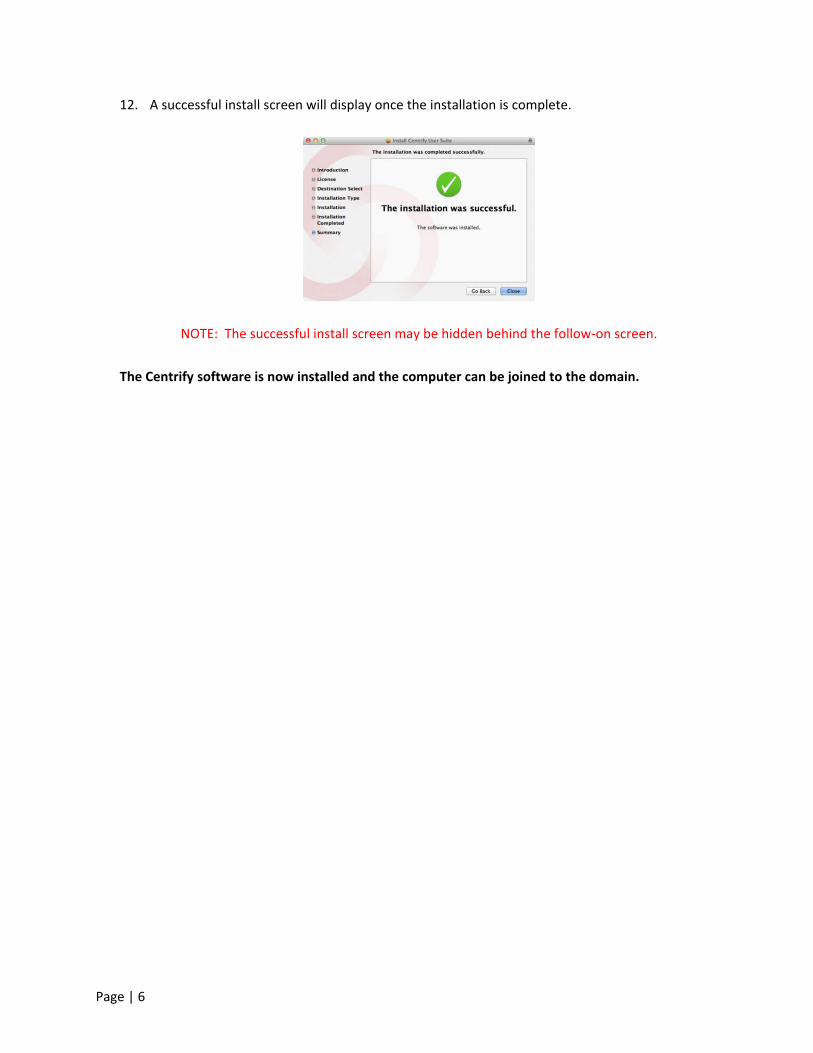
12. A successful install screen will display once the installation is complete.
NOTE: The successful install screen may be hidden behind the follow‐on screen.
The Centrify software is now installed and the computer can be joined to the domain.
Page | 7
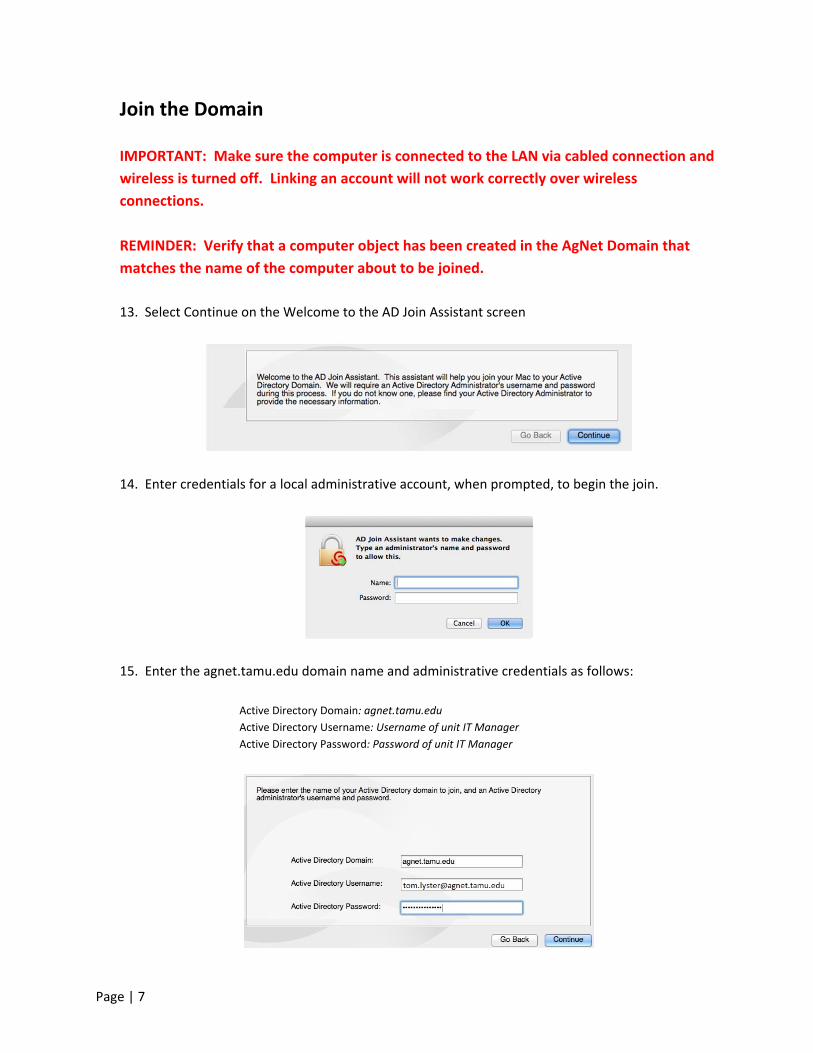
Join the Domain
IMPORTANT: Make sure the computer is connected to the LAN via cabled connection and
wireless is turned off. Linking an account will not work correctly over wireless
connections.
REMINDER: Verify that a computer object has been created in the AgNet Domain that
matches the name of the computer about to be joined.
13. Select Continue on the Welcome to the AD Join Assistant screen
14. Enter credentials for a local administrative account, when prompted, to begin the join.
15. Enter the agnet.tamu.edu domain name and administrative credentials as follows:
Active Directory Domain: agnet.tamu.edu
Active Directory Username: Username of unit IT Manager
Active Directory Password: Password of unit IT Manager
Page | 8
16. Under Licensed mode select Auto
NOTE: Make sure the computer name matches the computer object created in your computer OU
17. Press Join to join the computer to the domain
18. When completed a successful join message is displayed. Press Done to exit the join process.
19. Press Close to exit the Centrify Suite Software
20. Drag the CentrifyDC‐5.1.3‐mac10.7.dmg file to the trash
21. Restart the computer
22. Login to the computer utilizing your domain credentials
Page | 9
Linking Local Mac and AD/Domain Accounts
If the user has a local account Centrify provides a method of “linking” the local account to the user’s
AD/domain account. This allows the user to login to the Mac with their domain account but still
utilize all the original files and settings from their local account. The association will only apply to
logging into a Mac where the local account originally resided.
WARNING: Once a local account is linked to a domain account the original local account
can no longer be used to login to that Mac. Creating an account, using the original local
account username, will corrupt the link with the domain account.
CAUTION: Prior to beginning this process be sure to verify that the user knows their
keychain password as it will be needed to ensure all resources are migrated correctly and
remain accessible.
IMPORTANT: Make sure the computer is connected to the LAN via cabled connection and
wireless is turned off. Linking an account will not work correctly over wireless
connections.
REMINDER: Verify that the user’s data has been backed up to an external location prior
to proceeding. (e.g. the Enterprise File server P: drive for that user)
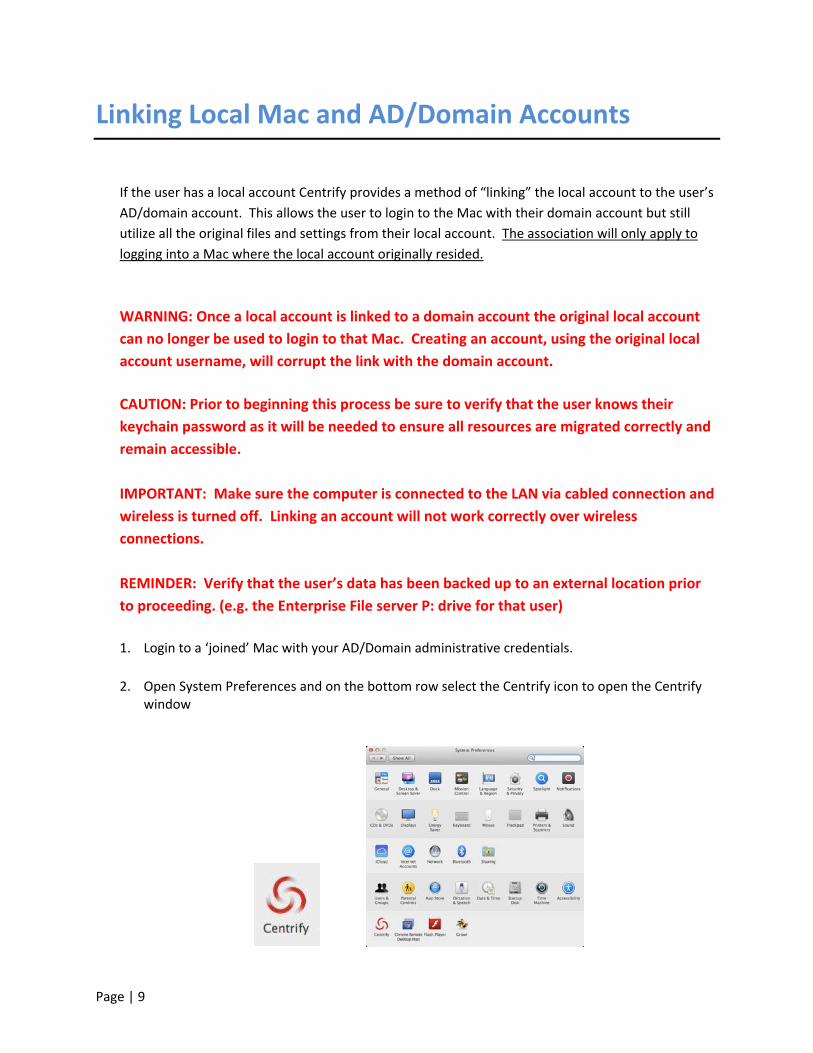
1. Login to a ‘joined’ Mac with your AD/Domain administrative credentials.
2. Open System Preferences and on the bottom row select the Centrify icon to open the Centrify window
Page | 10
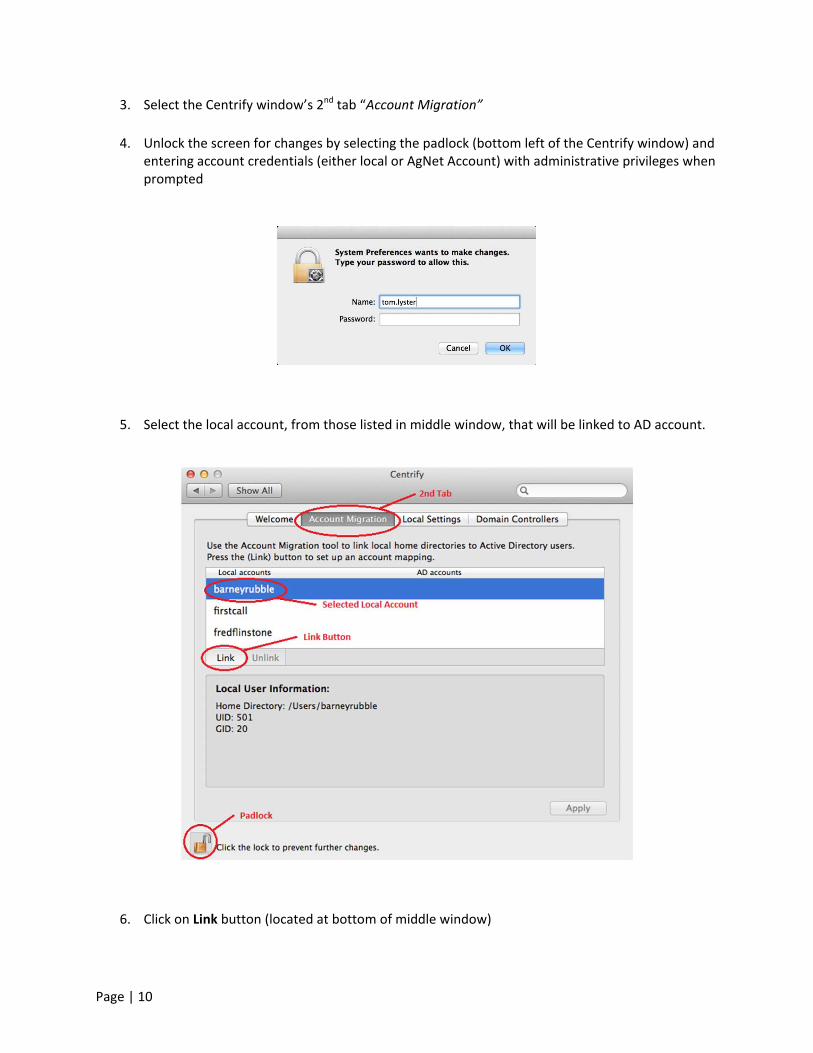
3. Select the Centrify window’s 2nd tab “Account Migration”
4. Unlock the screen for changes by selecting the padlock (bottom left of the Centrify window) and entering account credentials (either local or AgNet Account) with administrative privileges when prompted
5. Select the local account, from those listed in middle window, that will be linked to AD account.
6. Click on Link button (located at bottom of middle window)
Page | 11
7. In the Search window enter the name of the AgNet Active Directory User account (that the local
account will be linked to) and press search
NOTE: If you enter the entire AD account name (first.last) step 8 may be skipped automatically.
8. Select the desired domain user account from the Search Results and press Add
9. After reviewing the NOTE on the Local user detected pop up screen select OK.
The local account listing will now include an arrow indicator and the name of the AD account.
10. Select Apply button to complete the account linking process and click on the padlock to relock the page
Page | 12
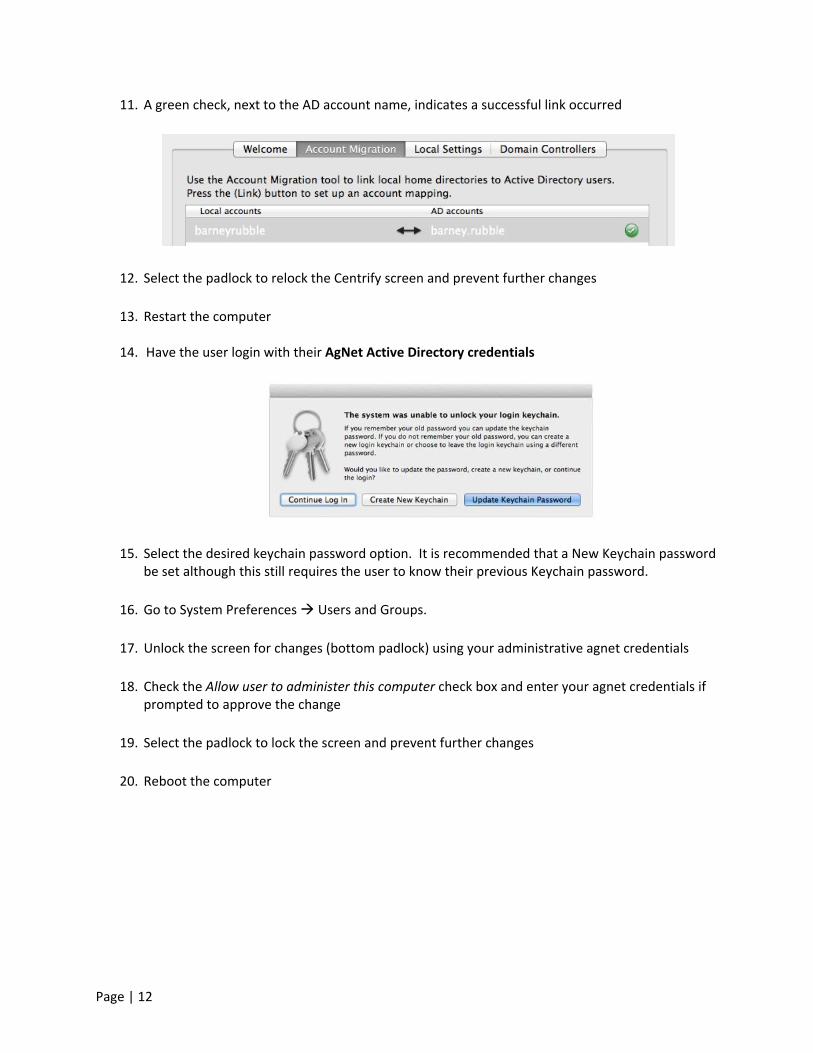
11. A green check, next to the AD account name, indicates a successful link occurred
12. Select the padlock to relock the Centrify screen and prevent further changes
13. Restart the computer
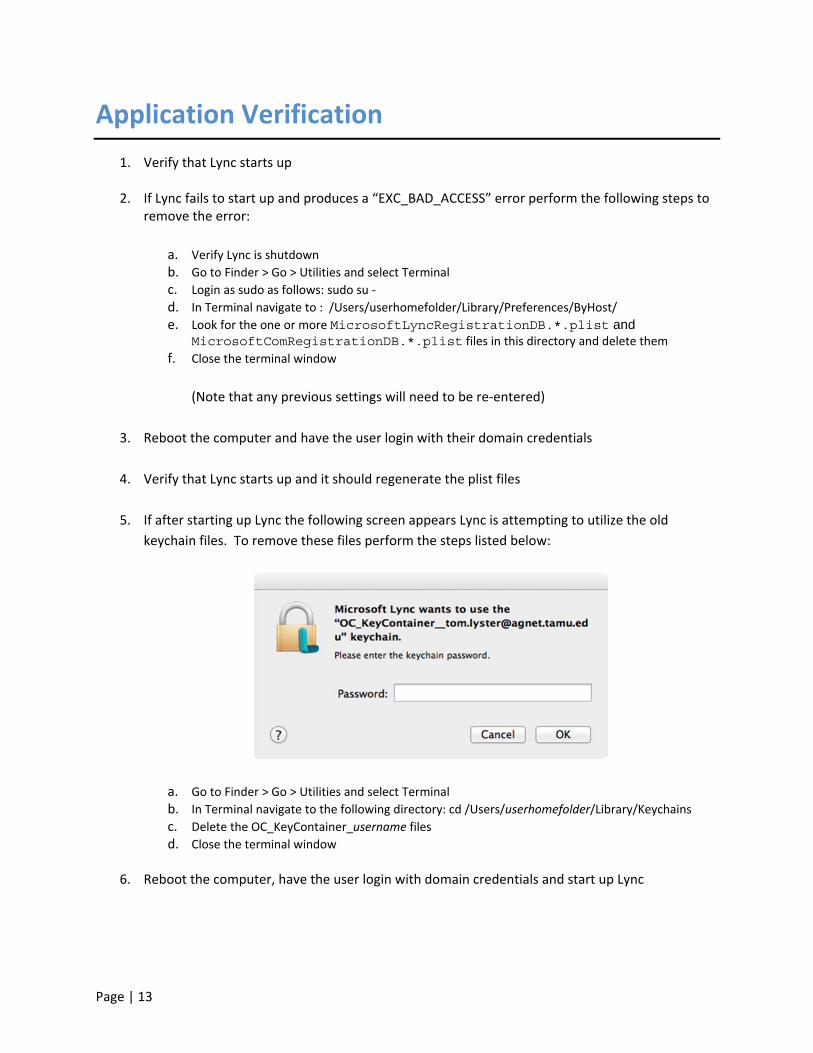
14. Have the user login with their AgNet Active Directory credentials
15. Select the desired keychain password option. It is recommended that a New Keychain password be set although this still requires the user to know their previous Keychain password.
16. Go to System Preferences Users and Groups.
17. Unlock the screen for changes (bottom padlock) using your administrative agnet credentials
18. Check the Allow user to administer this computer check box and enter your agnet credentials if prompted to approve the change
19. Select the padlock to lock the screen and prevent further changes
20. Reboot the computer
Page | 13
Application Verification
1. Verify that Lync starts up
2. If Lync fails to start up and produces a “EXC_BAD_ACCESS” error perform the following steps to remove the error:
a. Verify Lync is shutdown
b. Go to Finder > Go > Utilities and select Terminal c. Login as sudo as follows: sudo su ‐ d. In Terminal navigate to : /Users/userhomefolder/Library/Preferences/ByHost/ e. Look for the one or more MicrosoftLyncRegistrationDB.*.plist and
MicrosoftComRegistrationDB.*.plist files in this directory and delete them f. Close the terminal window
(Note that any previous settings will need to be re‐entered)
3. Reboot the computer and have the user login with their domain credentials
4. Verify that Lync starts up and it should regenerate the plist files
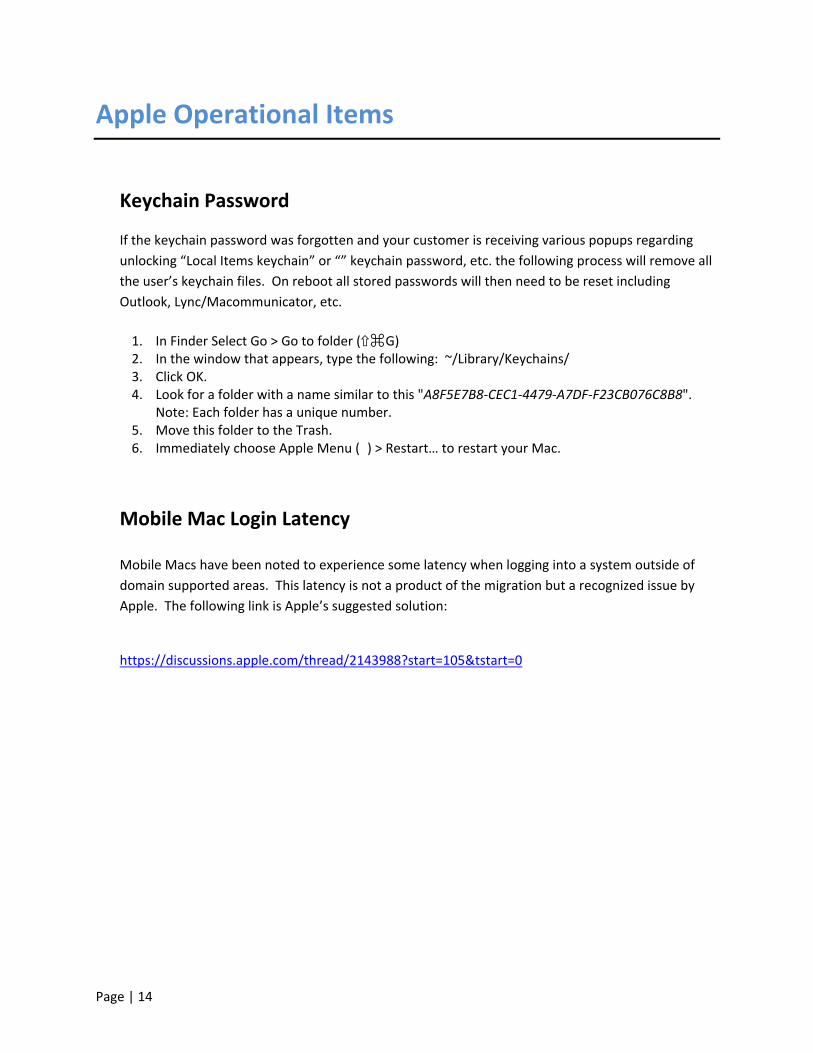
5. If after starting up Lync the following screen appears Lync is attempting to utilize the old
keychain files. To remove these files perform the steps listed below:
a. Go to Finder > Go > Utilities and select Terminal b. In Terminal navigate to the following directory: cd /Users/userhomefolder/Library/Keychains c. Delete the OC_KeyContainer_username files d. Close the terminal window
6. Reboot the computer, have the user login with domain credentials and start up Lync
Page | 14
Apple Operational Items
Keychain Password If the keychain password was forgotten and your customer is receiving various popups regarding
unlocking “Local Items keychain” or “” keychain password, etc. the following process will remove all
the user’s keychain files. On reboot all stored passwords will then need to be reset including
Outlook, Lync/Macommunicator, etc.
1. In Finder Select Go > Go to folder (⇧⌘G) 2. In the window that appears, type the following: ~/Library/Keychains/ 3. Click OK. 4. Look for a folder with a name similar to this "A8F5E7B8‐CEC1‐4479‐A7DF‐F23CB076C8B8".
Note: Each folder has a unique number. 5. Move this folder to the Trash. 6. Immediately choose Apple Menu (�) > Restart… to restart your Mac.
Mobile Mac Login Latency
Mobile Macs have been noted to experience some latency when logging into a system outside of
domain supported areas. This latency is not a product of the migration but a recognized issue by
Apple. The following link is Apple’s suggested solution: