18
Circuit Playground & Fiber Optics Created by Erin St Blaine Last updated on 2017-02-25 12:13:15 AM UTC
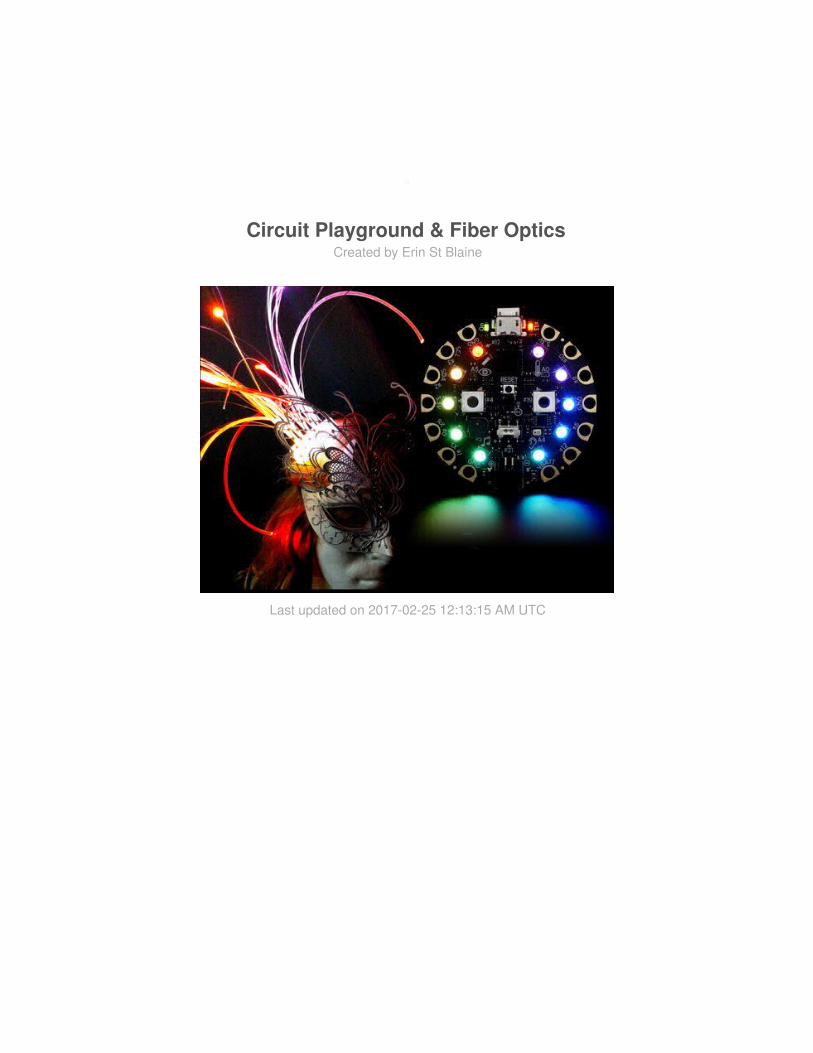
Circuit Playground & Fiber OpticsCreated by Erin St Blaine
Last updated on 2017-02-25 12:13:15 AM UTC

2334
45699
1015
Guide Contents
Guide ContentsIntro & SetupMaterials
Tools
Before You StartCodeCode Samples3d Printing
Slice Settings
AssemblyProject Ideas
© Adafruit Industries https://learn.adafruit.com/circuit-playground-light-pod Page 2 of 18

Intro & SetupCircuit Playground is a really fun, really easy to use micro controller that is a great way toadd sensors and interactivity to your project without a whole lot of fuss and soldering.
It's got a built in motion sensor, a sound sensor, a light sensor, and a temperature sensor, aswell as a built in speaker and 10 neopixels, ready to use right out of the box. I'm just startingto explore the fun things this board can do.
Today we're going to play with the onboard neopixels and add fiber optics or light pipe tomake your project dance and shine.
Materials
© Adafruit Industries https://learn.adafruit.com/circuit-playground-light-pod Page 3 of 18

Circuit PlaygroundBattery (liPoly, AAA or USB) - optionalLight Pipe or Fiber OpticsHot Glue or Superglue
Tools
3d PrinterSharp scissors or snips
Note: If you don't have a 3d Printer, you can easily just order the case fromShapeways (http://adafru.it/upE).
Before You StartIf this is your first foray into the world of arduino-based microcontrollers, you'll need to installsome software first. Head over to the Circuit Playground Lesson 0guide (http://adafru.it/tGC) for detailed installation and setup instructions.
You'll only need to do all this once, so be a little patient if it seems like a lot! This is actuallythe hardest part.
© Adafruit Industries https://learn.adafruit.com/circuit-playground-light-pod Page 4 of 18

CodeAccessing the onboard neopixels is easy to do. There is some example code to get youstarted in the Circuit Playground library. In Arduino, open:
Examples > Adafruit Circuit Playground > Hello_CircuitPlayground > Hello_Neopixels
This code shows two different ways to send color data to your neopixels, and an easy way toblink them on and off. Take a look at these five lines:
CircuitPlayground.setPixelColor(0, 255, 0, 0); CircuitPlayground.setPixelColor(1, 128, 128, 0); CircuitPlayground.setPixelColor(2, 0, 255, 0); CircuitPlayground.setPixelColor(3, 0, 128, 128); CircuitPlayground.setPixelColor(4, 0, 0, 255);
The first argument in each line -- in this case, 0-4 -- is the pixel number. (The pixels arenumbered 0-9, since counting that way makes computers unreasonably happy.) Whenlooking at the board with the USB port facing up, pixel 0 is located at 11:00, just to the left of
© Adafruit Industries https://learn.adafruit.com/circuit-playground-light-pod Page 5 of 18

the port. You can light up any pixel by calling its pixel number here.
The next three numbers correspond to values for red, green, and blue. 0 is off, and 255 isfull brightness for that color. The way neopixels work is by mixing different amounts of lightfrom the red, green, and blue LEDs hidden inside each pixel. Play with changing thesenumbers within a range of 0-255 to get the color you want.
CircuitPlayground.setPixelColor(6, 0x808000); CircuitPlayground.setPixelColor(7, 0x00FF00); CircuitPlayground.setPixelColor(8, 0x008080); CircuitPlayground.setPixelColor(9, 0x0000FF);
The next 5 lines show a slightly different way to set the color. The first argument stillcorresponds to the pixel number, and the next part is a Hexidecimal code -- you can alwaysrecognize these because you'll see the prefix "0x".
Hex codes are an easy way to get any color you want. Look for online colorpickers (http://adafru.it/upb) or desktop widgets to make your life easy. However, the colorswill not always look the same on your neopixels as they do on your screen, especially withdarker colors, so be ready for some experimentation.
These are just a couple of quick ways to get your lights up and running. Neopixels are alsowonderful for running animations or reacting to some of the Circuit Playground's onboardsensors. Here are a few other guides and code samples that are fun to play with.
Code SamplesMotion Sensor Response (http://adafru.it/upc)Analog Input Response (http://adafru.it/upd)Simon Game (http://adafru.it/upe)Adalight for Circuit Playground (http://adafru.it/upf)Light Paintbrush (http://adafru.it/upA)Magic Wand & Sword (http://adafru.it/upB)
You'll also find a lot more samples to play with in the Examples folder in the CircuitPlayground library, including vu_meter which lights up the pixels in response to sound.
Here's one more sample that gently animates the pixels in a rainbow or one of several othercolor palettes. The left button will change modes and the right button will turn the LEDs off.
NOTE: You will need to install the FastLED library in Arduino first (Sketch > Include Library> Manage Libraries...)
© Adafruit Industries https://learn.adafruit.com/circuit-playground-light-pod Page 6 of 18

One other note: if you're using FastLED with Circuit Playground, be sure to include theCircuit Playground library FIRST and the FastLED library second, or you may run intoproblems.
#include <Adafruit_CircuitPlayground.h>#include <FastLED.h>
#define LED_PIN 17#define NUM_LEDS 10#define COLOR_ORDER GRB
int BRIGHTNESS =255;int STEPS =25;int NUM_MODES =5;
CRGB leds[NUM_LEDS];
CRGBPalette16 currentPalette;TBlendType currentBlending;
int ledMode = 0;bool leftButtonPressed;bool rightButtonPressed;
void setup() { CircuitPlayground.begin(); FastLED.addLeds<WS2812B, LED_PIN, COLOR_ORDER>(leds, NUM_LEDS).setCorrection( TypicalLEDStrip ); currentBlending = LINEARBLEND;
}
void loop() {
leftButtonPressed = CircuitPlayground.leftButton(); rightButtonPressed = CircuitPlayground.rightButton();
if (leftButtonPressed) { ledMode=ledMode+1; delay(300); if (ledMode > NUM_MODES){ ledMode=0; } } if (rightButtonPressed) { ledMode=99; } switch (ledMode) { case 0: currentPalette = RainbowColors_p; rainbow(); break;
© Adafruit Industries https://learn.adafruit.com/circuit-playground-light-pod Page 7 of 18
case 1: currentPalette = OceanColors_p; rainbow(); break; case 2: currentPalette = ForestColors_p; rainbow(); break; case 3: currentPalette = PartyColors_p; rainbow(); break; case 4: currentPalette = HeatColors_p; rainbow(); break; case 5: currentPalette = RainbowStripeColors_p; rainbow(); break; case 99: CircuitPlayground.clearPixels(); break; }}void rainbow(){ static uint8_t startIndex = 0; startIndex = startIndex + 1; /* motion speed */
FillLEDsFromPaletteColors( startIndex);
FastLED.show(); FastLED.delay(10);}
//this bit is in every palette mode, needs to be in there just oncevoid FillLEDsFromPaletteColors( uint8_t colorIndex){ uint8_t brightness = BRIGHTNESS; for( int i = 0; i < NUM_LEDS; i++) { leds[i] = ColorFromPalette( currentPalette, colorIndex, brightness, currentBlending); colorIndex += STEPS; }}
© Adafruit Industries https://learn.adafruit.com/circuit-playground-light-pod Page 8 of 18

3d PrintingThis is a remix of the 3d Printed Circuit Playground Yo Yo project (http://adafru.it/upC) by theRuiz Brothers.
There are 4 different pieces to print: the base, the top, the buttons, and the cover whichholds the fiber optics or light pipe.
If you don't have access to a 3d printer, you can order the whole case ready-to-go fromShapeways.
Download from Thingiversehttp://adafru.it/upDOrder from Shapewayshttp://adafru.it/upE
Slice Settings
Below are some recommended slice settings. These parts were printed on an Up! Mini.
.15mm layer height220C extruder / PrintInZ Skin20% infill4 top/bottom layers2 shells / parameters40mm/s printing speed
© Adafruit Industries https://learn.adafruit.com/circuit-playground-light-pod Page 9 of 18

Assembly
Place the Circuit Playground inside the base, with the USB port facing the smaller hole nadthe battery connector lined up with the larger hole. Secure it with a little dab of hot glue onthe case's pillars.
Set the 3d printed button pieces aside for a minute.
Place the cover into the top and tape it in place from the outside. Screw the top onto thebase. Once the top is tight, adjust the cover's orientation so the holes line up perfectly withthe neopixels and buttons.
Unscrew the top, being careful to keep the orientation right, and glue the cover and toptogether securely.
© Adafruit Industries https://learn.adafruit.com/circuit-playground-light-pod Page 10 of 18

Turn the lid upside down and set the buttons small-side-down into the button holes. Screwor press the base with the Circuit Playground inside into place so the neopixels are alignedand the buttons contact the Circuit Playground's buttons.
My 3d printed threads didn't hold very well, so I secured the top with hot glue.
Plug your battery or USB cable in and make sure the lights are lined up perfectly through theholes and the buttons are satisfyingly clicky.
The left button will cycle through color modes and the right button will turn the LEDs off.
Warning! this button does not turn the Circuit Playground board off entirely, so if you'rerunning from a battery, keeping it semi-off like this will drain your battery eventually -- unplugyour battery if you want it off completely.
© Adafruit Industries https://learn.adafruit.com/circuit-playground-light-pod Page 11 of 18

The holes are sized to snugly fit 2.75mm light pipe. The best source I've found for this isthese cheesy light up shoelaces (http://adafru.it/upF) (available everywhere!)
With your LEDs on full brightness these will glow for up to 3 feet, though the light does getquite a bit dimmer toward the end. I find they're most satisfying if kept to a length of 1-1.5feet.
© Adafruit Industries https://learn.adafruit.com/circuit-playground-light-pod Page 12 of 18
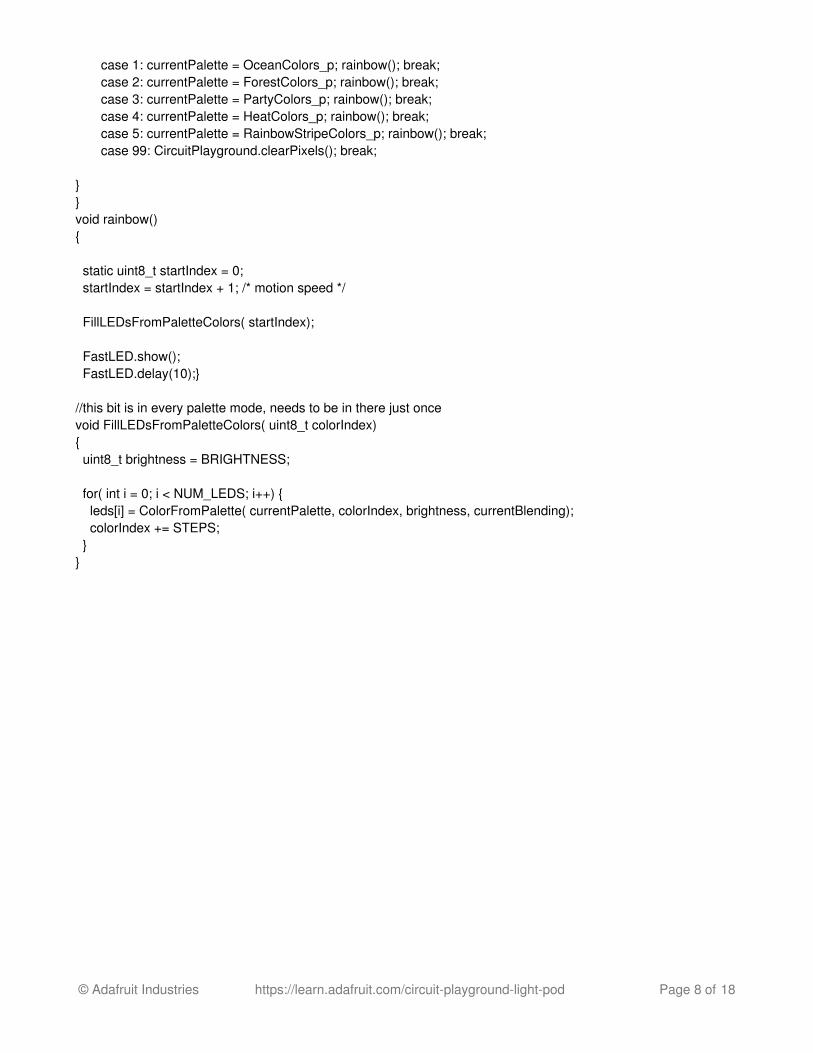
Or you can use fiber optics. There are two different kinds: end glow and side glow. The sideglow are my favorite since they glow along their entire length. End glow are useful if you justwant a single floating point of light at the end of each strand, also a beautiful effect.
My favorite source for fiber optic cable is Weidamark lighting (http://adafru.it/uqa). They'vegot loads of options and sell the fibers by the foot. (Note: fiber optic solid core side glowappears to be the same stuff as the LED shoelace light pipe mentioned above). Order in anysize bundles; you can easily separate them down to the right size bunches.
I can fit about 10 fibers in each 3d printed hole, so if you use all 10 holes you'll want around100 fibers. Like the light pipe, these seem to be brightest and cheeriest in the first 1.5 feetor so. After that they do still glow but get a little dimmer. If you need more length than that,I'd recommend going with end-glow.
© Adafruit Industries https://learn.adafruit.com/circuit-playground-light-pod Page 13 of 18

Trim the fibers sharply and cleanly with a pair of snips or a hot knife. The cleaner the cut,the brighter the fiber will be. Start by slipping around 8 fibers into the hole, and then keepadding fibers to the middle of the bundle until they're nice and snug.
If this will be going on a costume or art car, or something that will move a lot, it doesn't hurtto add some extra hot glue around the outside of the fiber holes to secure them.
DO NOT USE SUPERGLUE HERE. Most superglues will degrade the fiber optic cable andit'll stop glowing and break. Sad Christmas.
© Adafruit Industries https://learn.adafruit.com/circuit-playground-light-pod Page 14 of 18

Project IdeasWell that was easy. But.... what do I DO with this thing?
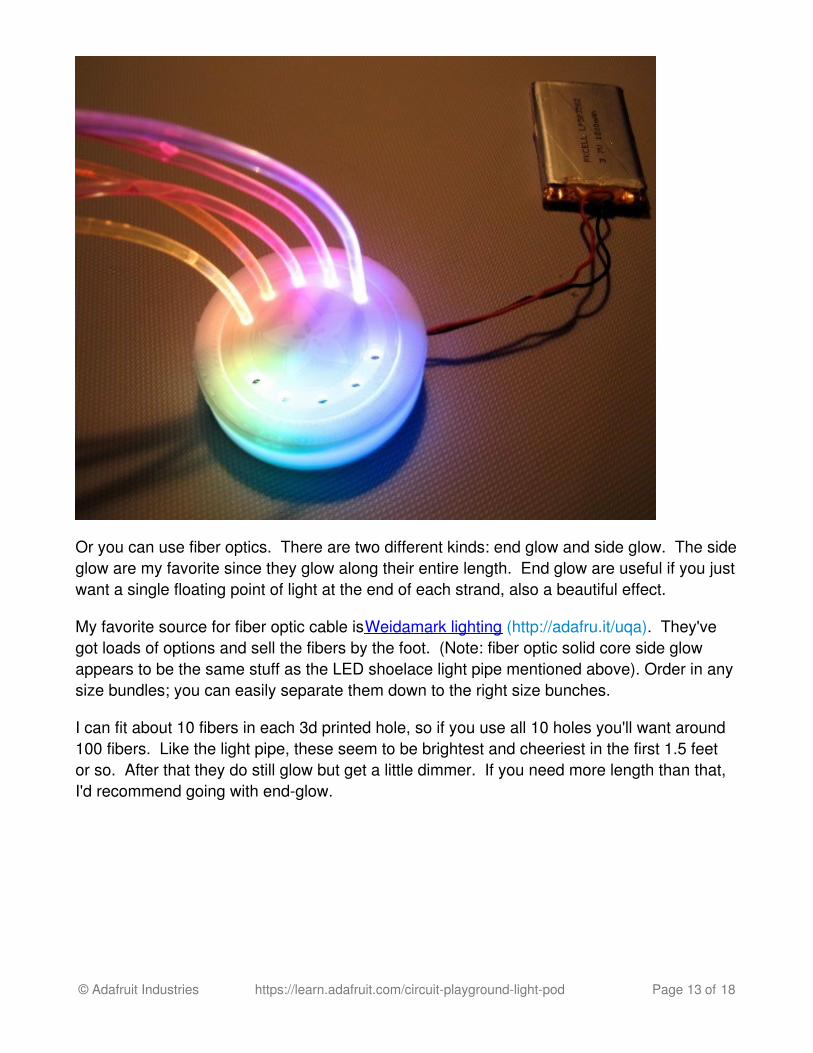
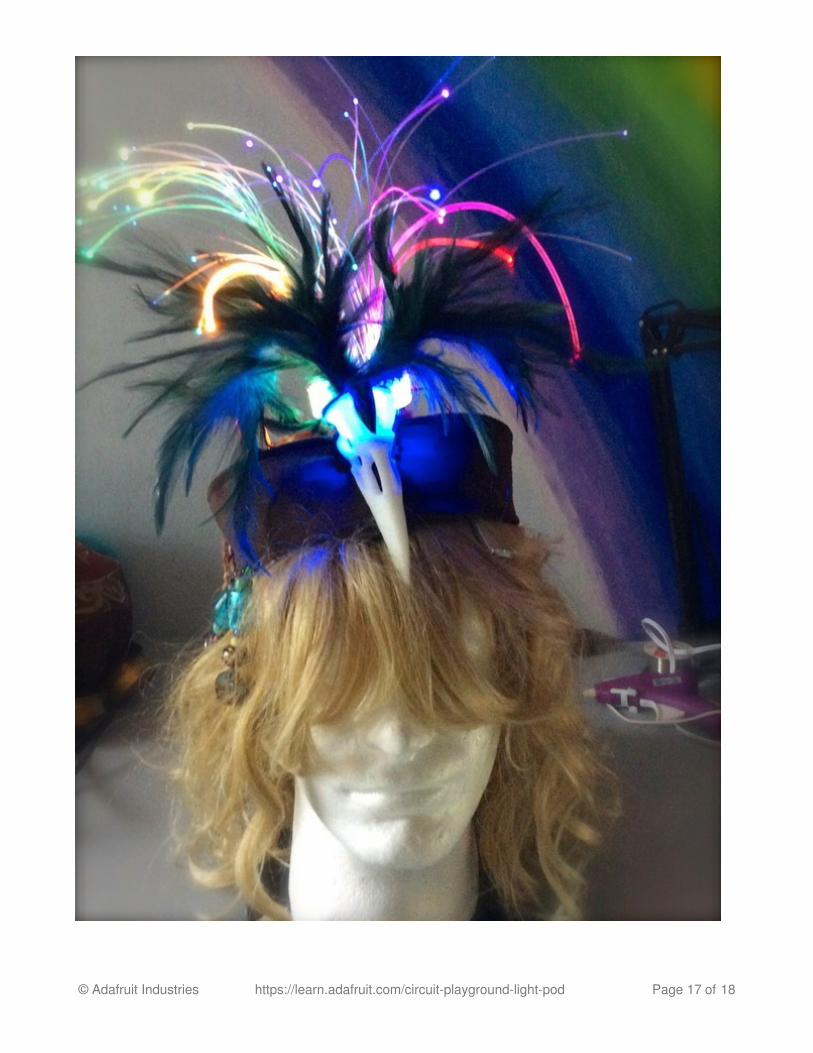
Mardi Gras Mask accessoryTop Hat TopperKid's science fair volcanoGlowing puppet hairFlower Bouquet EnhancerPot HolderNight LightShowgirl Headdress
You can also use end-glow light pipe to put glowing eyes or spots of color into hard-to-reachareas of your costume or project, without messing around with breakable wires. Post yourproject in the Adafruit Forum!
© Adafruit Industries https://learn.adafruit.com/circuit-playground-light-pod Page 15 of 18
© Adafruit Industries https://learn.adafruit.com/circuit-playground-light-pod Page 16 of 18
© Adafruit Industries https://learn.adafruit.com/circuit-playground-light-pod Page 17 of 18

© Adafruit Industries Last Updated: 2017-02-25 12:13:14 AM UTC Page 18 of 18

![Ultra-compact Laser Sensor [Amplifier Built-in] EX-L200 SERIES](https://static.documents.pub/doc/80x56/61cf7b09368dcb14046de8a3/ultra-compact-laser-sensor-amplifier-built-in-ex-l200-series.jpg)


![Digital Mark Sensor [Amplifier Built-in] LX-100 SERIES](https://static.documents.pub/doc/80x56/61c21add9412ac39aa371f6a/digital-mark-sensor-amplifier-built-in-lx-100-series.jpg)


