80
Chan Mei Yan 16-4-2016 Initial Assessment for Pediatric Trauma Patient

Chan Mei Yan16-4-2016
Initial Assessment for
Pediatric Trauma Patient
2
1
2
REVIEW differences in anatomy and
physiology of the pediatric patient
OBJECTIVES
IDENTIFY components of primary and secondary
assessment of pediatric trauma patients

3
Children are NOT simply “little adults”!
Difference in Anatomy and Physiology
4
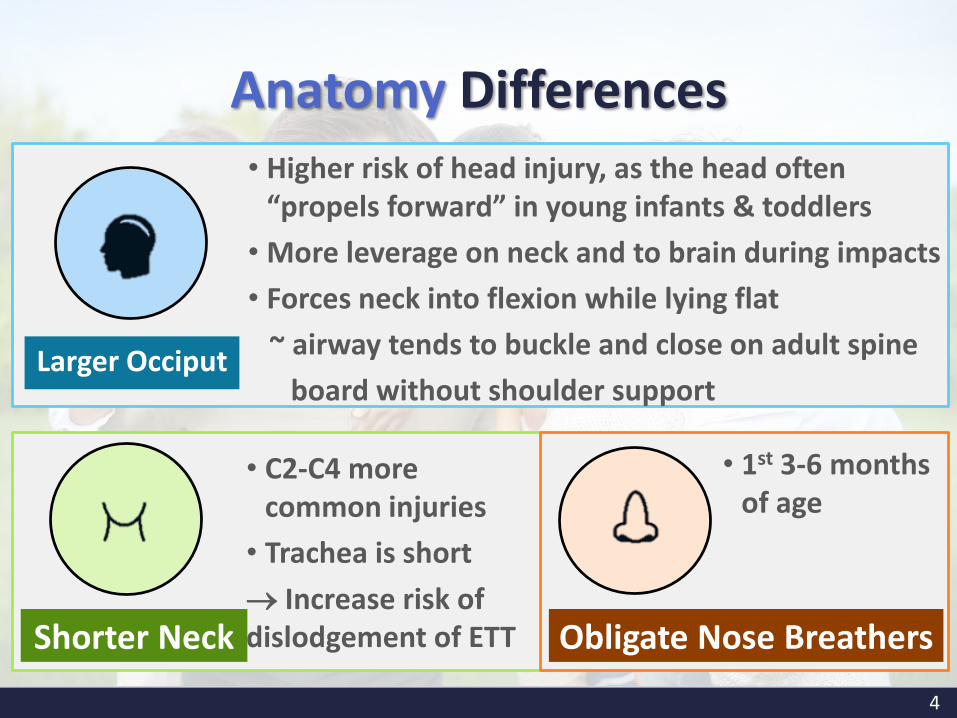
Anatomy Differences• Higher risk of head injury, as the head often
“propels forward” in young infants & toddlers
• More leverage on neck and to brain during impacts
• Forces neck into flexion while lying flat
~ airway tends to buckle and close on adult spine
board without shoulder supportLarger Occiput
• C2-C4 more common injuries
• Trachea is short
Increase risk of dislodgement of ETT
• 1st 3-6 months of age
Shorter Neck Obligate Nose Breathers
5
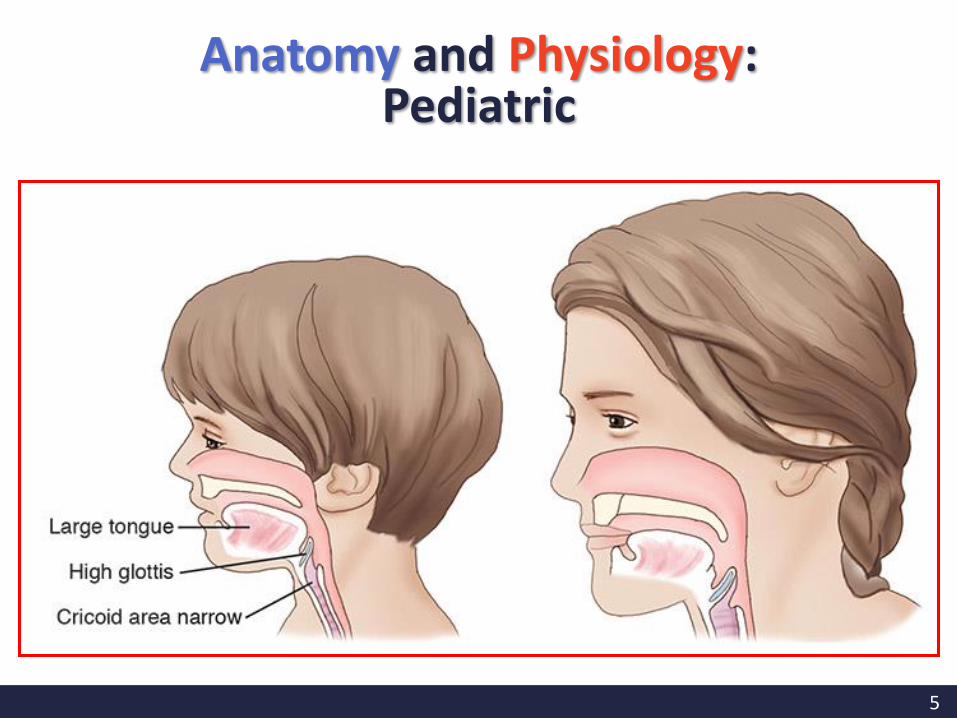
Anatomy and Physiology: Pediatric
6
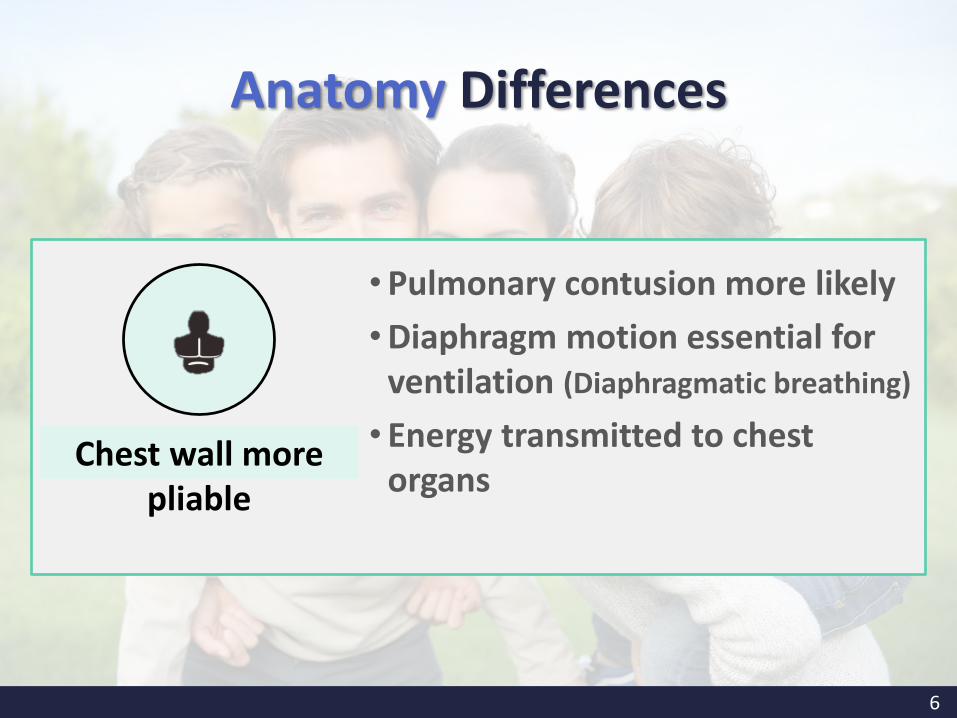
Anatomy Differences
•Pulmonary contusion more likely
•Diaphragm motion essential for ventilation (Diaphragmatic breathing)
• Energy transmitted to chest organs
Chest wall more pliable
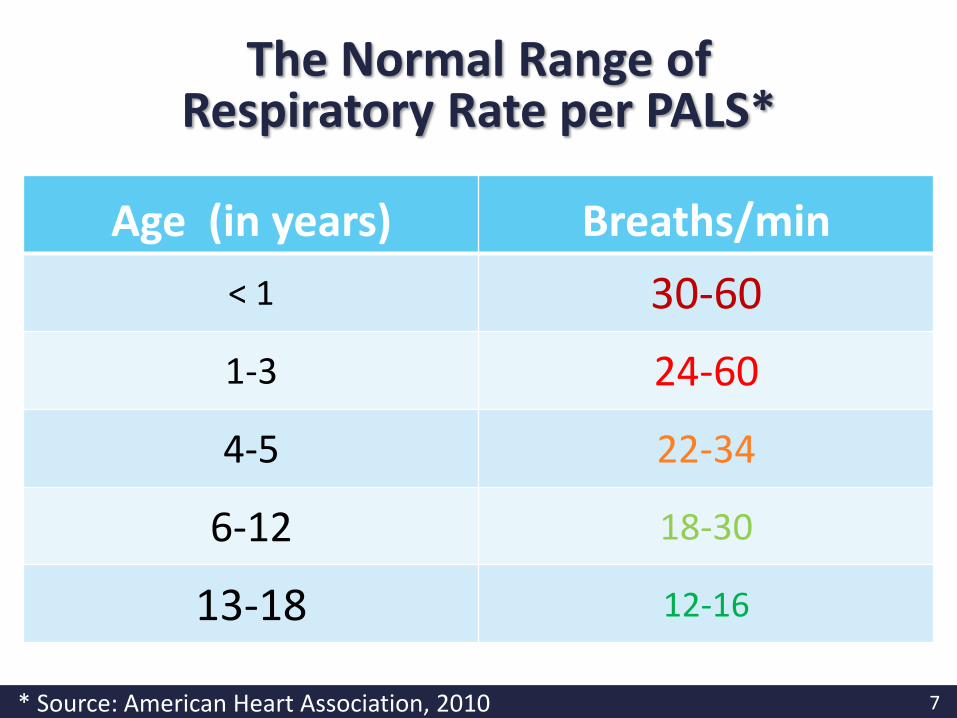
7* Source: American Heart Association, 2010
Age (in years) Breaths/min
< 1 30-60
1-3 24-60
4-5 22-34
6-12 18-30
13-18 12-16
The Normal Range of Respiratory Rate per PALS*

8
Liver is not covered by the rib cage
Less muscle mass to abdominal wall
Less Sub-Q tissue to absorb the injury
Abdominal Organs are Less Well Protected
9
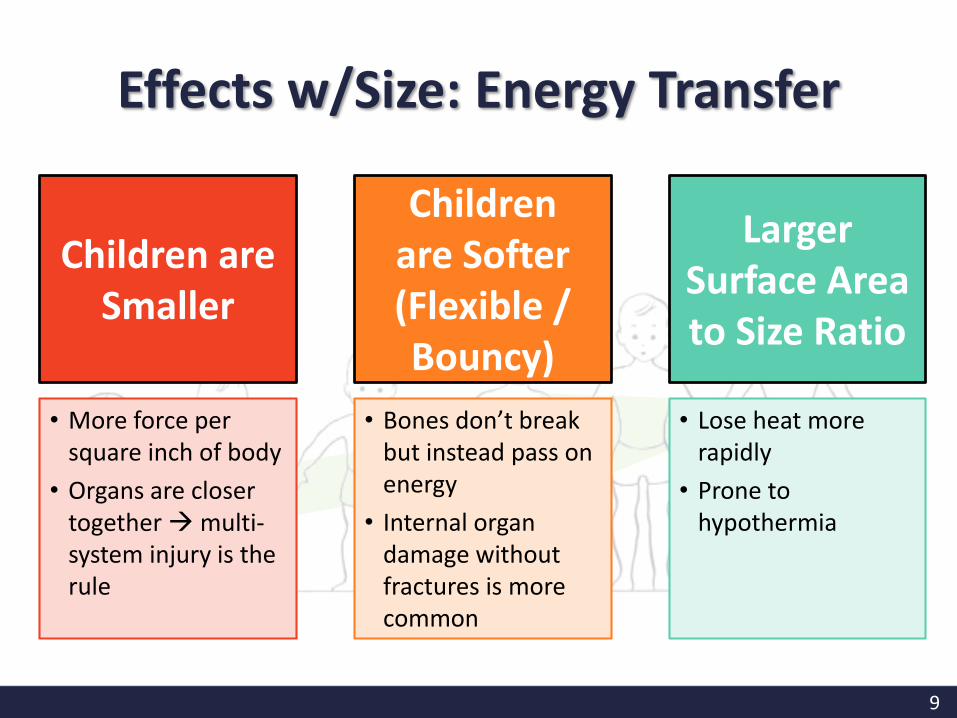
Children are Smaller
Children are Softer (Flexible / Bouncy)
Larger Surface Area to Size Ratio
• More force per square inch of body
• Organs are closer together multi-system injury is the rule
• Bones don’t break but instead pass on energy
• Internal organ damage without fractures is more common
• Lose heat more rapidly
• Prone to hypothermia
Effects w/Size: Energy Transfer
10
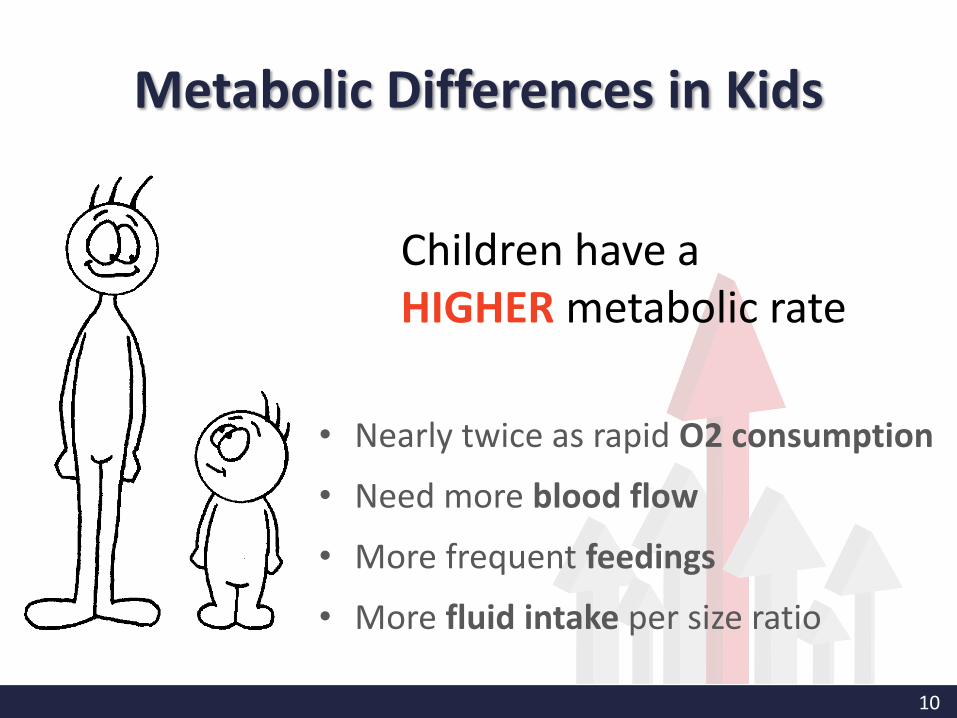
• Nearly twice as rapid O2 consumption
• Need more blood flow
• More frequent feedings
• More fluid intake per size ratio
Children have a HIGHER metabolic rate
Metabolic Differences in Kids

11
Metabolic Differences
Children “shock out” differently
Children compensate better initially
• May show minimal signs and symptoms
Children have less reserves than adults• Rapid intervention critical
• Once reserves are exhausted Bad Things Happen…
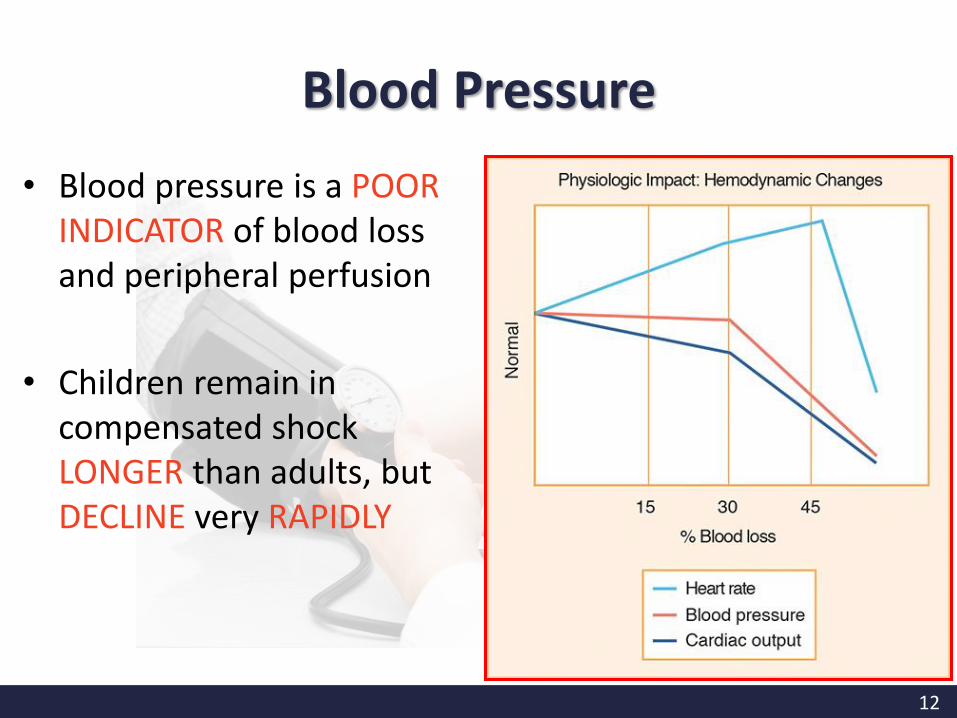
12
• Blood pressure is a POOR INDICATOR of blood loss and peripheral perfusion
• Children remain in compensated shock LONGER than adults, but DECLINE very RAPIDLY
Blood Pressure
13
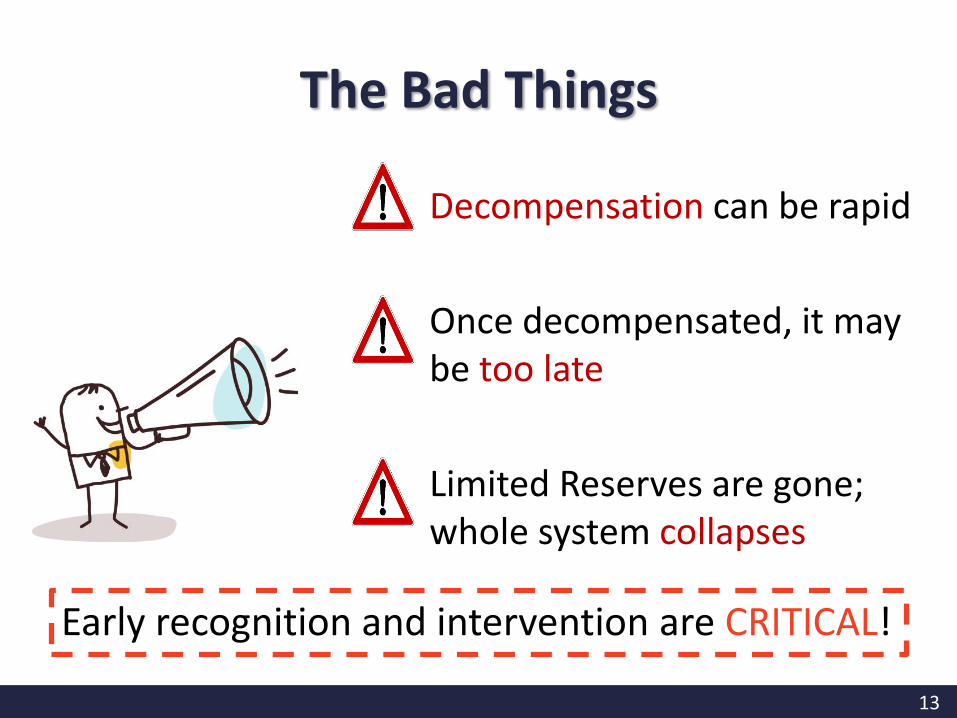
Early recognition and intervention are CRITICAL!
Decompensation can be rapid
Once decompensated, it may be too late
Limited Reserves are gone; whole system collapses
The Bad Things
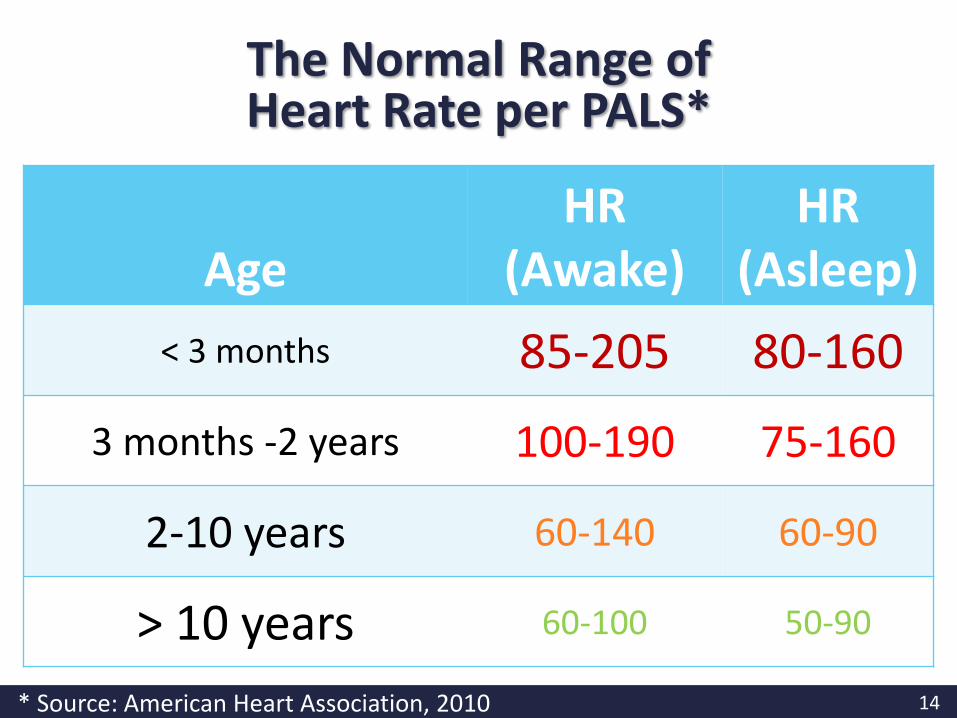
14
AgeHR
(Awake)HR
(Asleep)
< 3 months 85-205 80-160
3 months -2 years 100-190 75-160
2-10 years 60-140 60-90
> 10 years 60-100 50-90
The Normal Range of Heart Rate per PALS*
* Source: American Heart Association, 2010
15
Assessment is the
?for Survival

16
Priorities are Similar to Adults
• Initial assessment
• Identify potential life-threatening injuries
•ABCDE
•Re-evaluation of the primary assessment
– Any signs of deterioration, any further lab & diagnostic tests
• FGHI
Primary Assessment/
Primary Survey
Secondary Assessment/
Secondary Survey

17
1 InjuryAdjuncts
Primary Assessment 2
Resuscitation3
Reevaluation4
Reevaluation6
Optimize patient status7
Transfer8
Adjuncts
Detailed Secondary
Assessment
5
Initial Assessment / Management
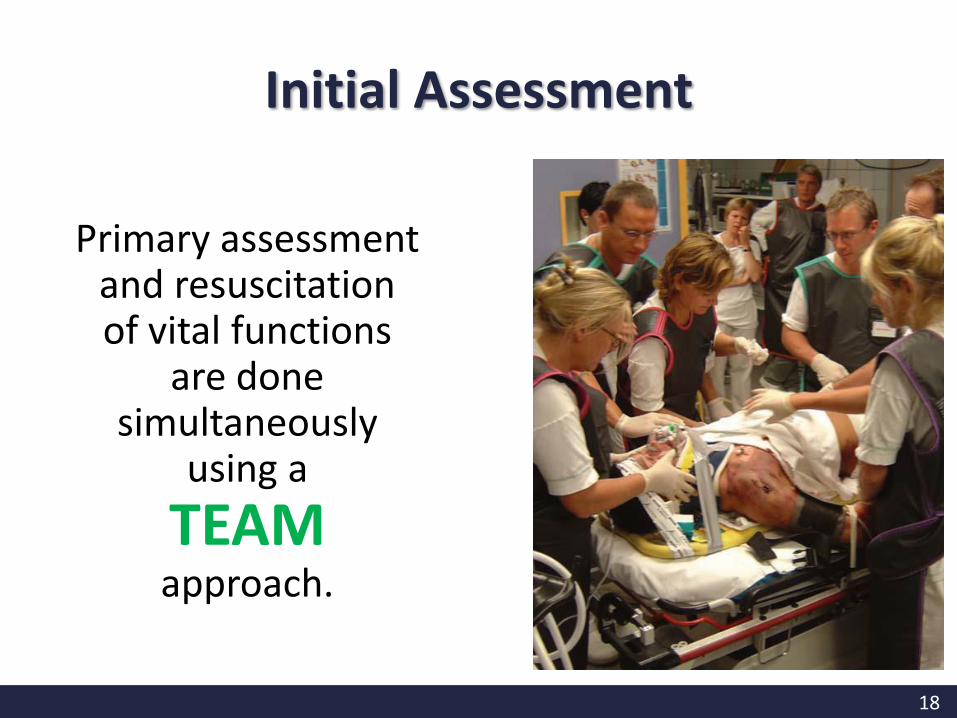
18
Primary assessment and resuscitation of vital functions
are done simultaneously
using a
TEAMapproach.
Initial Assessment
19
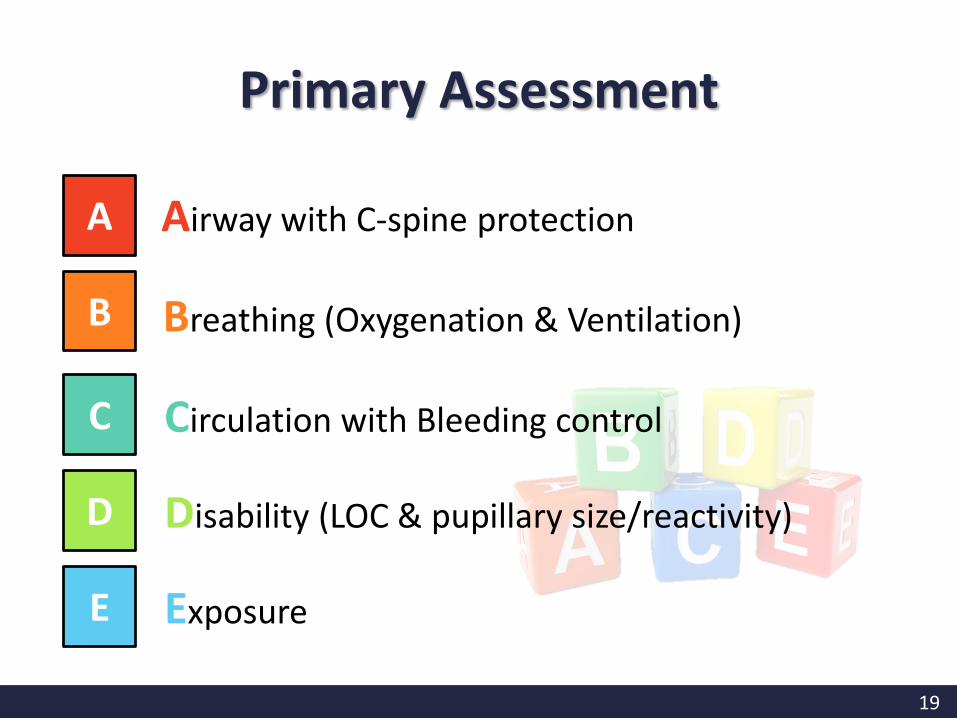
A
B
C
Airway with C-spine protection
Breathing (Oxygenation & Ventilation)
Circulation with Bleeding control
D Disability (LOC & pupillary size/reactivity)
E Exposure
Primary Assessment

20
The priorities are the SAME for all patients
Primary Assessment
21
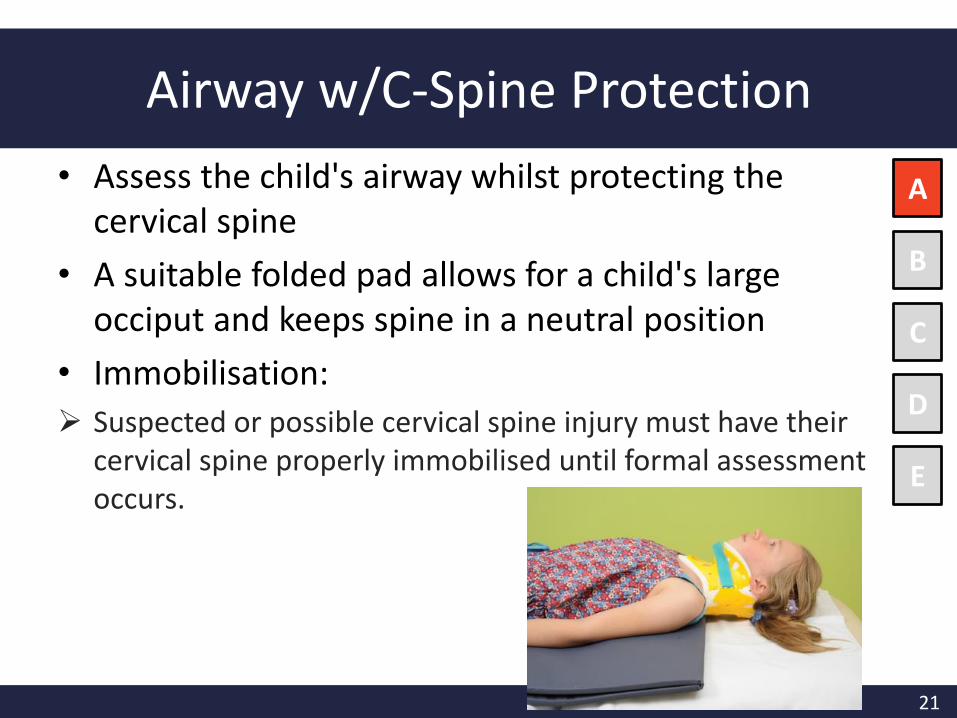
Airway w/C-Spine Protection
• Assess the child's airway whilst protecting the cervical spine
• A suitable folded pad allows for a child's large occiput and keeps spine in a neutral position
• Immobilisation:
Suspected or possible cervical spine injury must have their cervical spine properly immobilised until formal assessment occurs.
A
B
C
D
E
22
Airway w/C-Spine Protection
• How to immobilize the cervical spine ?
Apply a one piece hard collar
Ensure appropriate sizing
check sizing of collar in situ
A
B
C
D
E

Sizing a one piece hard collar
• Measuring collar size on neck
– Measure the distance from the top of the patient's shoulder to the angle of the jaw with your hand
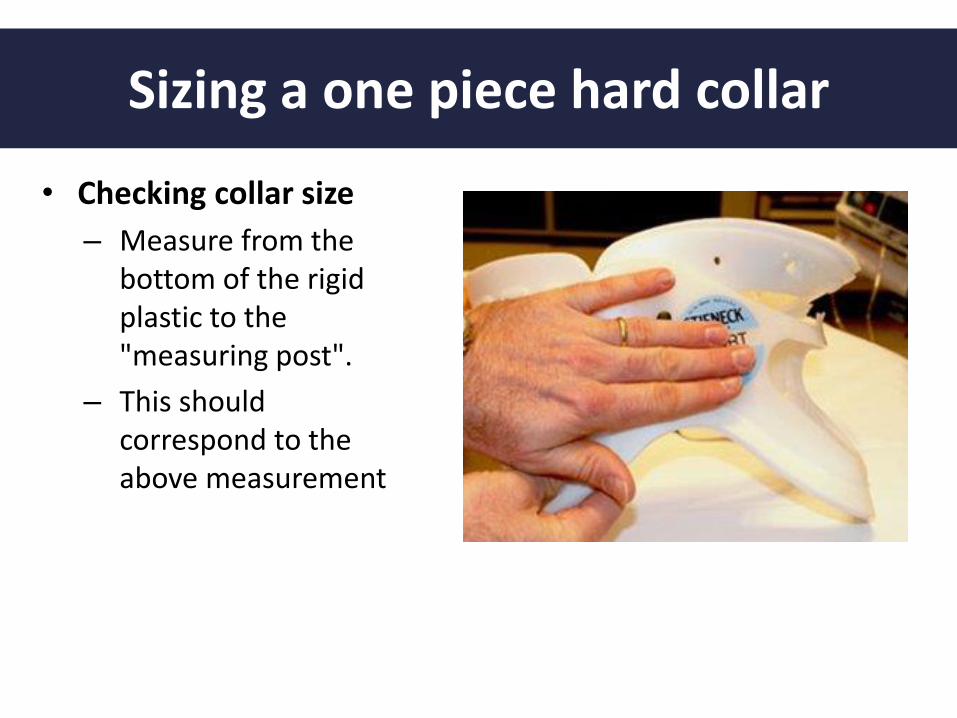
Sizing a one piece hard collar
• Checking collar size
– Measure from the bottom of the rigid plastic to the "measuring post".
– This should correspond to the above measurement
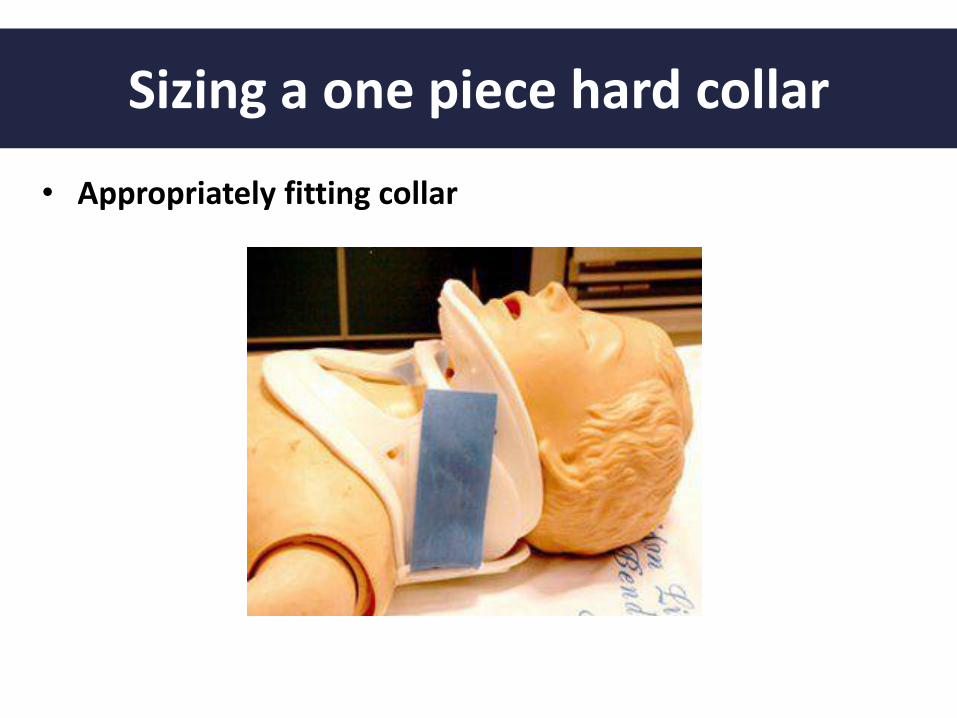
Sizing a one piece hard collar
• Appropriately fitting collar
26
A
B
C
D
E
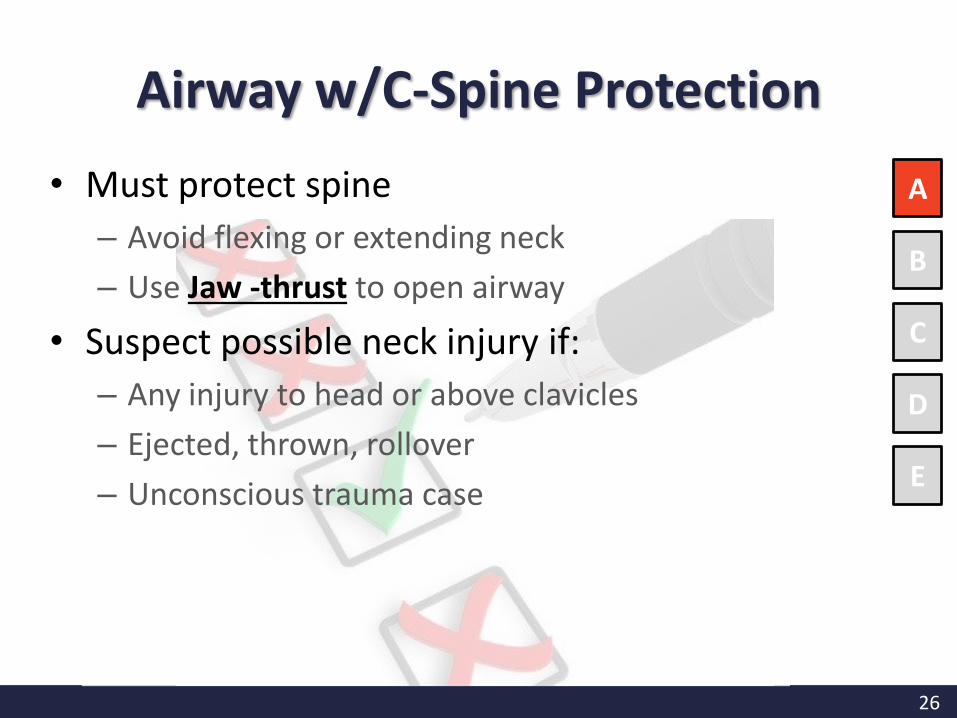
• Must protect spine
– Avoid flexing or extending neck
– Use Jaw -thrust to open airway
• Suspect possible neck injury if:
– Any injury to head or above clavicles
– Ejected, thrown, rollover
– Unconscious trauma case
Airway w/C-Spine Protection
27
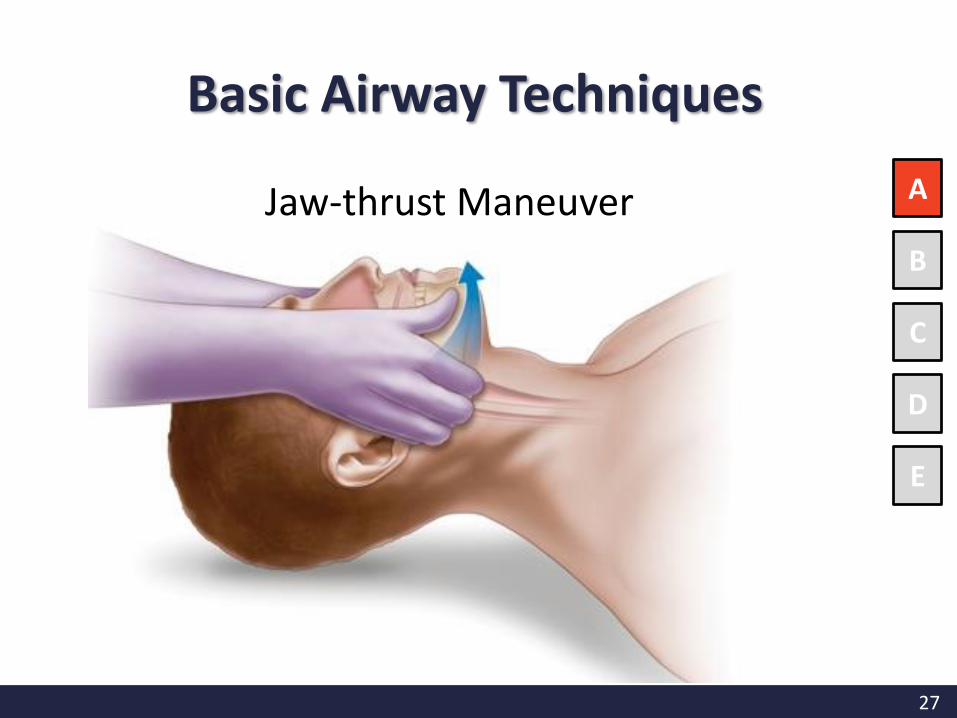
Jaw-thrust Maneuver A
B
C
D
E
Basic Airway Techniques
28
A
B
C
D
E
Airway w/C-Spine Protection
• Unconscious patients often can’t protect their airway– Tongue most common obstruction
– Little airways are easily blocked by blood, teeth
– Have rigid suction available (use Yankauersucker for oral cavity suctioning)
– Avoid stimulating the gag reflex
– Jaw thrust to open airway
– May need oral/nasal airway
• Infants need to breathe through their noses – May need to suction out blood/mucus
29
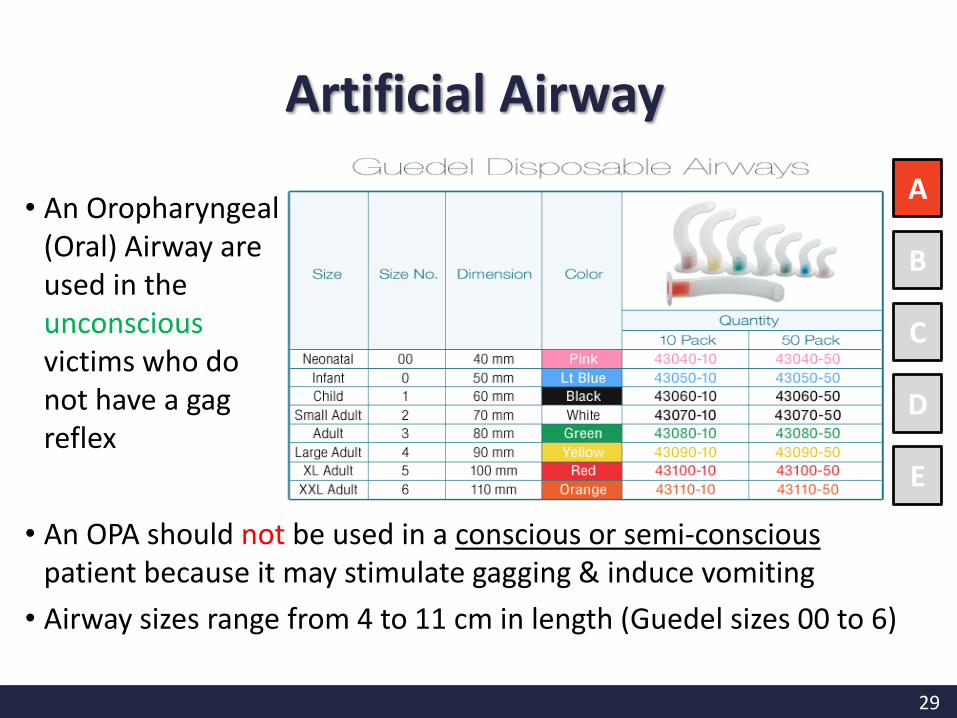
• An Oropharyngeal (Oral) Airway are used in the unconscious victims who do not have a gag reflex
A
B
C
D
E
• An OPA should not be used in a conscious or semi-conscious patient because it may stimulate gagging & induce vomiting
• Airway sizes range from 4 to 11 cm in length (Guedel sizes 00 to 6)
Artificial Airway
30
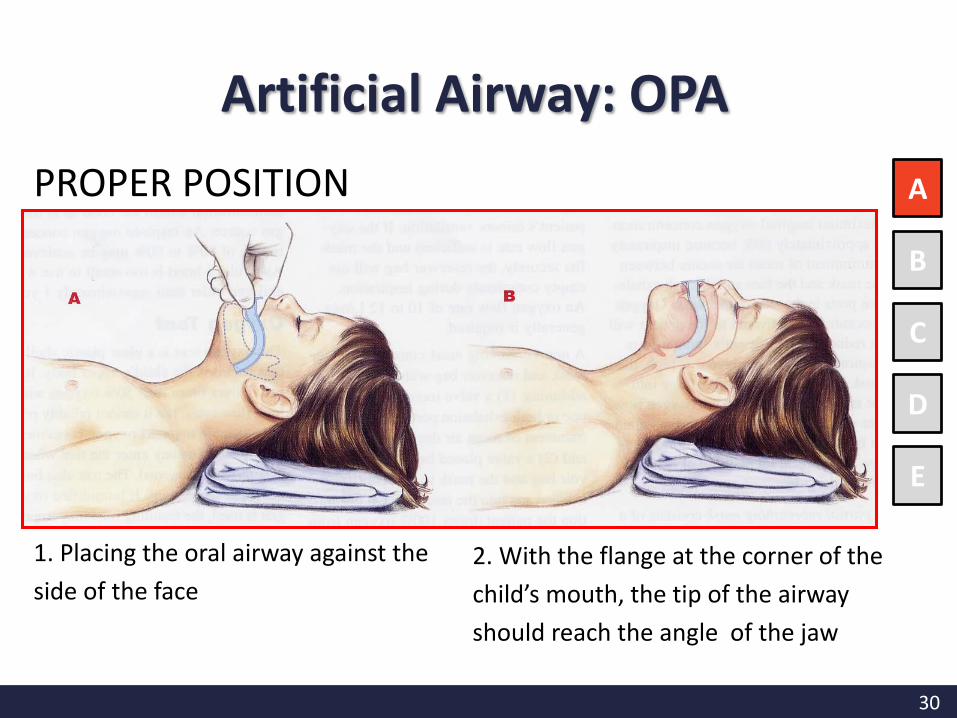
PROPER POSITION A
B
C
D
E
1. Placing the oral airway against the
side of the face
2. With the flange at the corner of the
child’s mouth, the tip of the airway
should reach the angle of the jaw
Artificial Airway: OPA
31
A
B
C
D
E
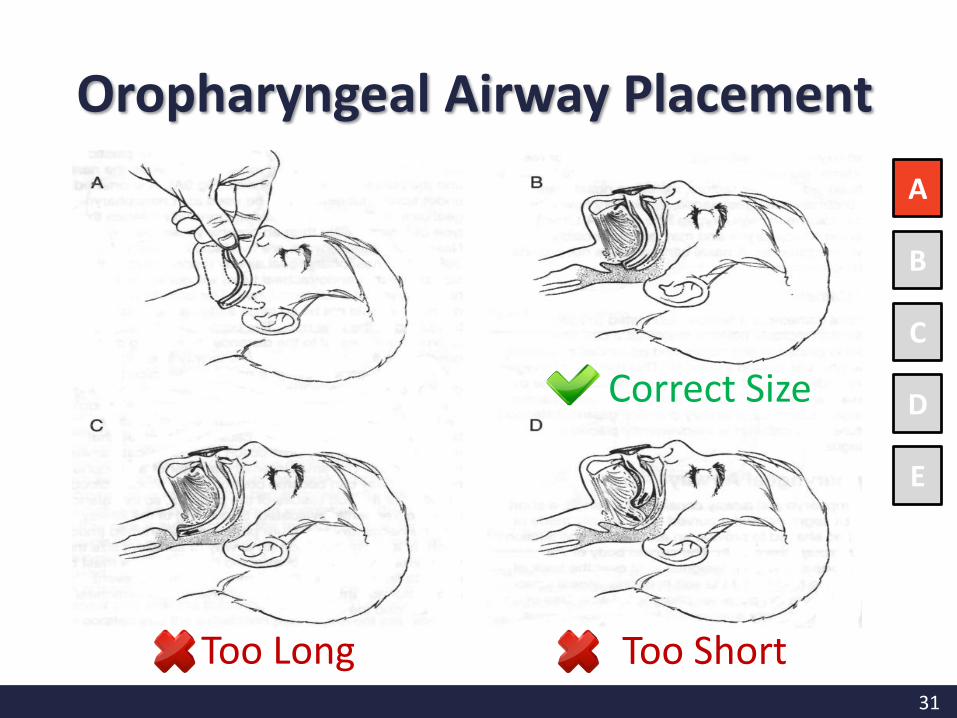
Correct Size
Too Long Too Short
Oropharyngeal Airway Placement
32
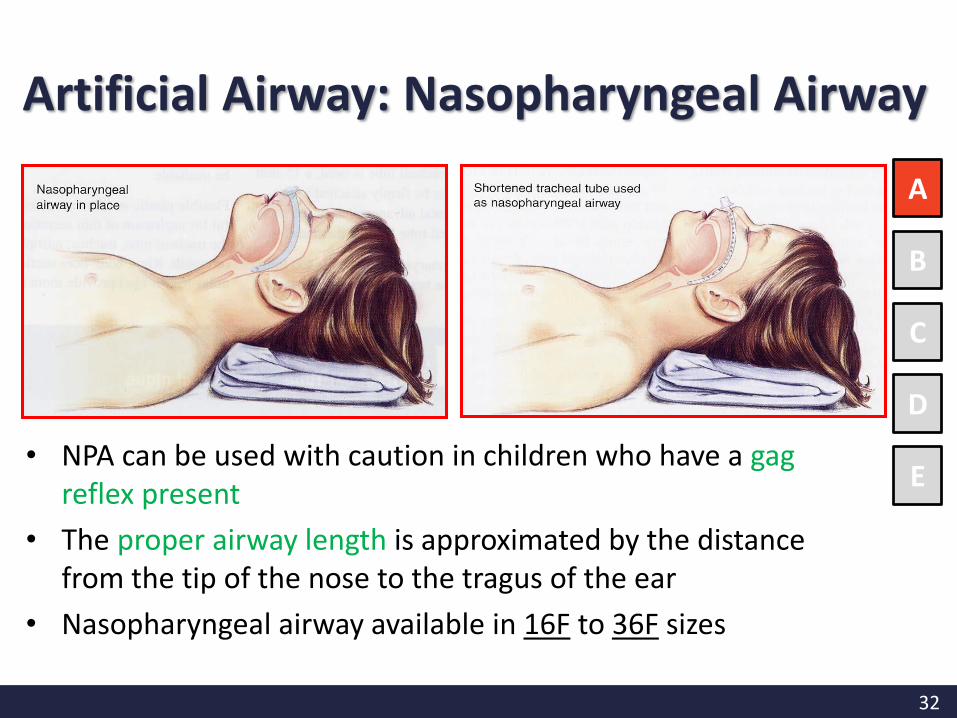
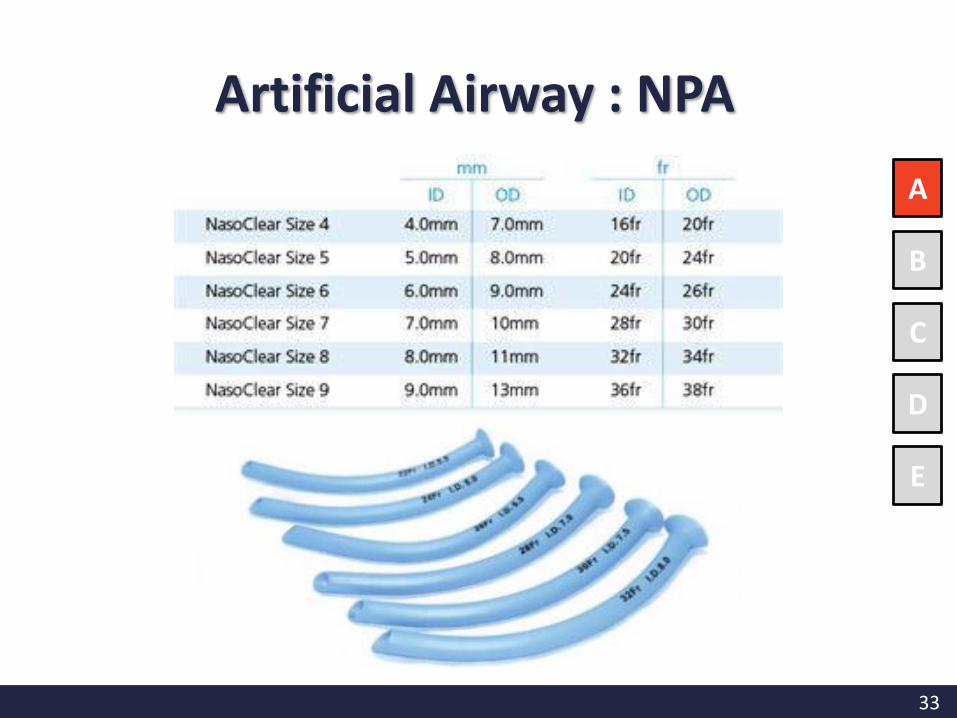
• NPA can be used with caution in children who have a gag reflex present
• The proper airway length is approximated by the distance from the tip of the nose to the tragus of the ear
• Nasopharyngeal airway available in 16F to 36F sizes
A
B
C
D
E
Artificial Airway: Nasopharyngeal Airway
33
A
B
C
D
E
Artificial Airway : NPA
34
Indications:
• Need for prolonged patency of the airway and/or prevention of aspiration (such as an unconscious child)
• Need for ventilation and/or inability to adequately ventilate using a bag and mask
• Shock unresponsive to fluid resuscitation
• Neurological problems, including seizures and head injury
A
B
C
D
E
Endotracheal Intubation for Trauma Pediatrics
35
A
B
C
D
E
The mnemonic ‘‘SOAPME’’ is one way to remember the essential equipment needed for intubation:
S: Suction
• Functioning wall suction
• Appropriate size of suction catheter (FG) that fit into the endotracheal tube = Size of ETT x 2
• Large bore suction catheter / suction device e.gYankauer sucker for oro-pharygneal suctioning
Preparation

36
A
B
C
D
E
The mnemonic ‘‘SOAPME’’ is one way to remember the essential equipment needed for intubation:
O: Oxygen
A: Airway
• Bag-valve-mask (BVM) of appropriate size for the infant, child or adult
• Laryngoscope and Blade: checks that the light is bright enough
Preparation
37
A
B
C
D
E
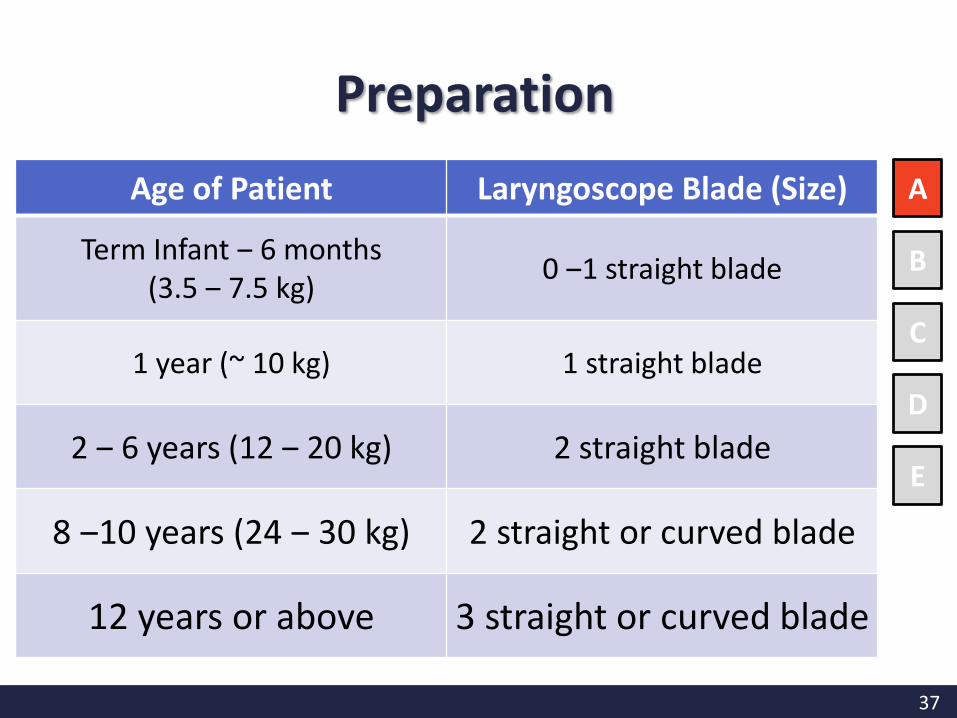
Age of Patient Laryngoscope Blade (Size)
Term Infant ‒ 6 months (3.5 ‒ 7.5 kg)
0 ‒1 straight blade
1 year (~ 10 kg) 1 straight blade
2 ‒ 6 years (12 ‒ 20 kg) 2 straight blade
8 ‒10 years (24 ‒ 30 kg) 2 straight or curved blade
12 years or above 3 straight or curved blade
Preparation
38
A
B
C
D
E
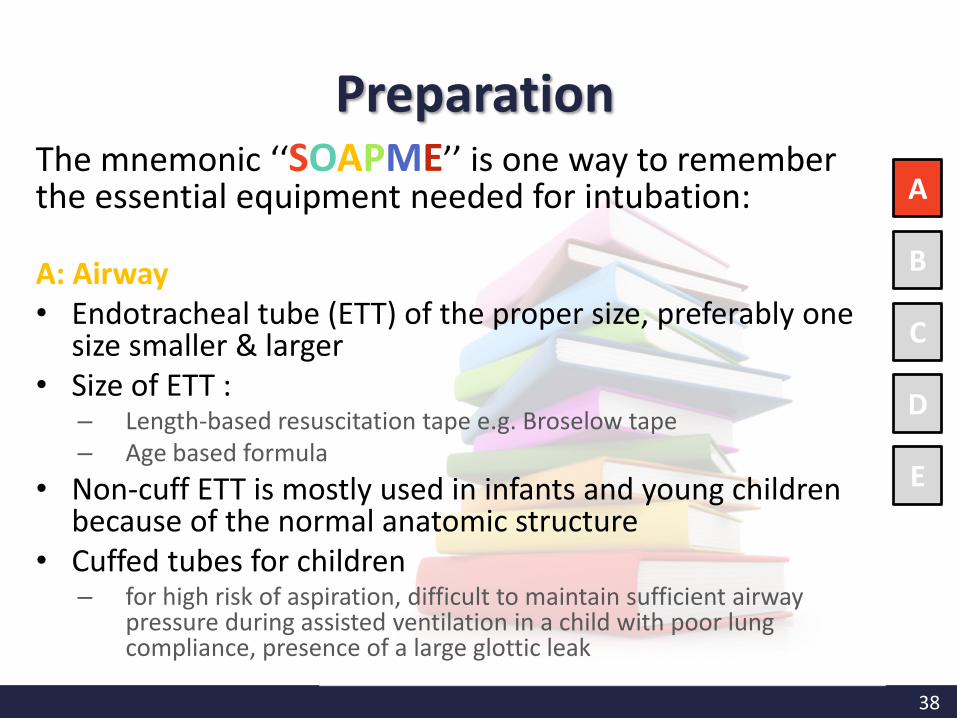
The mnemonic ‘‘SOAPME’’ is one way to remember the essential equipment needed for intubation:
A: Airway• Endotracheal tube (ETT) of the proper size, preferably one
size smaller & larger• Size of ETT :
– Length-based resuscitation tape e.g. Broselow tape– Age based formula
• Non-cuff ETT is mostly used in infants and young children because of the normal anatomic structure
• Cuffed tubes for children– for high risk of aspiration, difficult to maintain sufficient airway
pressure during assisted ventilation in a child with poor lung compliance, presence of a large glottic leak
Preparation
39
A
B
C
D
E
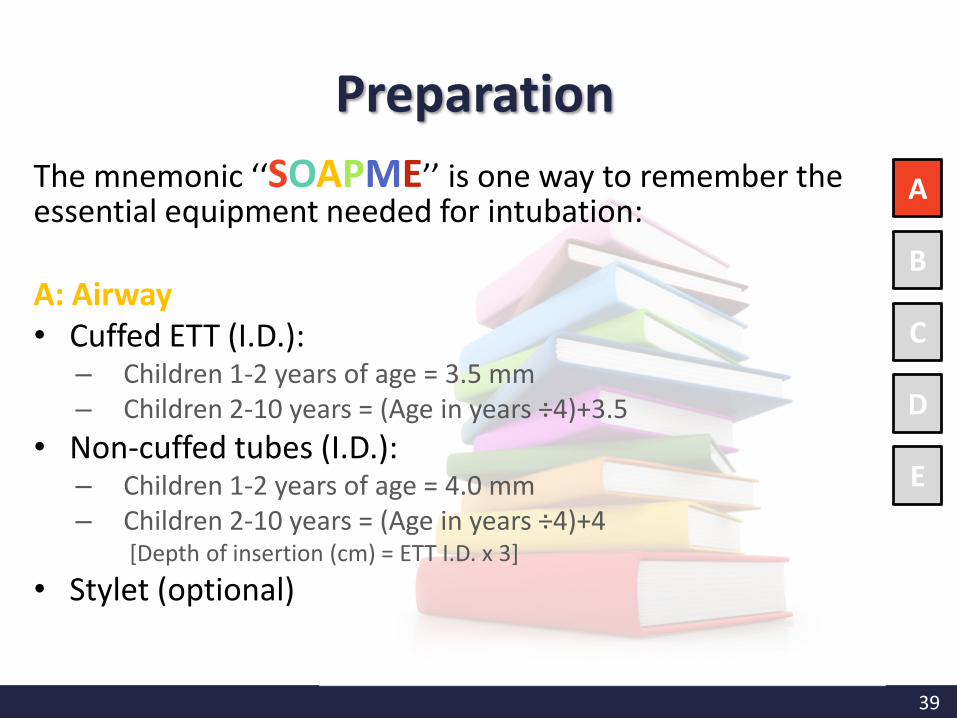
The mnemonic ‘‘SOAPME’’ is one way to remember the essential equipment needed for intubation:
A: Airway• Cuffed ETT (I.D.):
– Children 1-2 years of age = 3.5 mm – Children 2-10 years = (Age in years ÷4)+3.5
• Non-cuffed tubes (I.D.):– Children 1-2 years of age = 4.0 mm– Children 2-10 years = (Age in years ÷4)+4
[Depth of insertion (cm) = ETT I.D. x 3]
• Stylet (optional)
Preparation
40
A
B
C
D
E
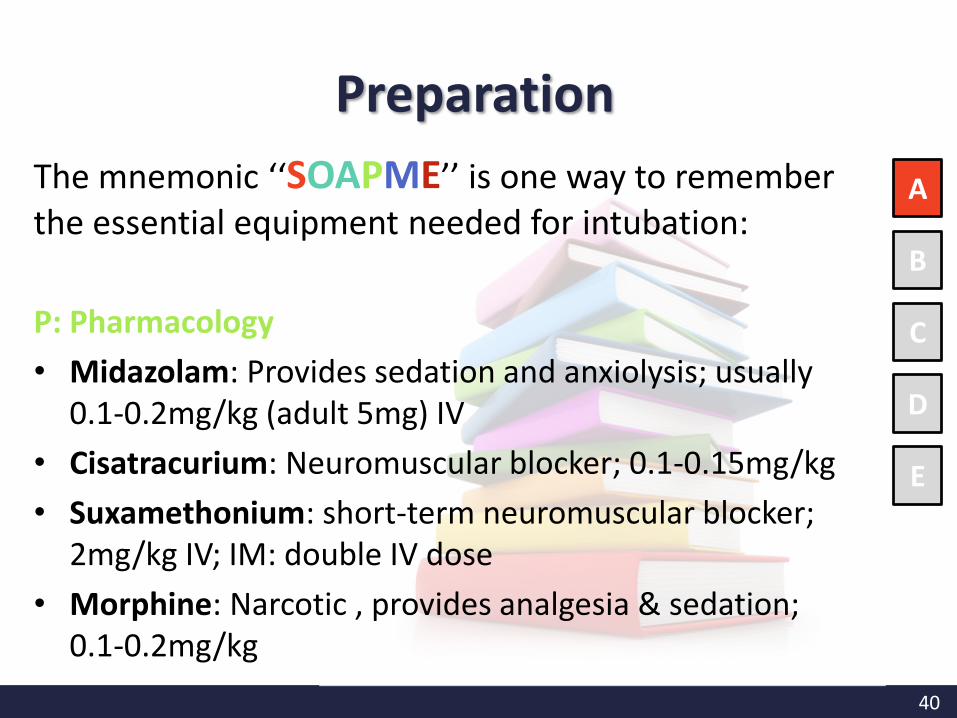
The mnemonic ‘‘SOAPME’’ is one way to remember the essential equipment needed for intubation:
P: Pharmacology
• Midazolam: Provides sedation and anxiolysis; usually 0.1-0.2mg/kg (adult 5mg) IV
• Cisatracurium: Neuromuscular blocker; 0.1-0.15mg/kg
• Suxamethonium: short-term neuromuscular blocker; 2mg/kg IV; IM: double IV dose
• Morphine: Narcotic , provides analgesia & sedation; 0.1-0.2mg/kg
Preparation
41
A
B
C
D
E
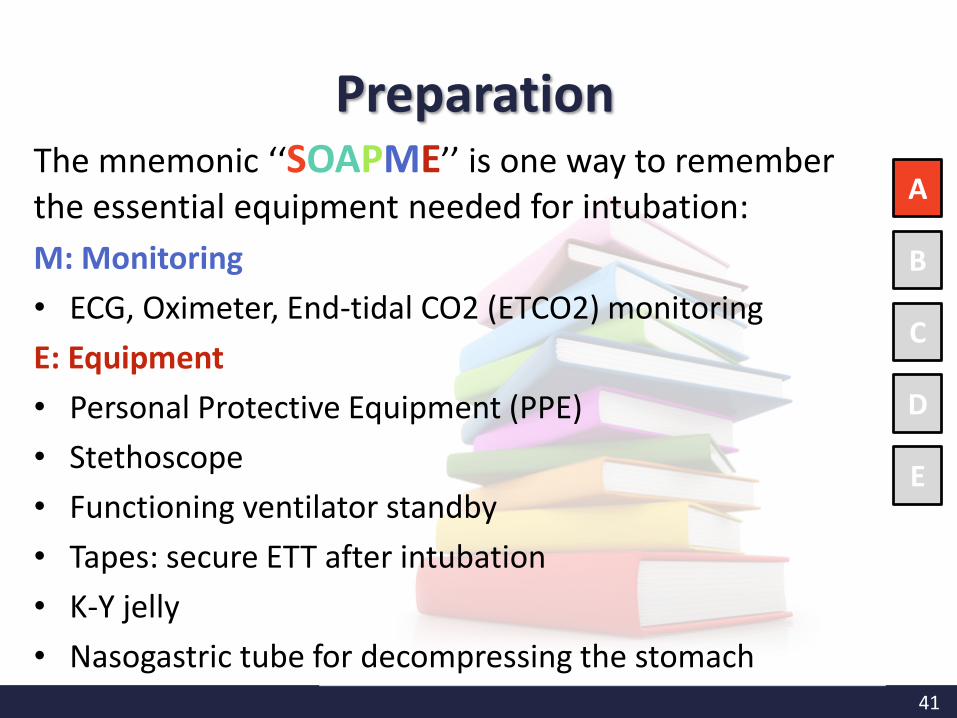
The mnemonic ‘‘SOAPME’’ is one way to remember the essential equipment needed for intubation:
M: Monitoring
• ECG, Oximeter, End-tidal CO2 (ETCO2) monitoring
E: Equipment
• Personal Protective Equipment (PPE)
• Stethoscope
• Functioning ventilator standby
• Tapes: secure ETT after intubation
• K-Y jelly
• Nasogastric tube for decompressing the stomach
Preparation

42
Verification of Tube Placement
– Auscultation: bilateral chest movement →listen for equal breath sounds over both lung fields, especially over the axillae
– Auscultation of the stomach listen for gastric insufflation sounds over the stomach (it should not be present if the tube is in the trachea)
– Condensation (mist) in the endotracheal tube
– Capnography (End-tidal CO2 monitoring)
– Post-intubation CXR Distal tip of the ETT preferably 1-2 cm above the carina (~ at the level of 3rd rib and no higher than the 1st rib)
Secure the tube with tape or commercial device
A
B
C
D
E
Post Intubation Management

43
44
A
B
C
D
E
• Initiation of ventilatory support
• Cuff pressure monitoring if cuffed ETT is used
• Place NG/OG tube after ETI if not contraindicated
– Decompress the stomach
– Avoid micro-aspiration in mechanically ventilated patients
• Documentation: size of ETT; site (mouth or nose); depth of ETT which mark at lips/ teeth/nostril
Post Intubation Management
45
• Airway patency ≠ adequate breathing & ventilation
• Assess and ensure adequate oxygenation and ventilation
– Respiratory rate, depth & effort
– Chest movement & expansion
– Air entry
– Oxygen saturation
• Inspect for any sign of trauma
• Palpate for any tenderness & pain
Breathing
A
B
C
D
E
46
Breathing
The IMMEDIATE life threatening injuries:
Tension pneumothorax
Open pneumothorax
A
B
C
D
E
Flail chest and pulmonary contusion
Massive hemothorax
Cardiac tamponade
47
Breathing
A
B
C
D
E
• Give O2 through
– Nasal cannula
– Facemask
– Non-rebreathing mask
• Keep Oxygen saturation > 95%
• For apnoeic or bradypnoeic child BVM using 100% O2, Intubation & Mechanical ventilation
48
A
B
C
D
E
• Assessment included:
– Heart rate (HR) & Rhythm
– Pulses (both peripheral & central)
– Capillary refill time
– Skin color & Temperature
– Blood pressure
– Level of consciousness
• Identification of any hemorrhage site
Circulation
49
A
B
C
D
E
Circulation
• External bleeding control Applying direct pressure using a sterile pressure dressing
• Intravenous access is a priority Two large-bore catheters; Intraosseous access may be necessary if peripheral access attempts are unsuccessful or central venous cannulation
• Signs of severe hypovolemia or shock, fluid boluses of volume expanders Normal saline or Plasma-lyte, are administered at 20mL/kg
• Hemeorrhagic shockMatched blood or O-negative packed red cells
• Boluses are repeated until perfusion and peripheral pulses improve
• Surgical assessment and intervention may be necessary to control bleeding
50
A
B
C
D
E
• Assess mental state by determining the child's best response to a painful stimulus, observing his/her posture, and examining the pupillary reflexes
• Level of consciousness can be quickly determinied by AVPU (Alert, responds to Verbal stimuli, responds to Painful stimuli, or Unresponsive)
• Baseline pupillary assessment
• Changes in level of consciousness Early indication of decreased
oxygenation and perfusion, or significant head injury
• Signs of ↑ ICP in the child include: Severe headache, emesis, irritability,
rapidly deteriorating mental status, abnormal posturing, pupillary abnormalities, and seizures. Infants can demonstrate bulging fontanelle
• +ve Signs of ↑ ICP Elective intubated by rapid sequence intubation (RSI)
Disability
51
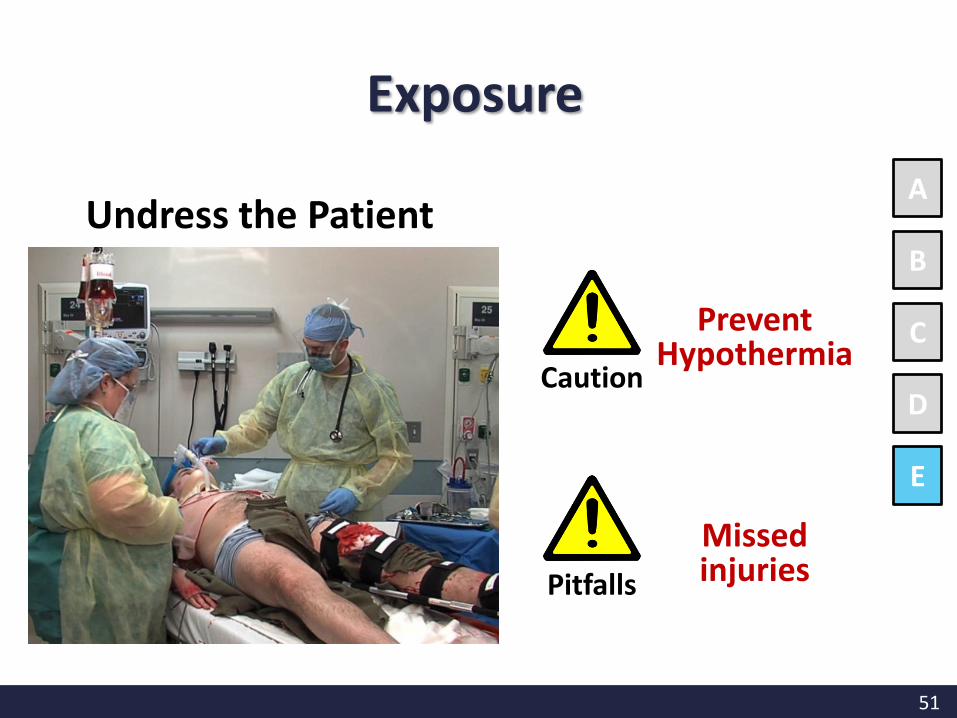
Undress the PatientA
B
C
D
E
Caution
Pitfalls
Prevent Hypothermia
Missed injuries
Exposure
52
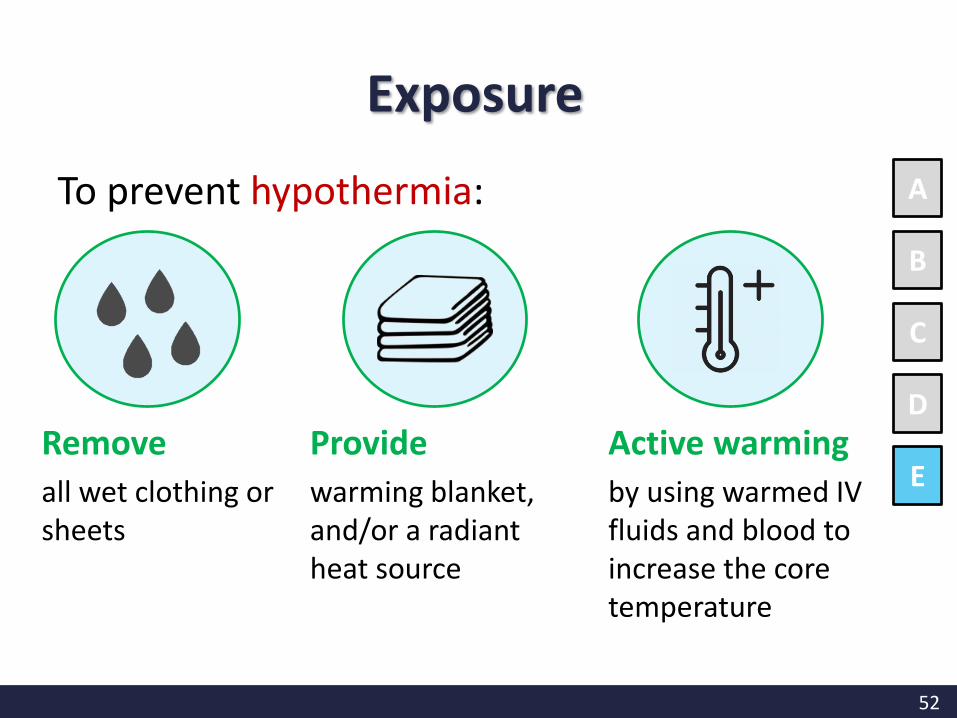
To prevent hypothermia: A
B
C
D
ERemove
all wet clothing or sheets
Active warming
by using warmed IV fluids and blood to increase the core temperature
Provide
warming blanket, and/or a radiant heat source
Exposure
53
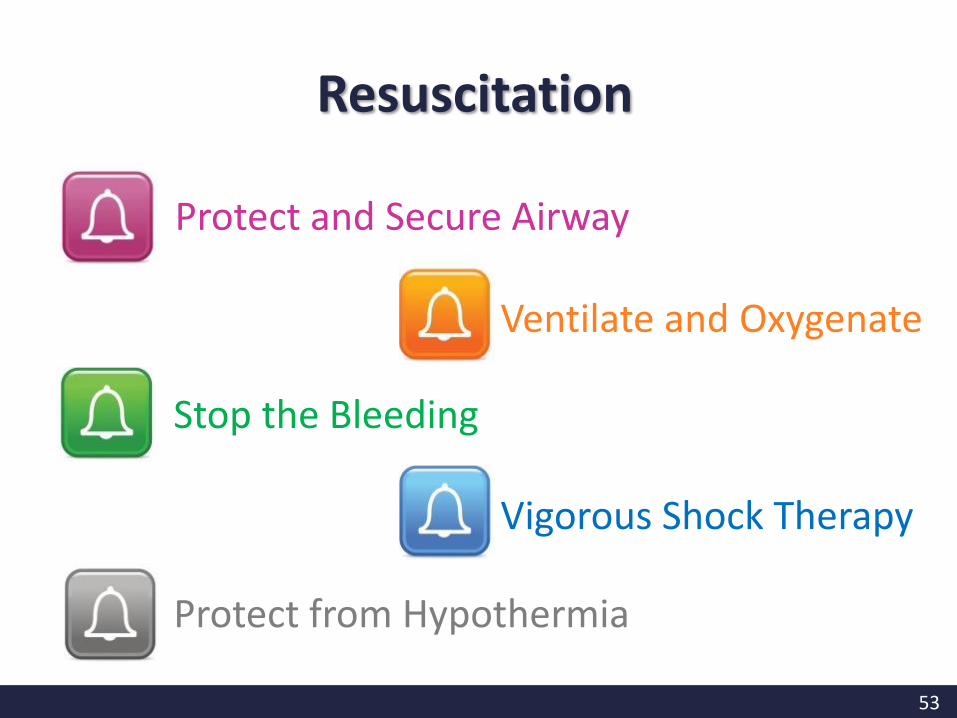
• Protect and Secure Airway
• Ventilate and Oxygenate
• Stop the Bleeding
• Vigorous Shock Therapy
• Protect from Hypothermia
Resuscitation
54
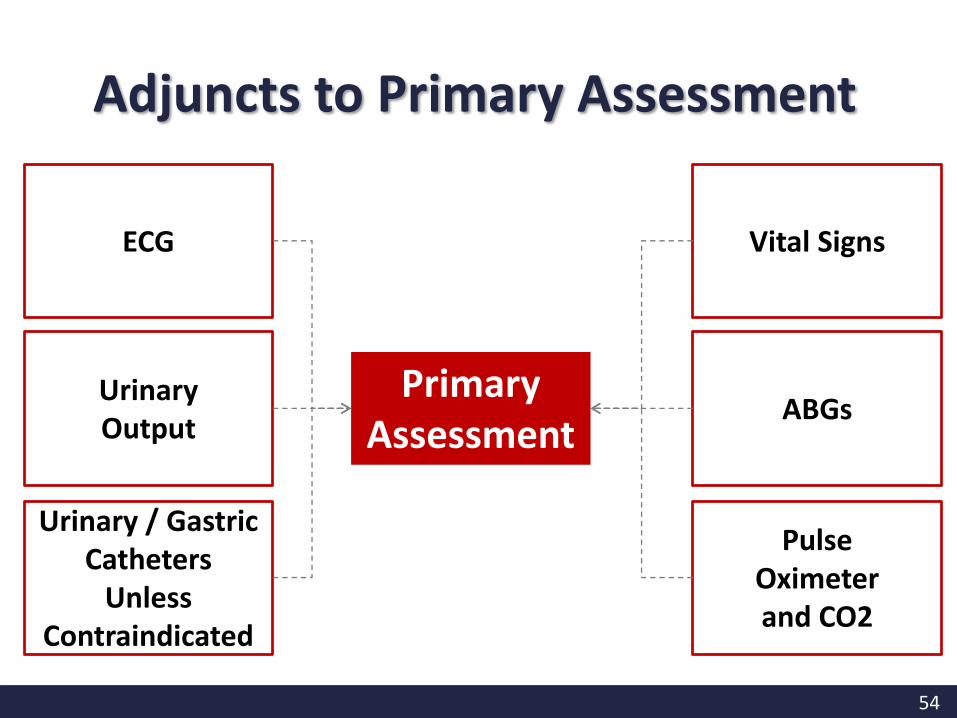
Primary Assessment
ECG
UrinaryOutput
Urinary / Gastric Catheters
Unless Contraindicated
Vital Signs
ABGs
PulseOximeterand CO2
Adjuncts to Primary Assessment
55
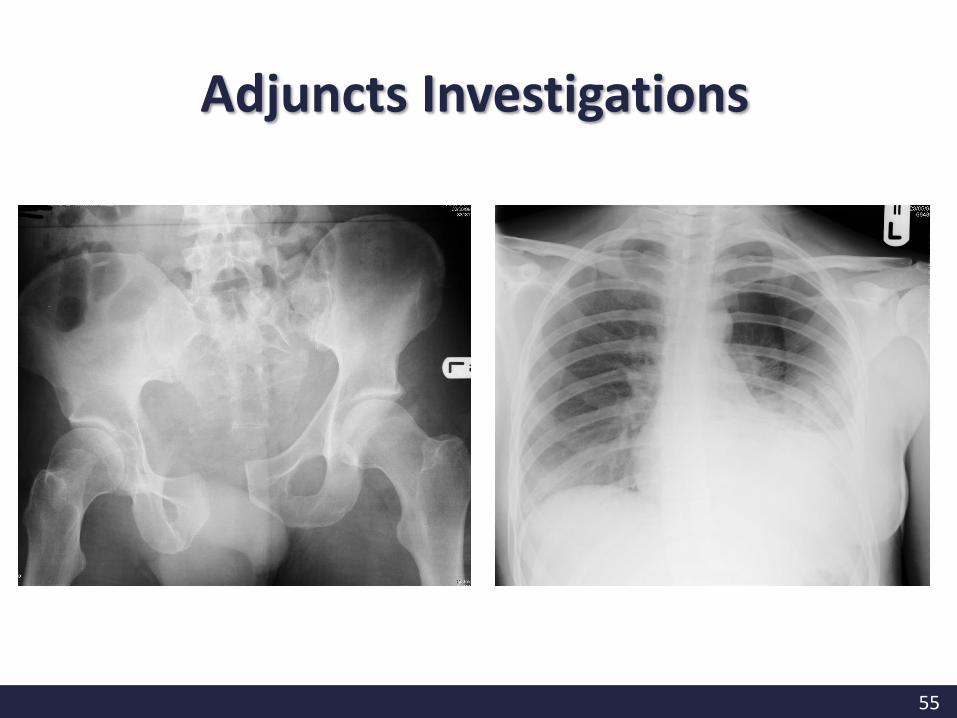
Adjuncts Investigations
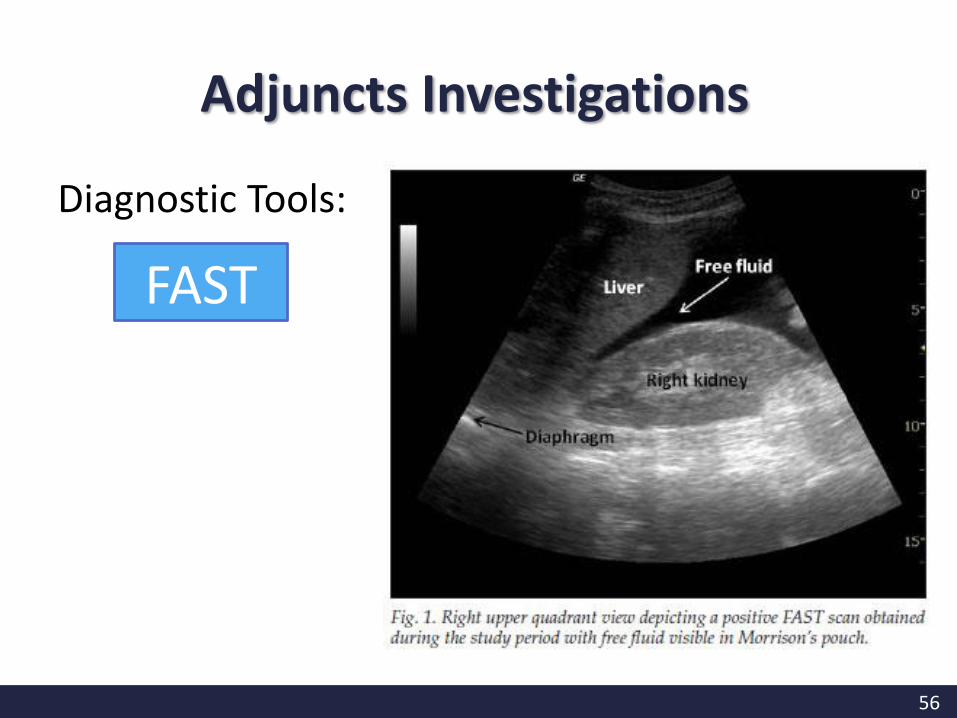
56
Diagnostic Tools:
FAST
Adjuncts Investigations
57
QUESTION?Q.1 The first priority in the primary assessment phase of any
pediatric trauma patient is:
A. To immediately establish vascular access. B. To establish and maintain patency of the airway while
maintaining cervical spine immobilization. C. To obtain immediate x-rays and laboratory studies in
order to ascertain the patient's overall status. D. To alleviate any pain with intravenous analgesics in order
to facilitate a more reliable physical examination.
58
QUESTION?
Q.2 Which of the following interventions should be performed first for an unresponsive patient with a suspected spinal cord injury?
A. Head-tilt, chin-lift. B. Jaw thrust maneuver. C. Oropharyngeal airway. D. Nasopharyngeal airway.

59
QUESTION?
Q.3 Life-threatening bleeding should be found and treated during the:
A. Primary assessment. B. Scene size up. C. Secondary assessment. D. Patient history
60
QUESTION?
Q.4 Which of the following is the most frequent cause of airway obstruction?
A. fluid. B. toys. C. vomit. D. the tongue.
61
QUESTION?
Q.5 How should you open the airway of an unresponsive patient with an unknown mechanism of injury?
A. log roll technique B. jaw-thrust maneuver C. head tilt–chin liftD. tongue-jaw lift
62
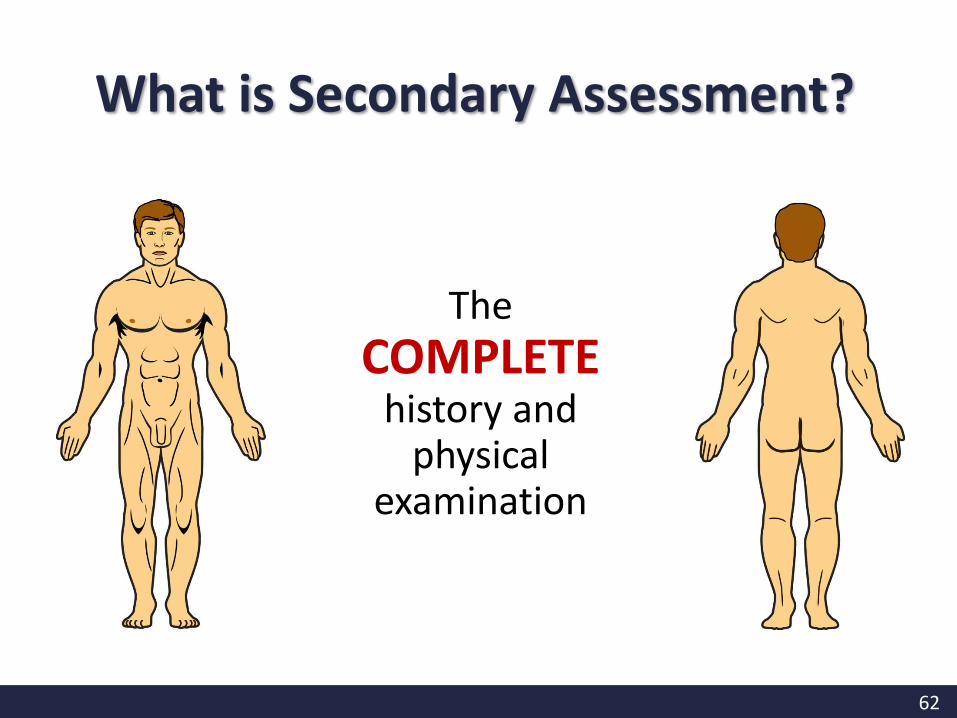
The
COMPLETEhistory and
physical examination
What is Secondary Assessment?
63
After
1. Primary assessment is completed
2. ABCDEs are reassessed
3. Vital functions are returning to normal or acceptable
When do I Start Secondary Assessment?

64
Full Set of Vital Signs
Give Support
Head-to-Toe Assessment; History
Inspect Posterior Surfaces
F
G
H
I
What are the Components of Secondary Assessment?
65
F
G
H
I
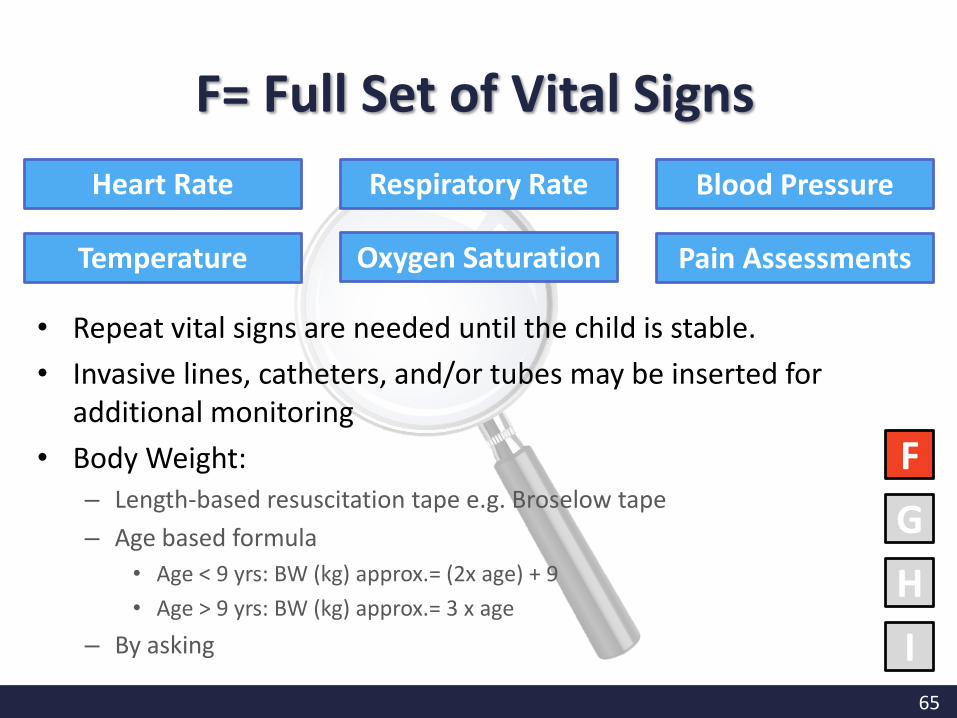
• Repeat vital signs are needed until the child is stable.
• Invasive lines, catheters, and/or tubes may be inserted for additional monitoring
• Body Weight:– Length-based resuscitation tape e.g. Broselow tape
– Age based formula
• Age < 9 yrs: BW (kg) approx.= (2x age) + 9
• Age > 9 yrs: BW (kg) approx.= 3 x age
– By asking
Heart Rate Respiratory Rate Blood Pressure
Temperature Oxygen Saturation Pain Assessments
F= Full Set of Vital Signs

66
F
G
H
I
• Family-centered care
• Support the child during procedures & treatment
F= Family Presence
• Support services, such as Spiritual Care or Social Services provided to support the family’s spiritual and emotional needs
67
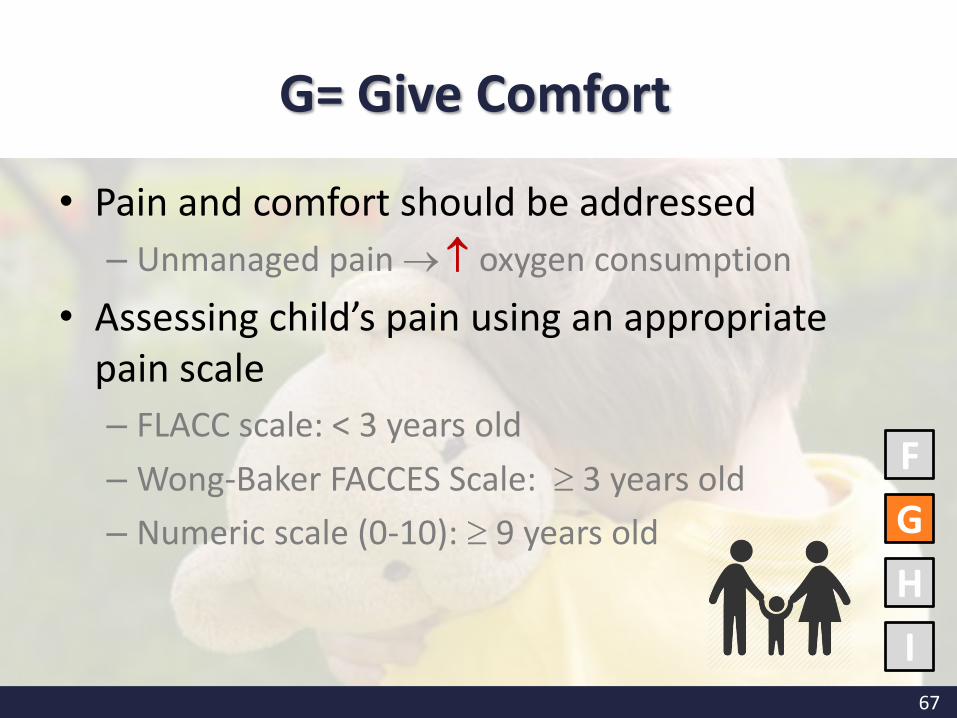
• Pain and comfort should be addressed
– Unmanaged pain oxygen consumption
• Assessing child’s pain using an appropriate pain scale
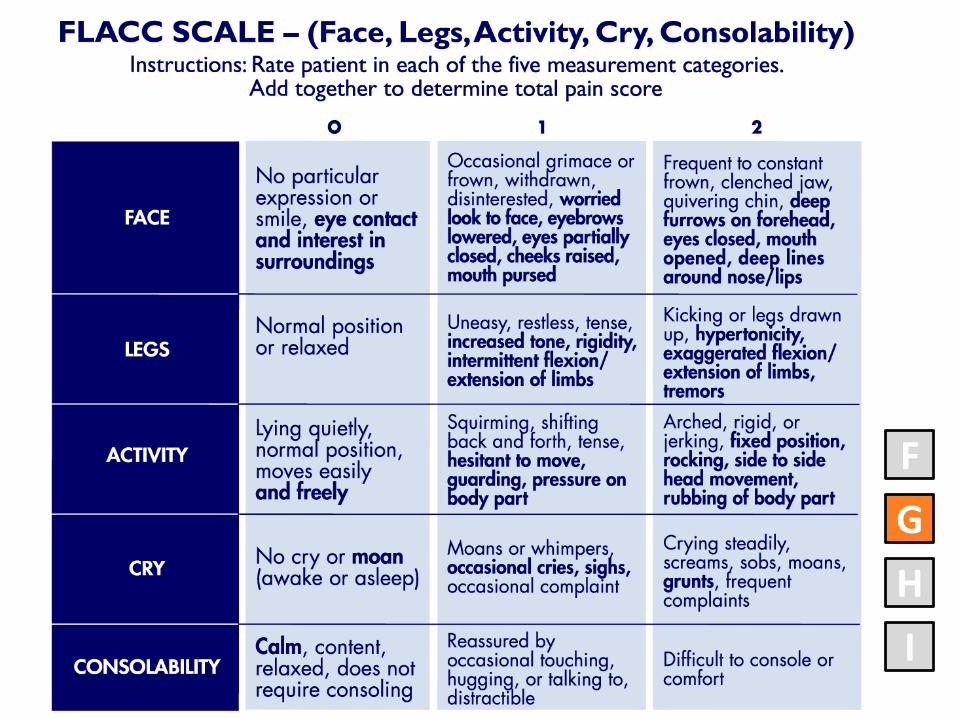
– FLACC scale: < 3 years old
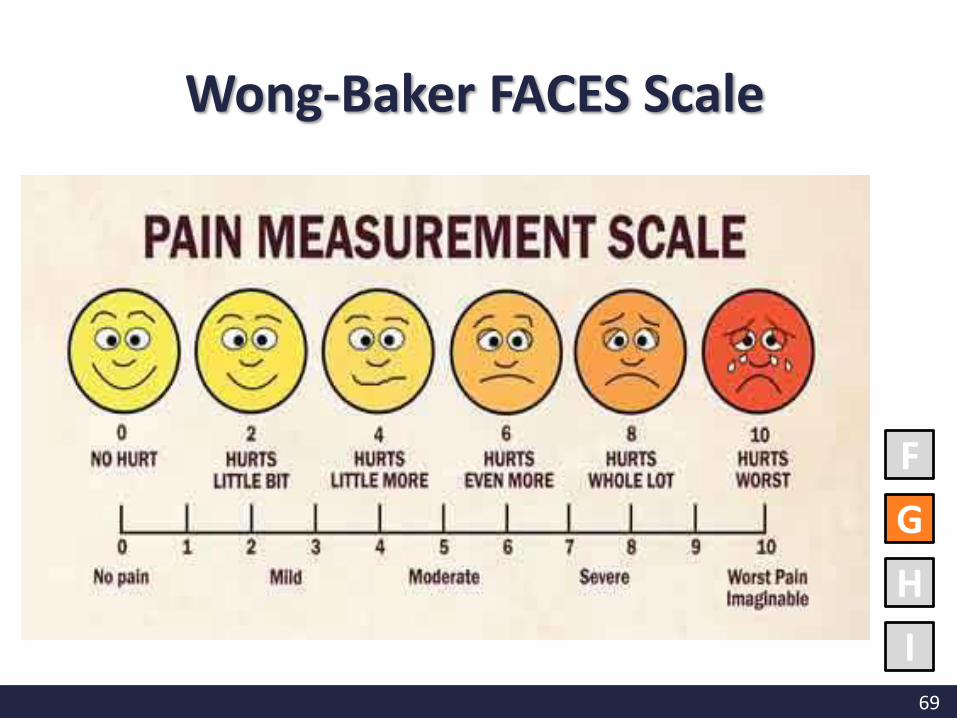
– Wong-Baker FACCES Scale: 3 years old
– Numeric scale (0-10): 9 years old
G= Give Comfort
F
G
H
I
68
F
G
H
I
69
F
G
H
I
Wong-Baker FACES Scale
70
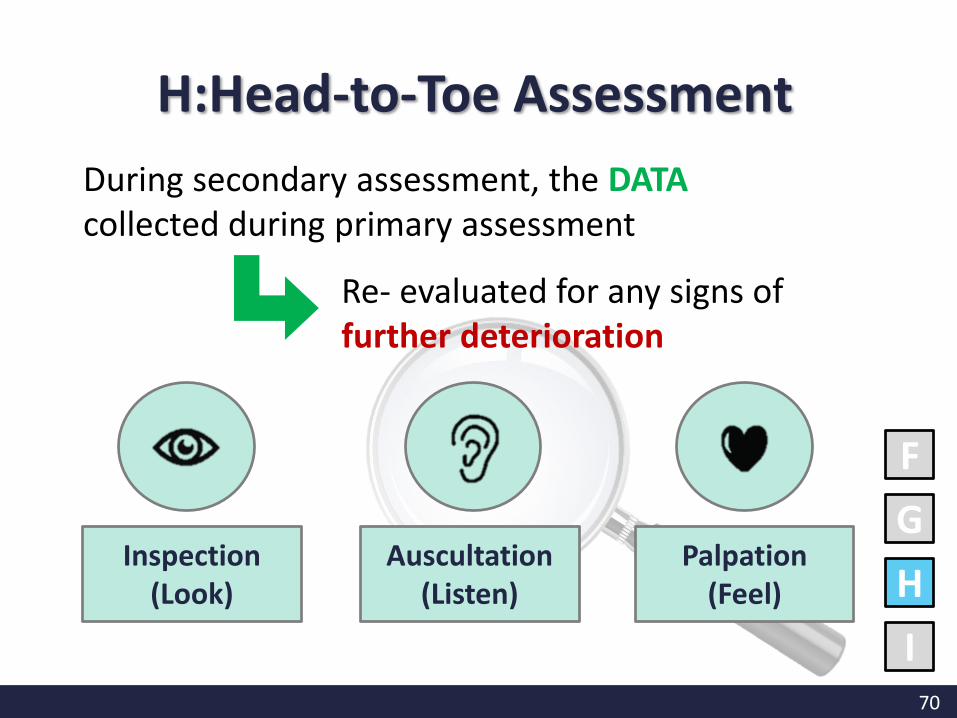
Inspection(Look)
Auscultation(Listen)
Palpation(Feel)
F
G
H
I
During secondary assessment, the DATAcollected during primary assessment
Re- evaluated for any signs of further deterioration
H:Head-to-Toe Assessment
71
F
G
H
I
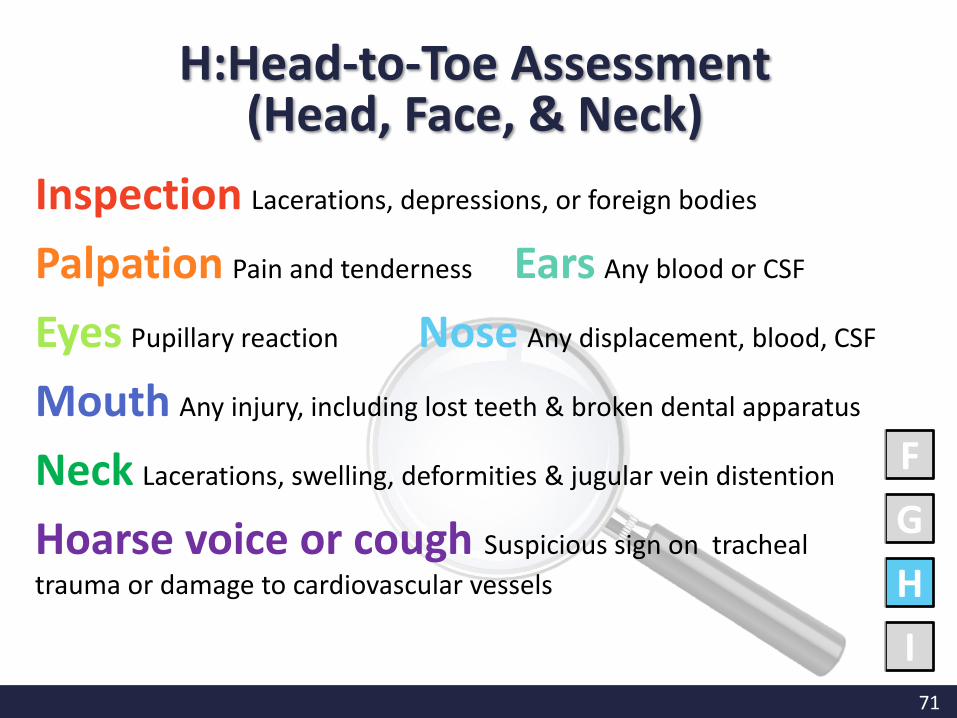
H:Head-to-Toe Assessment (Head, Face, & Neck)
Inspection Lacerations, depressions, or foreign bodies
Palpation Pain and tenderness Ears Any blood or CSF
Eyes Pupillary reaction Nose Any displacement, blood, CSF
Mouth Any injury, including lost teeth & broken dental apparatus
Neck Lacerations, swelling, deformities & jugular vein distention
Hoarse voice or cough Suspicious sign on tracheal
trauma or damage to cardiovascular vessels
72
F
G
H
I
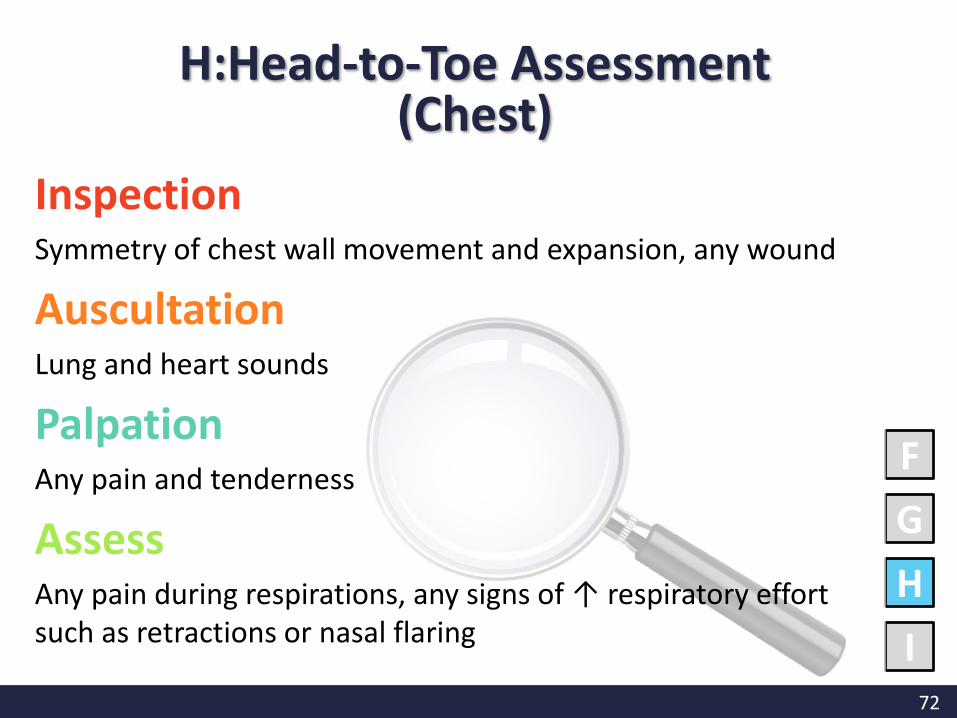
InspectionSymmetry of chest wall movement and expansion, any wound
Auscultation Lung and heart sounds
Palpation Any pain and tenderness
Assess Any pain during respirations, any signs of ↑ respiratory effort such as retractions or nasal flaring
H:Head-to-Toe Assessment (Chest)
73
F
G
H
I
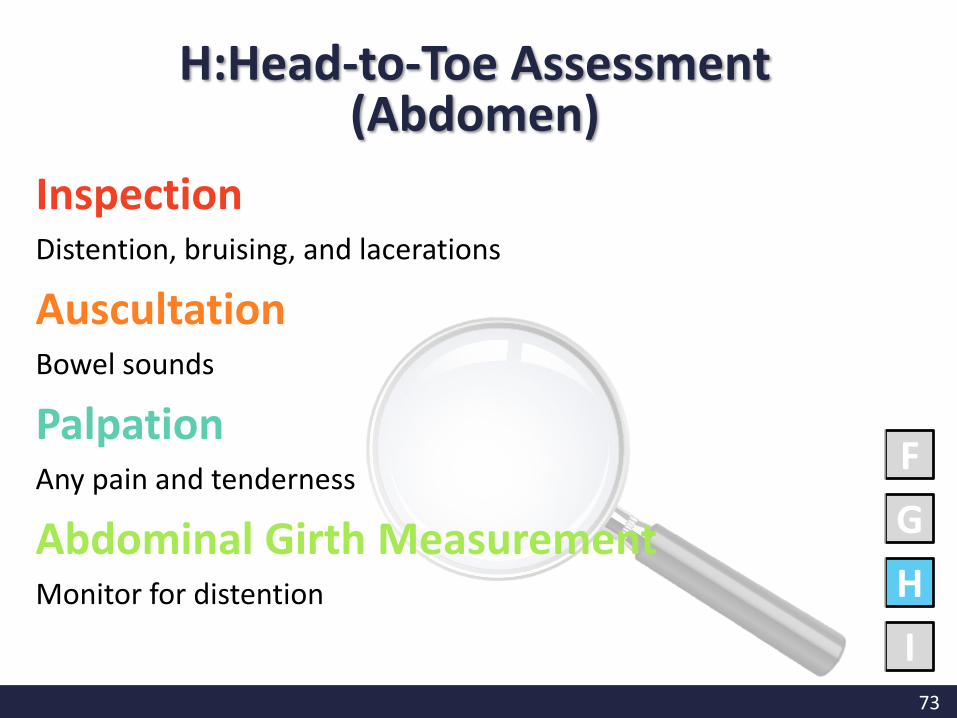
H:Head-to-Toe Assessment (Abdomen)
Inspection Distention, bruising, and lacerations
Auscultation Bowel sounds
Palpation Any pain and tenderness
Abdominal Girth MeasurementMonitor for distention
74
F
G
H
I
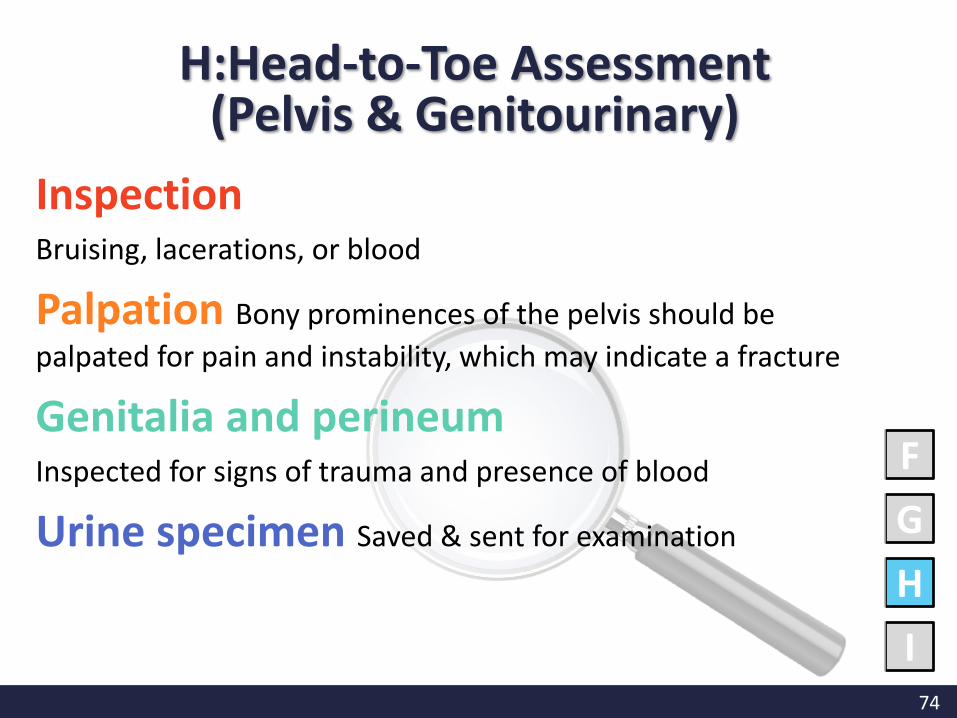
H:Head-to-Toe Assessment (Pelvis & Genitourinary)
Inspection Bruising, lacerations, or blood
Palpation Bony prominences of the pelvis should be
palpated for pain and instability, which may indicate a fracture
Genitalia and perineum Inspected for signs of trauma and presence of blood
Urine specimen Saved & sent for examination
75
F
G
H
I
H:Head-to-Toe Assessment (Extremities)
Inspection & Palpation For pain, tenderness, deformities
Evaluation Exam motor function & limb power by evaluating the child’s ability to move fingers and toes, strength of bilateral hand grasps and foot flexion
76
A M
P
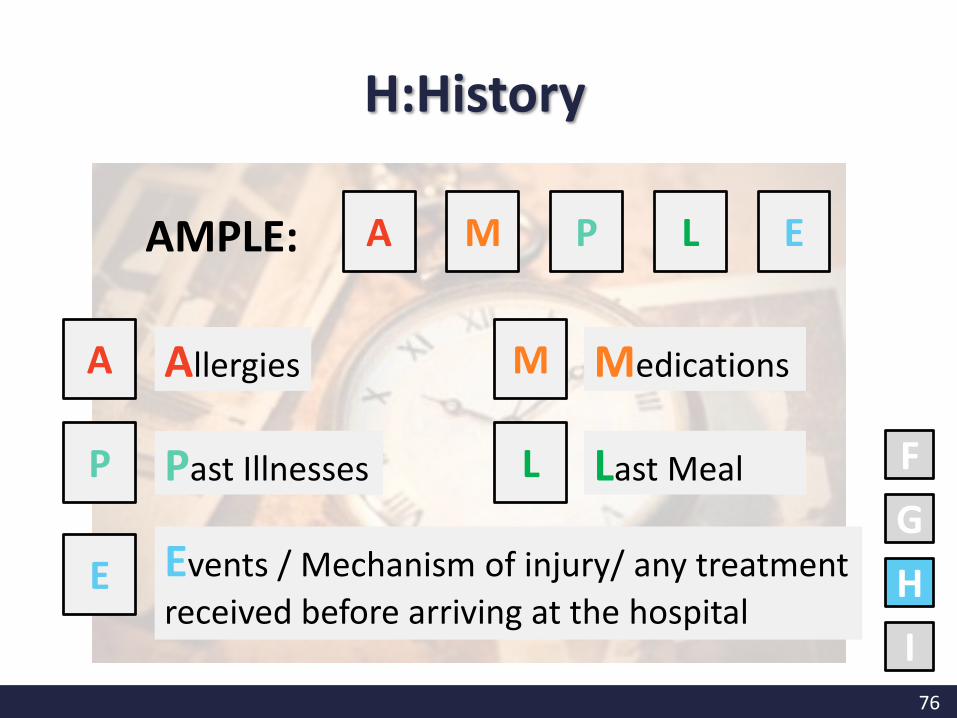
AMPLE:
Medications
Past Illnesses L Last Meal
E Events / Mechanism of injury/ any treatment
received before arriving at the hospital
F
G
H
I
A M P L E
Allergies
H:History
77
F
G
H
I
Logroll Turning Spinal cord can be maintained in a neutral position
Inspection Back, flanks, buttocks, and posterior legs for any injury
Palpation Vertebra for any pain or tenderness or instability
Rectal sphincter Flaccid Suspected spinal cord trauma
I= Inspect Posterior Surfaces
78
QUESTION?
Q.6 The head-to-toe assessment during the secondary assessment phase is to:
A. Complete the information needed for the chart
B. Re-evaluate the primary assessmentC. Determine resuscitation measures needed
79
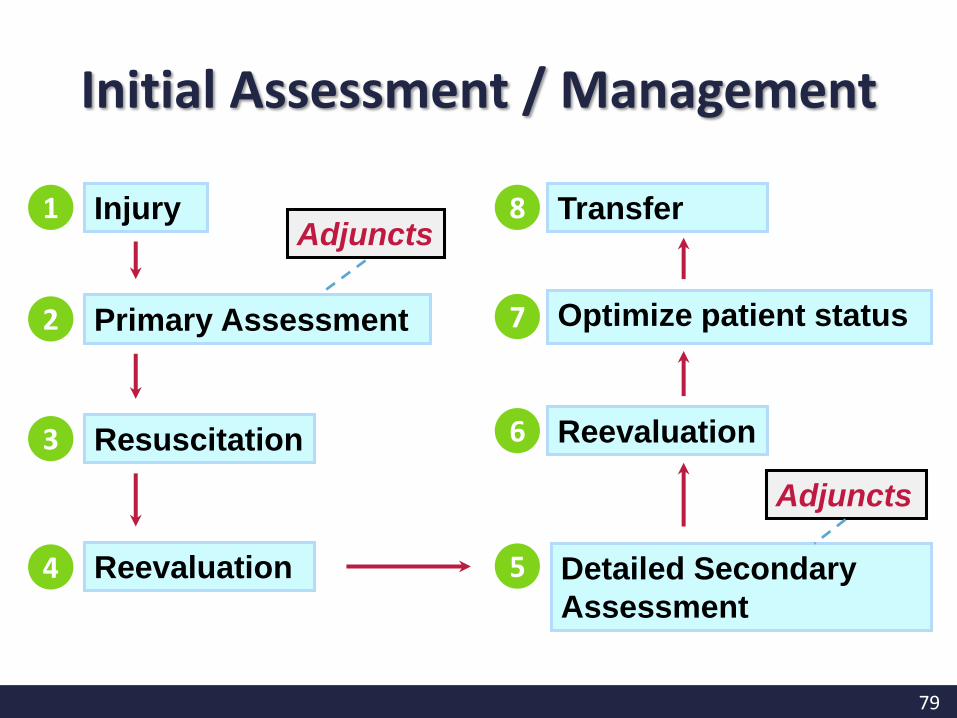
1 InjuryAdjuncts
Primary Assessment 2
Resuscitation3
Reevaluation4
Reevaluation6
Optimize patient status7
Transfer8
Adjuncts
Detailed Secondary
Assessment
5
Initial Assessment / Management

80
- The End -
Presented by:
Chan Mei Yan


