11
INNOVATION SERIES BED ASSEMBLY GUIDE

INNOVATION SERIESBED ASSEMBLY GUIDE

What’s InsideSetting up your new Sleep Number® bed only takes about an
hour and you’ll enjoy the benefits of better sleep for years to
come. You won’t need any tools and, although it’s nice to have
a helper, you can do it by yourself.
NOTE: If you ordered the Sleep Number® modular base, please
see the Assembling Your Base guide for assembly instructions.
Assembling Your Mattress ..........................................................pg 4
Getting Comfortable with Your Sleep Number® Setting .......pg 12
Product Care .................................................................................pg 14
Frequently Asked Questions ......................................................pg 15
Important Information ..................................................................pg 17
Welcome to Sleep Number InnerCircle® ..................................pg 18
Sleep Number® Bedding Collection ........................................pg 19
Warranty ........................................................................................pg 20
* See Owners’ InnerCircleSM Rewards Section for details. SLEEP NUMBER, SELECT COMFORT, SLEEPIQ and the Double Arrow Design are registered trademarks of Select Comfort Corporation.
WelcomeCongratulations on your purchase of the
Sleep Number® bed. You’ve not only made
a great decision to sleep your very best,
you’ve joined the more than 10 million
well-rested Insiders who are part of our
InnerCircleSM family.
As an Insider, you’ll be the first to know
about our latest innovations and you’ll always
receive special savings on Sleep Number®
beds and bedding. You can even earn
rewards for sharing what you love about your
bed with friends and family.* Simply register
your bed at sleepnumber.com/innercircle to
start receiving all your exclusive benefits.
We believe the best sleep of your life begins
with the Sleep Number® experience, and
we look forward to further individualizing
your comfort. Our Sleep Professionals are
dedicated to your sleep for life.
Sleep well, dream big.
Shelly Ibach, President and CEOMy Sleep Number® setting is 35
to Sleep Number Decide where to put your new bed. Make sure there’s an electric power source nearby to operate your Firmness Control™ system. Assemble your modular base or existing bed frame before assembling your mattress.
Prepare your bed. To achieve the best comfort and support on your Sleep Number® mattress, a firm flat surface such as the Sleep Number® modular base, a solid surface platform bed or bunkie board is recommended. Assemble your modular base or existing bed frame before assembling your mattress.
Prepare your foam comfort layer(s). Foam comfort layer(s) should be stored at room temperature for at least four hours before mattress assembly. Carefully open the foam comfort layer(s) and set aside. They’ll need at least 30 minutes to fully expand.
Open all boxes. CAUTION: Immediately dispose of packaging as it can pose choking or other hazards to small children and pets.
WARNING: Read all instructions before use to avoid injury. Improper use of product can result in serious injury or death. Follow the safety information in this assembly guide. Keep this assembly guide for future reference.
Getting Started
2 3

Assem
bling Your Mattress
Twin Extra-Long/Full
Double*/Queen
King/California
King
Mattress Cover 1 1 1
Foam Border Walls 4 4 4
Foam Comfort Layer 12
14
14
Foam Base Pad 1 1 1
Air Chambers 1 2 2
Firmness Control™ System 11
(2 remotes included with i10)
1(2 remotes
included with i10)
Corner Locks 0 4* 0
i8i10
i8i10
i8i10
Some texture and surface appearances may vary from those shown.
Assembling Your Mattress
Carefully check the contents of your mattress boxes.
Make sure you have the correct number of components
for the size of bed you purchased. If you are missing any
items listed to the right, please call 1.800.472.7185 or email
Customer Service at [email protected].
Prepare your foam comfort layer(s).
Open and set aside. They’ll need at least 30 minutes to
fully expand.
CAUTION
Dispose of all packaging as it can create choking hazards
to small children or pets.
Before You Begin Mattress: What’s Included Mattress Components
Mattress Cover
Foam Comfort Layer(s)
i10 shown
Shown as packaged
Foam Border Walls
Two long and two short
Air Chambers
Double beds only
Corner Locks
Foam Base Pad
Shown as packaged
Remote may vary
Remote(s)
Firmness Control™ System
Individualized ComfortOur most advanced Sleep Number® DualAir™ technology
allows you to find your Sleep Number® setting, name your
side of the bed and more — all at the simple touch of
a button.
4 5

Assem
bling Your Mattress
1 Mattress Cover• Place the mattress cover on your base or existing bed
platform, making sure openings in the bottom of the
mattress cover are at the head of the bed.
• Unzip the mattress cover at zipper A (see below).
• Set the top of the mattress cover aside.
2 Foam Side Walls• Place the long border walls along the inside of the mattress
cover, extending the entire length of the bed.
• Make sure that the notches are facing the center of the bed.
3 Foam End Walls• Place the short border walls at the head and foot,
between the side walls.
• Make sure the foam border walls are connected securely
and squarely.
• Ensure that the zipper is aligned with the top edge of the
foam border walls.
NOTE: It is okay if the foam walls bow to the inside of the
bed at this point in the assembly.
4 Foam Base Pad• Carefully shake out the foam base pad.
• Place the foam base pad in the bottom of the
mattress cover. If textured, ensure that the smooth
side faces down.
Assembling Your Mattress
Head of bed Head of bed Head of bed
Head of bed
A
B
Double Beds Only - Corner Lock™ System Assembly
• Place one corner lock in each corner of the mattress cover
bottom.
IMPORTANT: Corner locks must be positioned under the
border wrap.
• As you install the foam side and
end walls, be sure the walls meet
inside the corner locks at each
corner. (Double beds use corner
locks in place of notched side walls.)
Openings
6 7

Assem
bling Your Mattress
5 Air Chamber(s)• Place the air chamber(s) on top of the foam base pad so
the hose connectors face the head of the bed and lie on
the bottom when inflated.
• Zip the air chambers together.
6 Firmness Control™ System Firmness Control™ System for Dual Chamber Beds• Pass the left Firmness Control™ system hose (marked with a
white band) through the opening on the bottom left side of
the mattress cover.
• Connect the Firmness Control™ system hose to the left air
chamber by pushing together until you hear a click.
• Repeat for the right side of the mattress, using the right
Firmness Control™ system hose (marked with a blue band).
Firmness Control™ System for Single Chamber Beds• Pass the Firmness Control™ system hose through the opening
on the bottom of the mattress cover.
• Connect the Firmness Control™ system hose to the air
chamber by pushing together until you hear a click.
DualAir™ Technology InsideAt the heart of the Sleep Number® bed is our most advanced
DualAir™ technology. Adjustable air chambers and a Firmness
Control™ system allow you to easily find your ideal level of
comfort and support on each side — your Sleep Number®
setting. See Remote Quick Start Guide for more details.
7 Activate DualAir™ Technology• Plug your Firmness Control™ system into a working
electrical outlet.
• Insert two AA batteries (included) into your remote.
• Your remote will turn on simply by picking it up or pressing
any button. Easy-to-follow instructions will guide you
through the next steps.
• Please wait while your mattress inflates. This will take a few
minutes. When complete, you’ll be prompted to complete
your bed assembly.
Dual chamber bed shown.
5
HoseConnectors
Right SideFoam End Wall
Air Chamber
Head of Bed
Left Side
6
Head of bed
WARNING: Firmness Control™ system has no user serviceable parts.
Do not open.
Low Battery Indicator
Up/Firmer
Left/Right Button
Enter
Down/Softer
My Sleep Number® Setting Button
Your Remote at a Glance
Remote may vary.8 9

Assem
bling Your Mattress
8 Border Wrap• Extend the border wrap over the foam border walls as
shown below.
WARNING: To ensure compliance with federal and state
flammability requirements, border wrap must be positioned
correctly within the mattress as shown.
9 Duvet Cover• Reattach the mattress cover at zipper A.
• Remove the mattress cover top at zipper B and set it aside.
10 Foam Comfort Layer(s)• Place the foam comfort layer(s) on top of the duvet cover.
If you have an i8 mattress, make sure the smooth side of the
foam faces down.
• If your foam has a dual-layer design, place either comfort
layer on top depending upon your preference. Ensure that
the textured sides of the comfort layers face up.
11 Border Wrap• Extend the border wrap over the foam comfort layers as
shown below.
WARNING: To ensure compliance with federal and
state flammability requirements, border wrap must be
positioned correctly within the mattress as shown.
12 Mattress Cover Top• To close the mattress cover, place it on the bed with the
zipper pull at the head of the bed.
• Make sure the zipper pin is completely inserted into the
zipper box. Zip the top of the mattress cover closed.
Foam pattern varies by bed model.
Proper zipper alignment
You’re Done!Head of bedHead of bed
A
B
Head of bed
10 11

Getting C
omfortable w
ith Your Sleep Num
ber ® Setting
Give It TimeDon’t worry if your bed doesn’t feel “exactly right” at first. Try a
Sleep Number® setting that feels the most comfortable for at least
five nights. Then, evaluate your comfort. Make small adjustments
until you’ve found the setting that feels most comfortable for you.
If you need additional assistance, visit sleepnumber.com and
click on Customer Service or call 1.800.472.7185 to reach a
Customer Service Representative. Our trained Customer Service
Representatives will provide help to improve your comfort.
Sleep Number® Setting StudyAs you can see in the chart below, Sleep Number® bed
owners find comfort at all settings from 5-100, however
the majority of sleepers find their Sleep Number® setting
between 35 and 50.
Things to RememberThe best part about your Sleep Number® bed is that it’s
adjustable every day, as your comfort needs change.
Reasons you may wish to adjust the firmness of your bed:
• strained muscles
• back pain
• weight change
• pregnancy
• sunburn
• new sleeping position
Tips for a Great Night’s SleepNot getting 8 hours of sleep a night? Don’t despair.
These tips from the experts at Sleep Number can help
you fall asleep more easily and sleep more soundly.
• Keep a regular sleep schedule, even on the weekends.
• Avoid TVs, computers, phones and tablets before bedtime.
• Exercise regularly, but not too close to bedtime.
• Eliminate caffeine after noon.
Getting Comfortable with Your Sleep Number® Setting
0%
5%
10%
15%
20 40 60 80 100
Perc
ent o
f peo
ple
at s
leep
set
ting
Sleep Number® setting
• Body alignment is not straight
• Your pillow makes your head tilt at an angle from the rest of your body
• You feel discomfort from pressure at your neck, shoulders, back, hips or legs
• Neck and back are aligned in the same position as when you are standing
• No discomfort at shoulder and hip pressure points
• You feel the mattress support the small of your back (back sleepers) or the curve of your side (side sleepers)
Right Wrong
There’s nothing quite like finding your Sleep Number® setting—that moment when your body feels aligned, relaxed and perfectly
supported. Your Sleep Number® remote is designed to easily guide you to your ideal level of firmness, comfort and support.
Begin by lying on the bed in your preferred sleeping position. Press to choose your side of the bed. Press and choose
Sleep Number.® Press and choose Find Sleep Number.® Follow the instructions on your remote to find your favorite
Sleep Number® setting. This may take a few minutes.
12 13

Frequently A
sked Questions
Mattress FAQsQ. Where are the air chamber caps? And where should
I store them?A. The caps are in the Firmness Control™ system box. Please store
these in the mattress cover at the head of the bed in case you should ever need to temporarily cap your air chamber(s).
Q. What if my foam comfort layer appears to be too small or irregular?
A. Gently shake the layer as you place it in your mattress and it will recover its full size overnight.
Q. What if I feel like I’m rolling toward the edge or toward the center of the mattress?
A. Although rare, these sensations could potentially be experienced if one side of the mattress is set quite firm and the other side quite soft. Call Customer Service at 1.800.472.7185 for a remedy to this situation if bothersome to you.
Q. What if I notice a rubber smell from the air chamber(s)? A. The odor you may smell is non-toxic and will fade over time.
To minimize the smell, unzip the mattress cover and allow the air chamber to air out for a few hours. Laying a couple of dryer sheets on top of the air chamber will also help mask any odor by adding a fresh scent.
Firmness Control™ System FAQsQ. Why does my Sleep Number® setting change?
A. Your Sleep Number® setting is based on the combination of body weight,
volume of air in the air chamber and sleep position. Several factors may
contribute to fluctuations in your Sleep Number® setting:
• Temperature can cause changes in your Sleep Number® setting. For
example, a heated mattress pad will cause the Sleep Number® setting
to increase.
• Barometric pressure related to weather and altitude can cause your
Sleep Number® setting to change.
• Weight can affect your Sleep Number® setting. The Firmness Control™
system acts similarly to a scale. More weight means a higher
Sleep Number® setting.
• Different sleep positions can affect your Sleep Number® setting. The
more concentrated the weight is, the greater chance the Sleep Number®
setting will be higher (e.g., when you lie on your side). When weight is
distributed more evenly throughout the chamber, it is more likely that
the Sleep Number® setting will be lower (e.g., when you lie on your back
or stomach).
Q. What do I do if the Firmness Control™ system doesn’t run?
A. Make sure the power cord is securely plugged into the Firmness Control™
system. Verify that the power cord is plugged into an outlet that has power
and is not connected to a wall switch.
Q. I feel the mattress is losing air. What should I do?
A. Air loss can be caused by an unsecured hose connection, a defective air
chamber or a defective Firmness Control™ system. First, make sure the
hoses are securely connected to the air chambers. If you do not find any
Frequently Asked QuestionsCleaning Your Mattress Spot clean the cover of your Sleep Number® mattress with
carbonated water. Do not dry clean the mattress cover or
put it in a washing machine. Do not apply stain guard; it may
cause the fabric to turn yellow.
Sleep Number is an industry leader in the use of
materials designed to inhibit the growth of allergens or
microorganisms.
Advanced antimicrobial safeguards are incorporated into
every Sleep Number® bed. Key components of the mattress
have been treated to protect the bed from contaminants
such as mold, mildew and bacteria growth. The unique, zip-
open design of the Sleep Number® bed allows you to easily
open, ventilate or vacuum if you choose.
In rare instances and under the right conditions, mold or
mildew can form inside many types of mattresses, bedding
or upholstered products. Should this condition occur in your
mattress, please contact our Customer Service department
at 1.800.472.7185 so we can work with you to return your bed
to factory-fresh condition.
Cleaning Your Remote• Wipe the body with a clean cloth dampened with a mild
soap and water solution.
• Wipe the display screen with a clean, dry, lint-free cloth.
CAUTION: Do not immerse in water or place in dishwasher.
Moving Your Sleep Number® Bed• Always disassemble the base. Bag all hardware so that it is
not lost.
• The mattress can be fully inflated, capped off and packaged
in a mattress box for moving.
• If you don’t have a mattress box, double-bag the cover to
prevent stains. Deflate and box the air chamber(s) to prevent
possible damage.
• Pack the Firmness Control™ system in a box with packing
material. Transport with minimal exposure to shock
and vibration.
• Tuck the remote, air chamber caps and instructions in the
box with the Firmness Control™ system to prevent them from
being lost.
Product Care
14 15
Frequently A
sked Questions
damaged or loose connections, identify which of the following situations
matches your situation and follow the instructions for remedying your issue.
NOTE: To avoid variations in your Sleep Number® setting or level of comfort,
make sure that you are lying in your preferred sleep position when adjusting
and checking your Sleep Number® setting.
If you have a dual air chamber bed and suspect only one side of your
Sleep Number® bed is getting softer:
• Inspect the o-ring and connectors for cracking or damage.
• Switch the hoses on the air chambers so the left hose (marked with
a white band) is attached to the right air chamber and the right hose
(marked with a blue band) is attached to the left air chamber.
You should hear a click when the hose is securely connected to the
air chamber.
• Fill the air chambers to the appropriate Sleep Number® setting(s) for the
person sleeping on each side of the bed.
• Sleep on the bed and monitor the feel of the bed’s firmness on
both sides.
• If neither chamber feels softer over time, you may have had a loose
connection that was fixed when the hoses were switched. Switch the
hoses back to their correct positions and continue to use the bed
as usual.
• If an air chamber feels softer after switching hoses, contact Customer
Service with the results (the issue stayed on the same side of the bed or
it moved to the other side after switching hoses).
If you have a dual air chamber bed and both air chambers are getting
softer or you have a single air chamber bed and feel the air chamber
getting softer:
• Inspect the o-ring(s) and connector(s) for cracking or damage, then
reconnect the Firmness Control™ system to the air chamber(s).
• Lie down in your normal sleep position and fill the air chamber(s) with
suspected air loss to your normal Sleep Number® setting plus an
additional 15 points (e.g., if you sleep at 35, fill to 50). Over-inflation will
compensate for air that may escape in one of the next steps.
• Locate the air chamber caps that came with your bed.*
• Disconnect the hose(s) from the air chamber(s) and quickly cap
the chamber(s).
• Leave the air chamber(s) capped for a minimum of 48 hours.
• If the air chamber(s) become noticeably softer when capped, contact
Customer Service.
• If the air chamber(s) hold air, reconnect the hose(s) and continue using
the bed. The air loss issue may have been due to environmental factors
or a connection issue. Contact Customer Service if the air loss issue
returns after reattaching the Firmness Control™ system.
*Air chamber caps are typically found at the head of the bed inside the
mattress cover in a small plastic bag. If you cannot find the caps, they may
be available at your nearest Sleep Number® store. You can also request
them by emailing Sleep Number at [email protected]
with your request or by calling 1.800.472.7185.
Q. Will my bed deflate if there is a power surge or power loss?
A. No, your mattress will maintain its firmness.
Q. How will I know if there’s a problem, like the chamber isn’t inflating or the
system isn’t receiving power?
A. The remote is designed to let you know if something isn’t working like
it’s supposed to. An error message will let you know an issue has been
detected, along with prompts for how to fix it. If the error is still not
resolved, you will be instructed to visit sleepnumber.com/chat or to call
us at 1.800.472.7185.
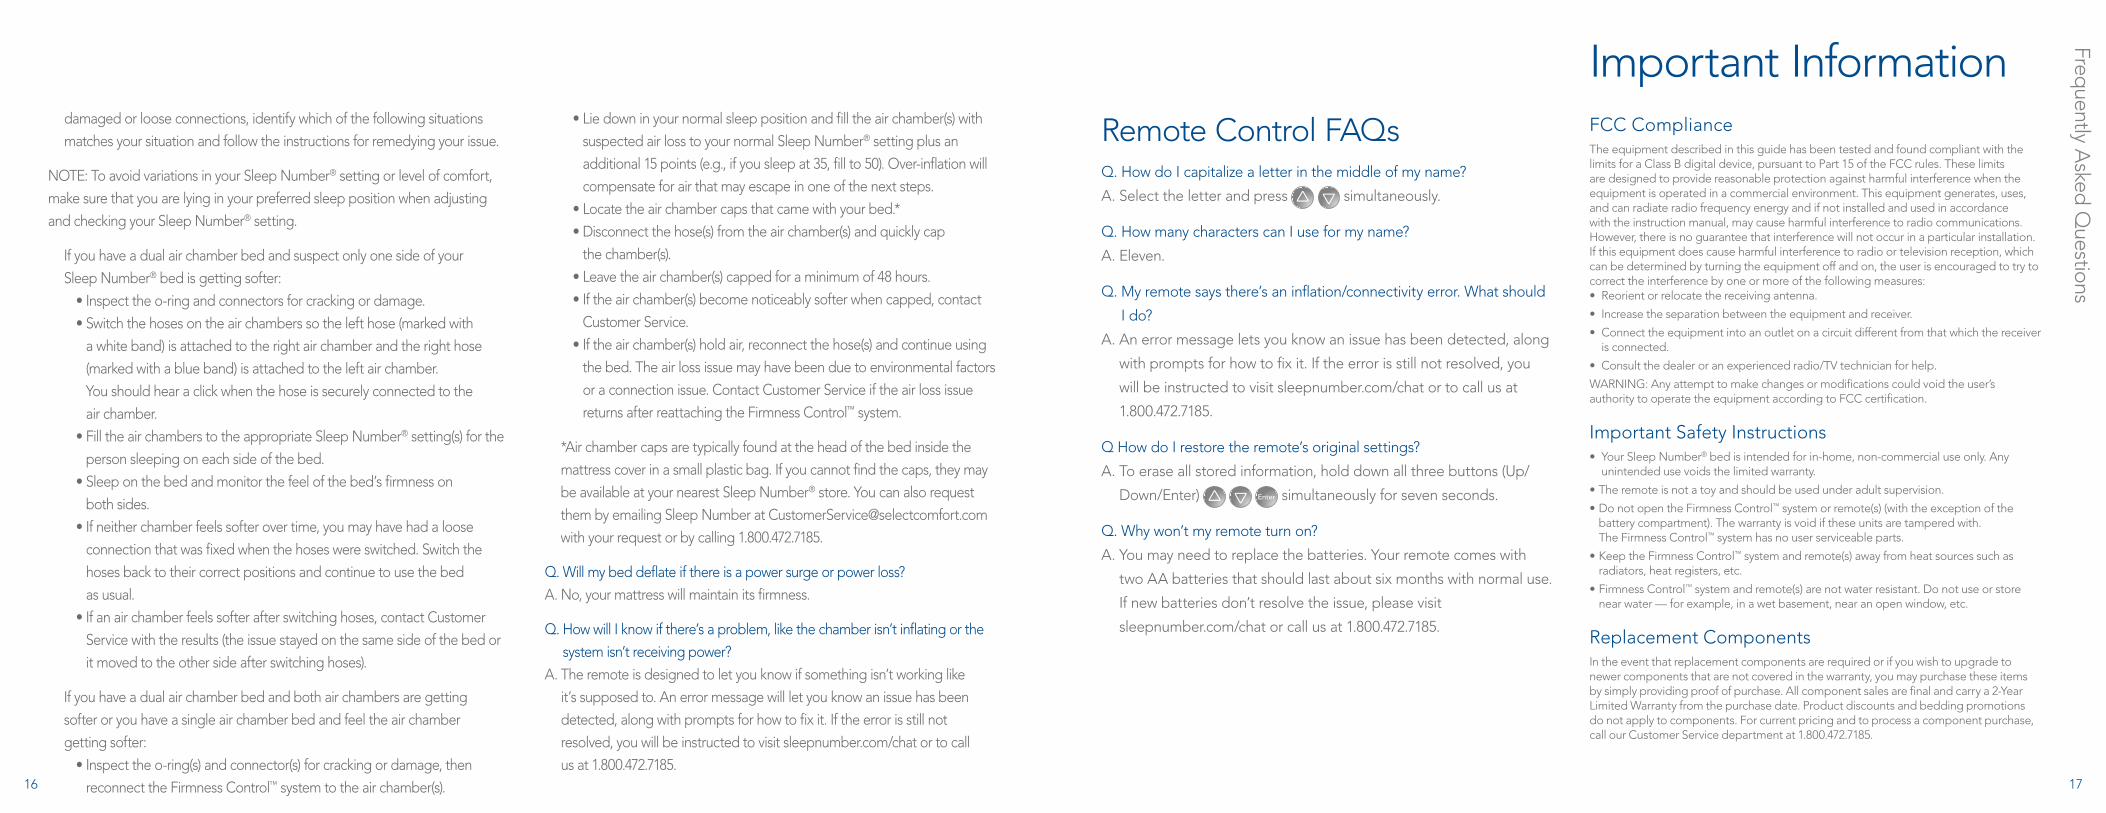
Remote Control FAQsQ. How do I capitalize a letter in the middle of my name?
A. Select the letter and press simultaneously.
Q. How many characters can I use for my name?
A. Eleven.
Q. My remote says there’s an inflation/connectivity error. What should
I do?
A. An error message lets you know an issue has been detected, along
with prompts for how to fix it. If the error is still not resolved, you
will be instructed to visit sleepnumber.com/chat or to call us at
1.800.472.7185.
Q How do I restore the remote’s original settings?
A. To erase all stored information, hold down all three buttons (Up/
Down/Enter) simultaneously for seven seconds.
Q. Why won’t my remote turn on?
A. You may need to replace the batteries. Your remote comes with
two AA batteries that should last about six months with normal use.
If new batteries don’t resolve the issue, please visit
sleepnumber.com/chat or call us at 1.800.472.7185.
FCC ComplianceThe equipment described in this guide has been tested and found compliant with the limits for a Class B digital device, pursuant to Part 15 of the FCC rules. These limits are designed to provide reasonable protection against harmful interference when the equipment is operated in a commercial environment. This equipment generates, uses, and can radiate radio frequency energy and if not installed and used in accordance with the instruction manual, may cause harmful interference to radio communications. However, there is no guarantee that interference will not occur in a particular installation. If this equipment does cause harmful interference to radio or television reception, which can be determined by turning the equipment off and on, the user is encouraged to try to correct the interference by one or more of the following measures:• Reorient or relocate the receiving antenna.
• Increase the separation between the equipment and receiver.
• Connect the equipment into an outlet on a circuit different from that which the receiver is connected.
• Consult the dealer or an experienced radio/TV technician for help.
WARNING: Any attempt to make changes or modifications could void the user’s authority to operate the equipment according to FCC certification.
Important Safety Instructions • Your Sleep Number® bed is intended for in-home, non-commercial use only. Any
unintended use voids the limited warranty.
• The remote is not a toy and should be used under adult supervision.
• Do not open the Firmness Control™ system or remote(s) (with the exception of the battery compartment). The warranty is void if these units are tampered with. The Firmness Control™ system has no user serviceable parts.
• Keep the Firmness Control™ system and remote(s) away from heat sources such as radiators, heat registers, etc.
• Firmness Control™ system and remote(s) are not water resistant. Do not use or store near water — for example, in a wet basement, near an open window, etc.
Replacement Components In the event that replacement components are required or if you wish to upgrade to newer components that are not covered in the warranty, you may purchase these items by simply providing proof of purchase. All component sales are final and carry a 2-Year Limited Warranty from the purchase date. Product discounts and bedding promotions do not apply to components. For current pricing and to process a component purchase, call our Customer Service department at 1.800.472.7185.
Important Information
16 17

18
Congratulations on the purchase of your Sleep Number® bed. As a Sleep Number® bed owner you are now an Insider, a member of our InnerCircle.SM Soon you’ll be enjoying all the benefits of a better night’s sleep on your new Sleep Number® bed.
Welcome to Sleep Number InnerCircle®
Go to sleepnumber.com/innercircleWith your order number from your receipt, you can unlock your Insider account to access all your InnerCircleSM benefits online. You’ll also find pass-along coupons to share with friends and family, and everyone you know who could use a better night’s sleep.
Receive special savings. Throughout the year, we’ll send you Insider-exclusive offers on beds and bedding.
Earn rewards. Share what you love about your Sleep Number® bed with friends and family and receive a $100 reward each time someone you’ve referred buys a bed. When your 10th referral buys a bed, you’ll receive an additional $799! Reward certificates can be used toward a Sleep Number® bed or for anything in our Bedding Collection.
Be the first to know. As an Insider, you’ll be the first to know about our latest innovations, from new Sleep Number® beds to bedding solutions that will improve your sleep.
Enjoy Your Insider Benefits Today
Sleep your best with the Sleep Number® Bedding Collection. From temperature
balancing innovations to pillows individualized for you, discover bedding designed
to meet your unique comfort needs.
• DualTemp™ layer and other temperature balancing innovations
• PillowFit® expertise to find just the right pillow for you
• Quality sheets designed for luxurious comfort
• Comforters for year-round cozy warmth
Experience PillowFit®
Our Sleep Professionals will use PillowFit® expertise to find the firmness,
fill and fit for you. Only at a Sleep Number® store.
Sleep Number®
Bedding Collection Sleep Num
ber ® Bedding Collection
Too high Too low A good fit
19

If you ever have questions or need help finding your ideal comfort, please visit us at sleepnumber.com/chat to chat with a live representative 7 a.m. – 11 p.m. (Central Standard Time) daily or call 1.800.472.7185
Representatives are available by phone(Central Standard Time):
Monday-Friday 8 a.m. – 8 p.m.Saturday 8:30 a.m. – 5 p.m.Sunday Closed
Help is just a click or phone call away.
9800 59th Avenue North, Minneapolis, MN 55442
120742
©2016 Select Comfort Corporation
7/16 207541
Warranty: For warranty details please visit sleepnumber.com/warranty or call 1.800.472.7185.


![UM - Original [Heated bed Assembly Manual] v1.0 (1).indd](https://static.documents.pub/doc/80x56/5878a0841a28ab2d3c8bbe3a/um-original-heated-bed-assembly-manual-v10-1indd.jpg)


