35
[1] Installation Guide Apparo Fast Edit QlikView / Single Version 3.0.7
| Date post: | 27-Jul-2018 |
| Category: |
Documents |
| Upload: | nguyencong |
| View: | 220 times |
| Download: | 1 times |

[1]
Installation Guide
Apparo Fast Edit
QlikView / Single
Version 3.0.7

[2]
1 Prior to Installation ___________________________________________________________ 3
1.1 Hardware requirements ............................................................................................................ 3
1.2 Supported operating systems .................................................................................................... 3
1.3 Supported QlikView versions/environments............................................................................. 3
1.4 Supported security systems ....................................................................................................... 3
1.5 Supported virtual environments ............................................................................................... 3
1.6 Overview installation steps ....................................................................................................... 4
2 Architecture _________________________________________________________________ 5
3 Preparation _________________________________________________________________ 6
3.1 Creation of a database user for the Apparo Repository ............................................................ 7
4 Installation _________________________________________________________________ 8
4.1 License agreement ..................................................................................................................... 9
4.2 Defining the target file directory ............................................................................................. 10
4.3 Carrying out the installation .................................................................................................... 11
4.4 Installation finish ..................................................................................................................... 11
5 Configuration ______________________________________________________________ 12
5.1 Architecture ............................................................................................................................. 15
5.2 Application Server ................................................................................................................... 16
5.3 QlikView .................................................................................................................................. 17
5.4 File system paths ..................................................................................................................... 18
5.5 Web security system ............................................................................................................... 19
5.6 eMail security system .............................................................................................................. 20
5.7 Repository ............................................................................................................................... 21
5.8 License key .............................................................................................................................. 22
6 Installing Apparo QlikView Extensions __________________________________________ 23
6.1 Installation of the QlikView Extension for QlikView Server..................................................... 25
7 Installation clients ___________________________________________________________ 28
8 Unattended configuration ____________________________________________________ 31
8.1 Importing definitions ............................................................................................................... 31
8.2 Exporting definitions ............................................................................................................... 32
9 Browser requirements _______________________________________________________ 33
9.1 Supported browsers and versions ........................................................................................... 33
9.2 Supported operating systems for client browsers ................................................................... 33
9.3 Additional settings for Microsoft Internet Explorer only ......................................................... 33
9.4 Additional settings for all browsers ......................................................................................... 34
10 Support __________________________________________________________________ 35

[3]
1 Prior to Installation Installing Apparo Fast Edit can be done in 30 minutes if you prepare your environment. Please be aware of the following points before starting installation: 1.1 Hardware requirements
File system about 800 MB
Main Memory about 2000 MB 1.2 Supported operating systems
Windows 2008-2016 (64 Bit) 1.3 Supported QlikView versions/environments
QlikView 11 Server and Desktop
QlikView 12 Server and Desktop
1.4 Supported security systems
All security systems that are currently in use for QlikView
1.5 Supported virtual environments
VMware ESX, ESXi
VMware Player
Apparo Fast Edit must be installed using a local Windows administrator account.
QlikView Server must be already installed and running. Both web servers (QV web server and IIS are supported).

[4]
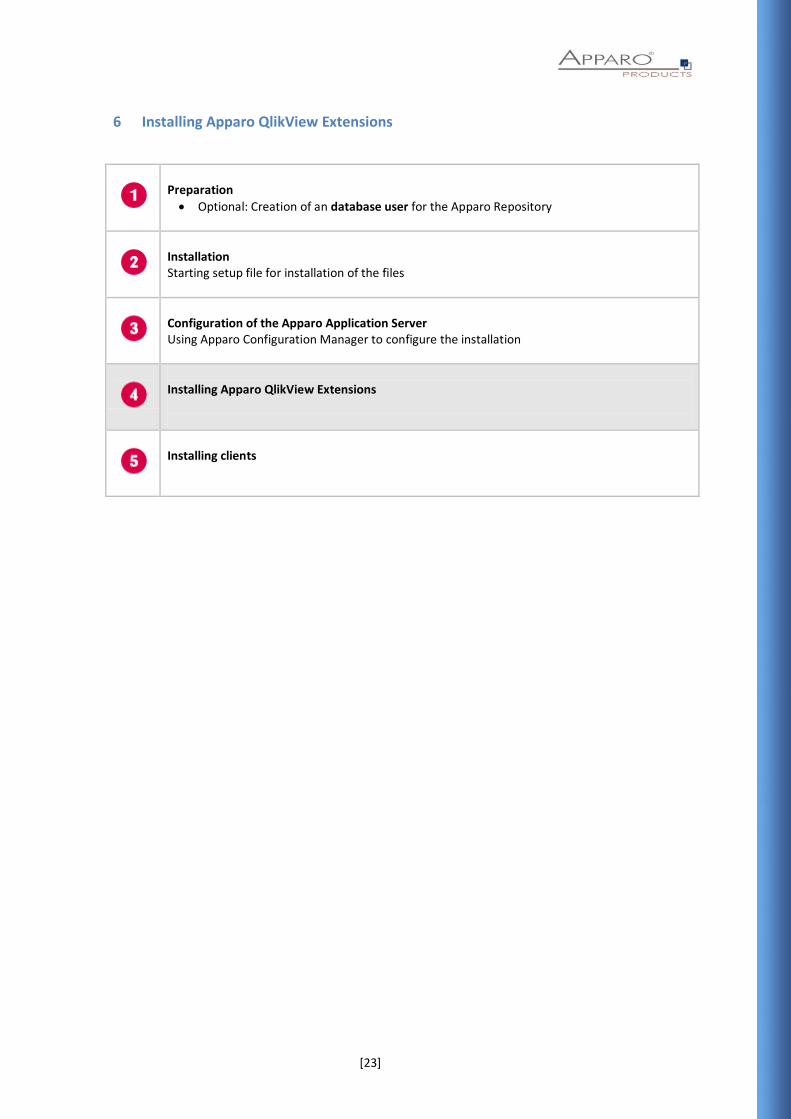
1.6 Overview installation steps
Preparation Optional: Creation of a database user for the Apparo repository
Installation Starting setup file for installation
Configuration of the Apparo Application Server Using Apparo Configuration Manager to configure the installation
Installing Apparo QlikView Extensions
Installing clients

[5]
2 Architecture Possible Apparo Fast Edit architectures:
Single Instance
Your existing QlikView environment is installed on one computer only – that’s suitable for small environments. A „Single Instance“ is useful for small environments or test systems. A single instance has no Apparo gateway. That means usage of MS IIS is not necessary. The communication is done using port 18000 This installation document is using this architecture.
Multi Instance One Apparo gateway and one or more Apparo application servers are installed on one or more hosts. Usage MS IIS is necessary. Communication is done using http/https port. A „Multi Instance“ is useful for better performance and high availability.
This document is describing the installation and configuration process for a Single Instance.

[6]
3 Preparation
Preparation Optional: Creation of an database user for the Apparo Repository
Installation Starting setup file for installation of the files
Configuration of the Apparo Application Server Using Apparo Configuration Manager to configure the installation
Installing Apparo QlikView Extensions
Installing clients

[7]
3.1 Creation of a database user for the Apparo Repository Apparo Fast Edit requires a database repository. In this repository all of your definitions are stored. Following databases are supported:
Oracle
IBM DB/2 LUW
MS SQL Server
Internal database (for test and development systems)
This database user must be defined before starting the Apparo Fast Edit setup, except you want to use the internal database. You can find a detail description in the document “Installation – creating database user“.
Essential grants:
The database user must be able to create database tables
A Login with this user must be possible

[8]
4 Installation
Preparation
Optional: Creation of an database user for the Apparo Repository
Installation Starting setup file for installation of the files
Configuration of the Apparo Application Server Using Apparo Configuration Manager to configure the installation
Installing Apparo QlikView Extensions
Installing clients

[9]
Start the Installation by executing the file for a Windows 64 bit environment: FastEdit3.0.7.1_yyy_win64_tomcat_qlikview_single.exe
Confirm the beginning of the installation by clicking „Next“. 4.1 License agreement
Read and confirm the license agreement by clicking „I Agree“.

[10]
4.2 Defining the target file directory
The default file directory is: C:\Program Files\Apparo Please define the path and choose „Next“.

[11]
4.3 Carrying out the installation Finally the installation of Apparo Fast Edit with the selected architecture will start. After that this installation must be configured with the Apparo Configuration Manager.
4.4 Installation finish
Now it’s time to configure the installation with the Apparo Configuration Manager. Click „Finish" for completing the installation and to start the configuration.

[12]
5 Configuration
Preparation
Optional: Creation of an database user for the Apparo Repository
Installation Starting setup file for installation of the files
Configuration of the Apparo Application Server Using Apparo Configuration Manager to configure the installation
Installing Apparo QlikView Extensions
Installing clients

[13]
With the Apparo Configuration Manager you are able to configure the already installed Apparo Fast Edit. The settings are grouped into chapters (left side). For each setting you can read a helpful description text in the yellow box.
The settings are grouped into several chapters (left side). All settings are described in the bottom of the window. After you have been done, you can check the settings with the ‘Test Configuration’ button. Now you are ready to start it with the ‘Start Fast Edit’ button.

[14]
To do list:
Define all settings
Press the „Test Configuration“ button for testing all settings.
Press the „Start Fast Edit“ button for starting the application server
You can see the log file of the application server with pressing „Show Log“ If the application server is running then you can see in the log: 2015-11-09 02:37:41,831 INFO com ++++++++++++++++++++++++++++++++++++++++++++++++++++++++++++++++++++++++++++ + Apparo Fast Edit 3.0.7.1 (Build nnn) was successfully started at 11.09.2016 02:37:41 + ++++++++++++++++++++++++++++++++++++++++++++++++++++++++++++++++++++++++++++

[15]
5.1 Architecture In this section of the Configuration Managers you can find the selected Apparo Fast Edit architecture. This architecture is fix and is not changeable.
[16]
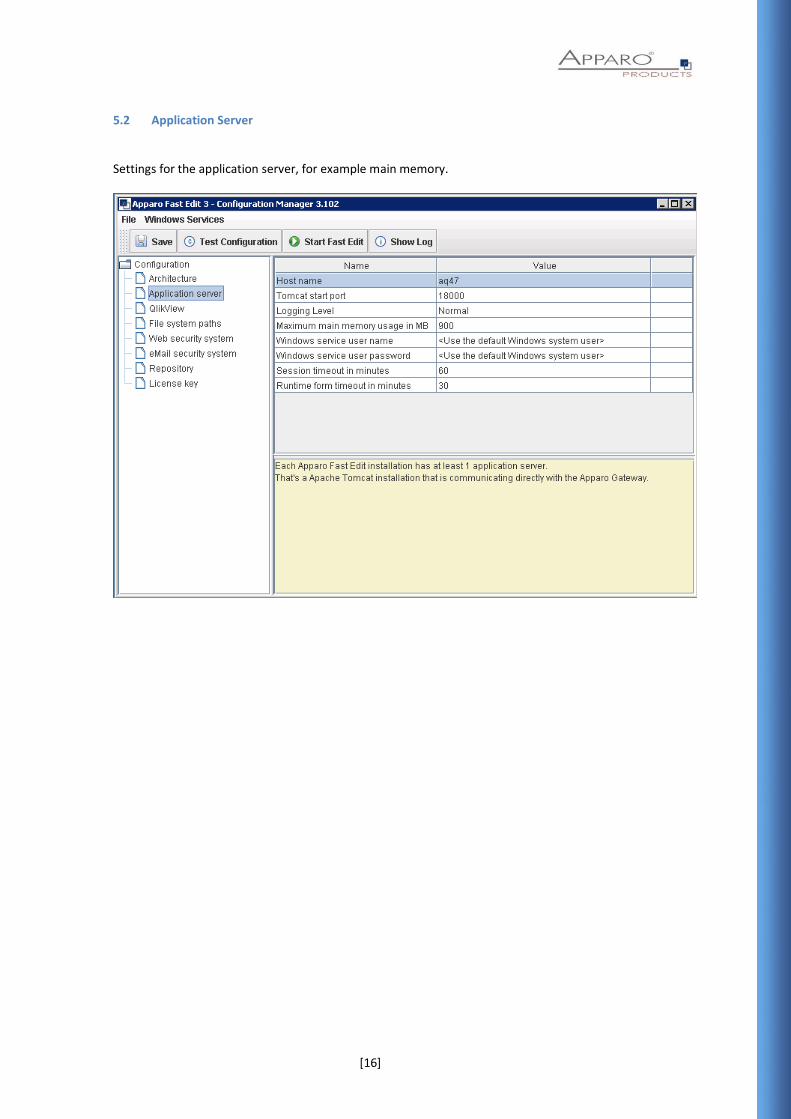
5.2 Application Server Settings for the application server, for example main memory.

[17]
5.3 QlikView Settings for the already installed QlikView environment:

[18]
5.4 File system paths File directories for the server side scripts and user defined Java classes for data quality testing:
It is important that the Windows system user or the user that is running the Windows service of Apparo Fast Edit has write and read access to these file directories.

[19]
5.5 Web security system The QlikView group/role that is necessary to have full access in Apparo Designer. If no security group is defined then everybody can do everything with Apparo Designer.
[20]
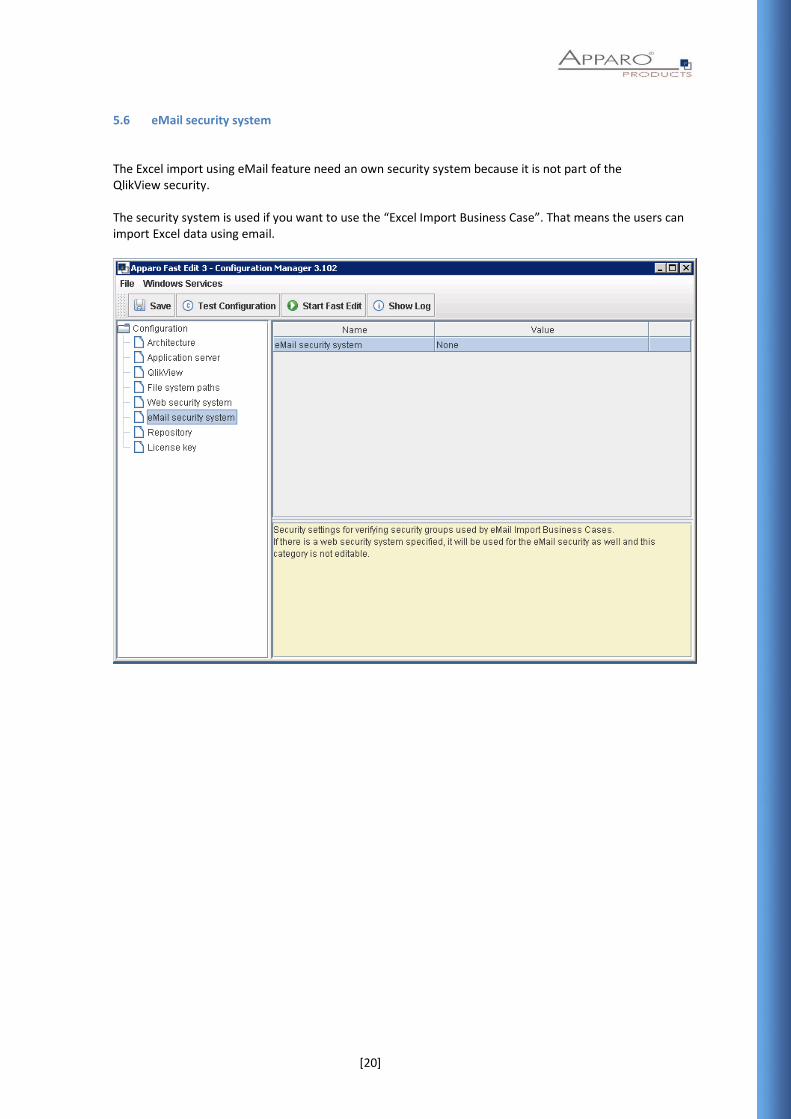
5.6 eMail security system The Excel import using eMail feature need an own security system because it is not part of the QlikView security. The security system is used if you want to use the “Excel Import Business Case”. That means the users can import Excel data using email.
[21]
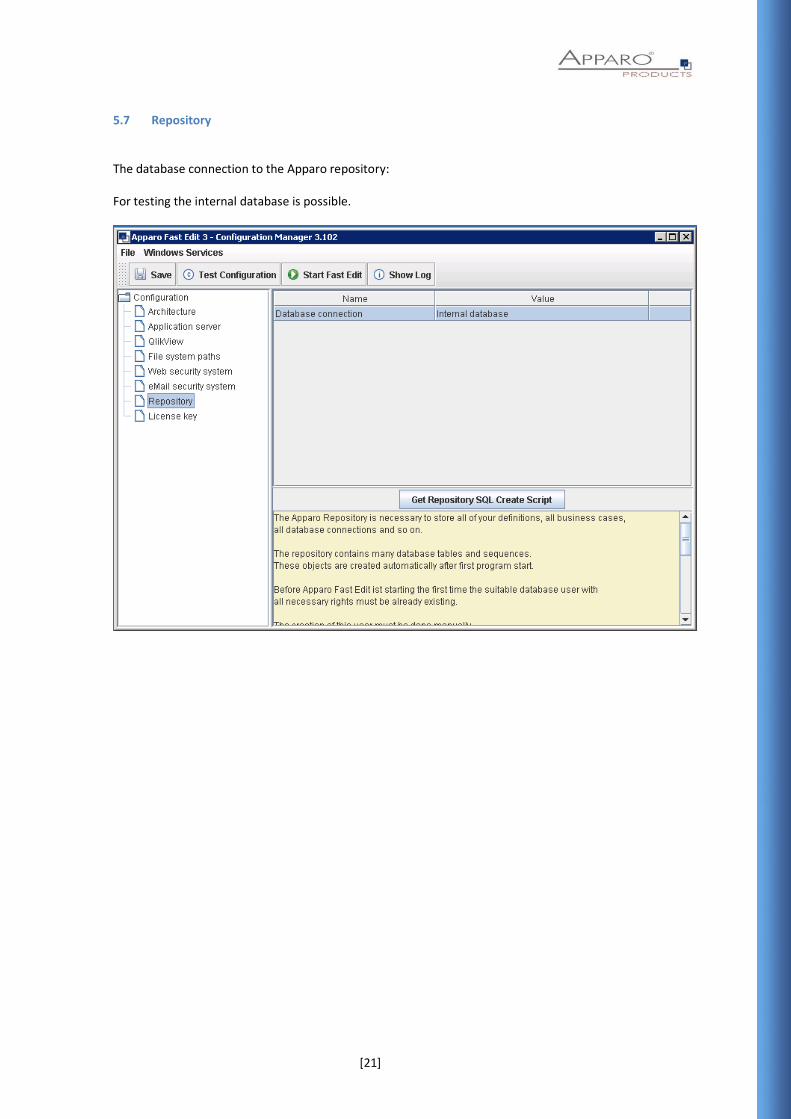
5.7 Repository The database connection to the Apparo repository: For testing the internal database is possible.
[22]
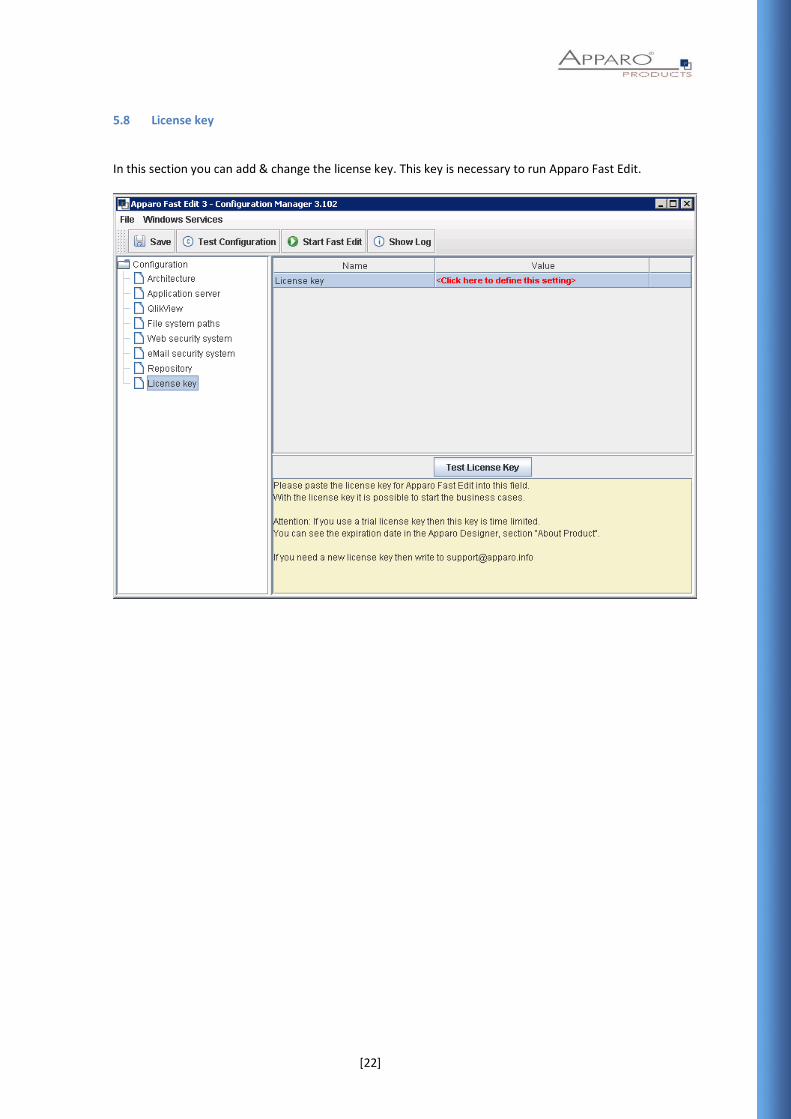
5.8 License key In this section you can add & change the license key. This key is necessary to run Apparo Fast Edit.
[23]
6 Installing Apparo QlikView Extensions
Preparation
Optional: Creation of an database user for the Apparo Repository
Installation Starting setup file for installation of the files
Configuration of the Apparo Application Server Using Apparo Configuration Manager to configure the installation
Installing Apparo QlikView Extensions
Installing clients

[24]
Open Windows Explorer and go into directory folder [APPARO_HOME]\FastEdit\QlikViewExtension Double click the file QlikViewExtension.qar Now you should see:
After that: Double click the file ApparoDesignerButton.qar

[25]
6.1 Installation of the QlikView Extension for QlikView Server Copy the complete folders Apparo and ApparoDesignerButton of [APPARO_HOME]\FastEdit\QlikViewExtension Into %ProgramData%\QlikTech\QlikViewServer\Extensions\Objects That means for Window 2003:
C:\Documents and Settings\All Users\Application Data\QlikTech\QlikViewServer\Extensions\Objects
That means for Window 2008/2012:
C:\ProgramData\QlikTech\QlikViewServer\Extensions\Objects
If you don’t see folder “Extensions” or “Objects” then you must first create these file directories manually.

[26]
Now you can start the Apparo Designer by opening QlikView Client and making a new document. Add new sheet object “Apparo Designer Button” into your document.
You will see this new button:

[27]
If you press now the button… .. then you should see in a new tab of the web browser:

[28]
7 Installation clients
Preparation
Optional: Creation of an database user for the Apparo repository
Defining the QlikView portal folder for the Apparo Designer entry
Installation Starting setup file for installation of the files
Configuration of the Apparo Application Server Using Apparo Configuration Manager to configure the installation
Adding QlikView extensions
Installing clients
[29]
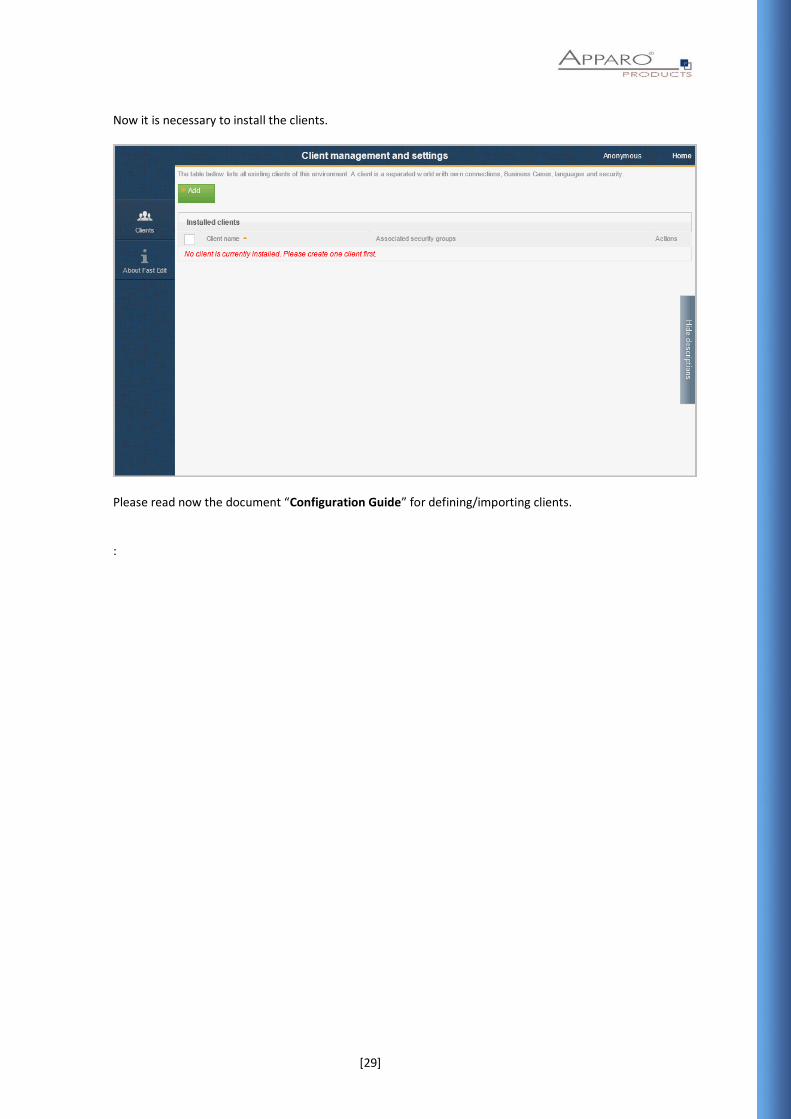
Now it is necessary to install the clients.
Please read now the document “Configuration Guide” for defining/importing clients. :

[30]
The installation & configuration on serverside is now
successfully completed. Please also read the following chapter ‘Browser requirements’. We recommend to read the document “Training Guide” for the fundamental usage for the first steps. You can find all documentations and movies in Windows Start (left corner) / All Programs / Apparo / Documentation
Movies about Apparo Fast Edit:
http://movies.apparo.solutions

[31]
8 Unattended configuration You can export and import clients (including languages, folder, Business Cases, connections, and DB-messages), Business Cases, folder and connections using scripts. 8.1 Importing definitions
Important: At this time the Apparo Fast Edit application must already run.
The import program is stored in the file directory “import”: [APPARO_HOME]\FastEdit\import Use script afe-import.bat (If you start the script without arguments then you see the possible arguments) -afeUrl <URL> The Apparo Fast Edit URL address that will export the data.
Example: http://localhost:9800/apparo If you don't use this argument then the export is using the application server of this installation and its installation port.
-clientId <CLIENT_ID> ID of a client that Business Cases, language definitions, database messages or connection definitions will be imported into.
-f <FILE> The file that contains the client, Business Case, language definition, database messages or connection definitions. -h Displays this help text -importSecurity <true|false> Business cases and folders may contain a list of user groups defining who can access them. If this option is set to false, such
security information will not be imported. -overwriteBc <true|false> If true then Business Cases from the import file will overwrite already existing Business Cases if their Business Case ID are the same. If false, Business Cases with such conflicting identifiers will be skipped. -overwriteClient <true|false> If true then clients from the import file will overwrite already
existing clients with the same identifiers including client content like Business Cases. If false then clients with such conflicting identifiers will be skipped.
-overwriteConnection <true|false> If true then database and email connections from the import file will overwrite already existing connections with the same names. If false then connections with such conflicting names will be skipped. All import activities are logged server side in file directory logs, file afeimport.log Sample: afe-import.bat –f \etc\definition.xml
[32]
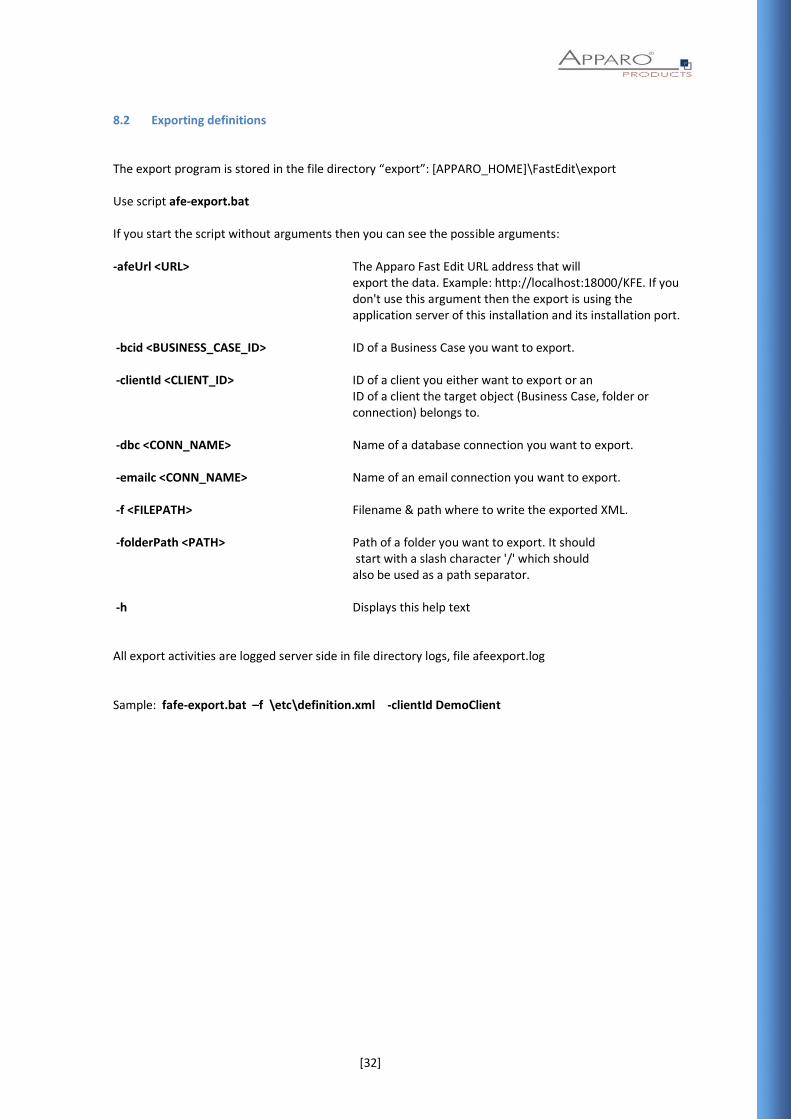
8.2 Exporting definitions The export program is stored in the file directory “export”: [APPARO_HOME]\FastEdit\export Use script afe-export.bat If you start the script without arguments then you can see the possible arguments: -afeUrl <URL> The Apparo Fast Edit URL address that will export the data. Example: http://localhost:18000/KFE. If you don't use this argument then the export is using the application server of this installation and its installation port. -bcid <BUSINESS_CASE_ID> ID of a Business Case you want to export. -clientId <CLIENT_ID> ID of a client you either want to export or an ID of a client the target object (Business Case, folder or connection) belongs to. -dbc <CONN_NAME> Name of a database connection you want to export. -emailc <CONN_NAME> Name of an email connection you want to export. -f <FILEPATH> Filename & path where to write the exported XML. -folderPath <PATH> Path of a folder you want to export. It should start with a slash character '/' which should also be used as a path separator. -h Displays this help text All export activities are logged server side in file directory logs, file afeexport.log Sample: fafe-export.bat –f \etc\definition.xml -clientId DemoClient

[33]
9 Browser requirements 9.1 Supported browsers and versions Microsoft Internet Explorer 8 (not recommended, execution is slow) Microsoft Internet Explorer 9 Microsoft Internet Explorer 10 Microsoft Internet Explorer 11 Hint: Compatibility mode for Internet Explorer 8 must be disabled. Mozilla Firefox (current version) Google Chrome (current version) Apple Safari (current version) 9.2 Supported operating systems for client browsers Microsoft Windows 9.3 Additional settings for Microsoft Internet Explorer only
Domain name of Apparo Fast Edit web server must be in trusted sites
“about:blank” must be in trusted sites
Settings for Single Sign On (SSO) for standalone versions of Apparo Fast Edit:

[34]
Hint: Apparo Fast Edit is not supporting Internet Explorer 7. Therefore the settings “Display intranet in Compatibility View” and “Display all websites in Compatibility View” must be disabled.
Solution: Placing these domains into the “Websites you’ve added to Compatibility View” because in this case Apparo Fast Edit can disable the Compatibility View automatically.
9.4 Additional settings for all browsers
Popup blocker must be disabled
File download (Excel files) must be allowed


![User Guide Apparo Fast Edit for IBM Cognos Analytics ... · Apparo Fast Edit for IBM Cognos Analytics Version 3.0.7.1 [2] ... 1.1 Business Case Export/Import ... Teradata from Version](https://static.documents.pub/doc/80x56/5b41b79c7f8b9a51528decb9/user-guide-apparo-fast-edit-for-ibm-cognos-analytics-apparo-fast-edit-for.jpg)


![User Guide Apparo Fast Edit for Qlik Sense Version 3.0 · [5] 1 Premises Apparo Fast Edit must be installed successfully and the Apparo Designer Extension must be already installed.](https://static.documents.pub/doc/80x56/5c63fe6709d3f202208c1a85/user-guide-apparo-fast-edit-for-qlik-sense-version-30-5-1-premises-apparo.jpg)


![User Guide Apparo Fast Edit for QlikView Version 3 · [5] 1 Premises Apparo Fast Edit must be installed successfully and the Apparo Designer entry must be already created in the web](https://static.documents.pub/doc/80x56/5acee0107f8b9a6c6c8c5e83/user-guide-apparo-fast-edit-for-qlikview-version-3-5-1-premises-apparo-fast-edit.jpg)

