33
Introduction to Arduino use 21/05/19 Laboratorio Tecnologie Biomediche 48

Introduction to Arduino use
21/05/19 Laboratorio Tecnologie Biomediche 48

What is Arduino? (1/4)
Arduino’s Word means
3 things
21/05/19 Laboratorio Tecnologie Biomediche 49

What is Arduino? (2/4)
• Physical Object
21/05/19 Laboratorio Tecnologie Biomediche 50
What is Arduino? (3/4)
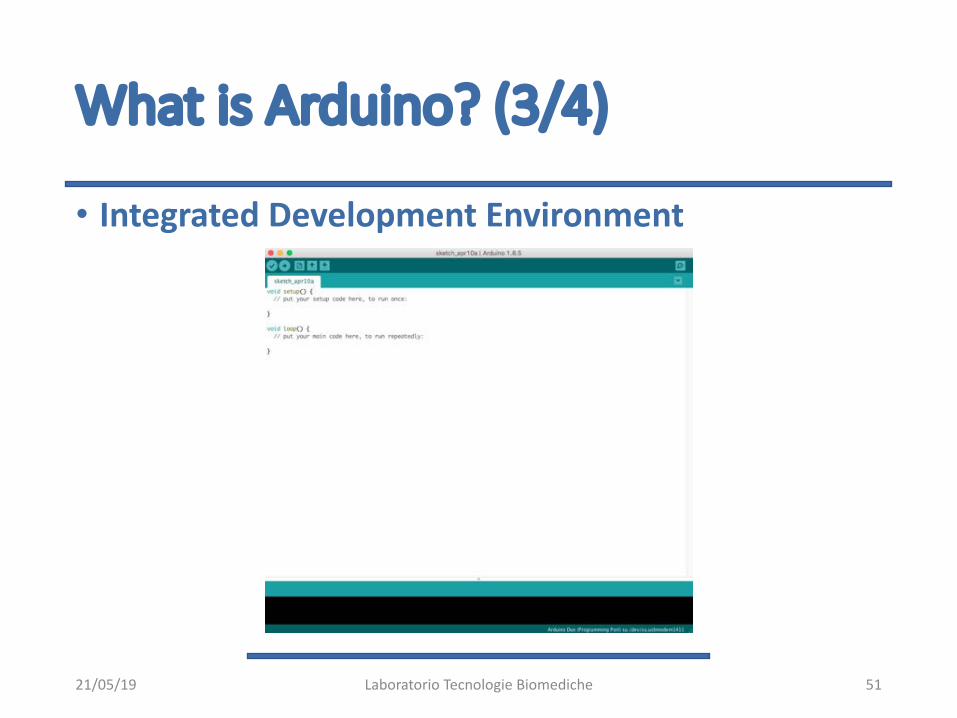
• Integrated Development Environment
21/05/19 Laboratorio Tecnologie Biomediche 51
What is Arduino? (4/4)
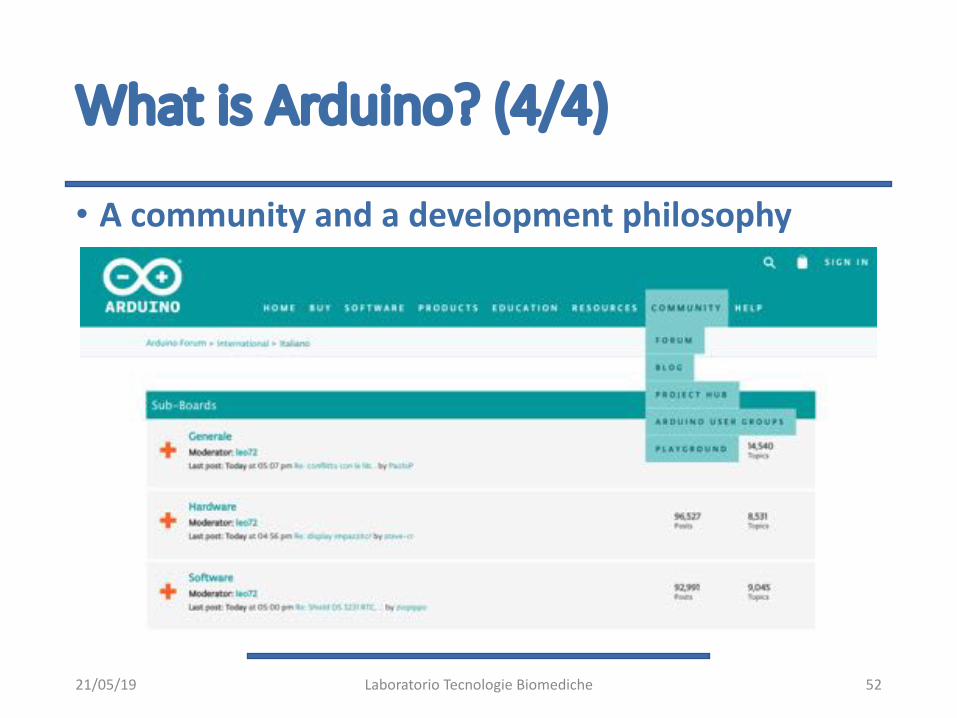
• A community and a development philosophy
21/05/19 Laboratorio Tecnologie Biomediche 52
Arduino Hardware (1/5)
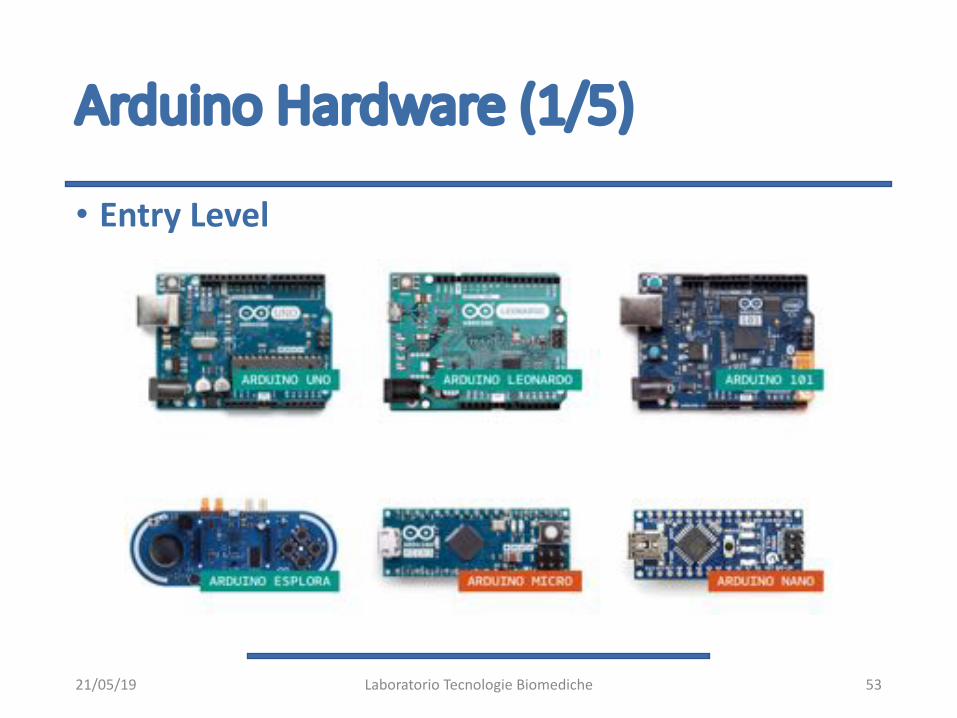
• Entry Level
21/05/19 Laboratorio Tecnologie Biomediche 53
Arduino Hardware (2/5)
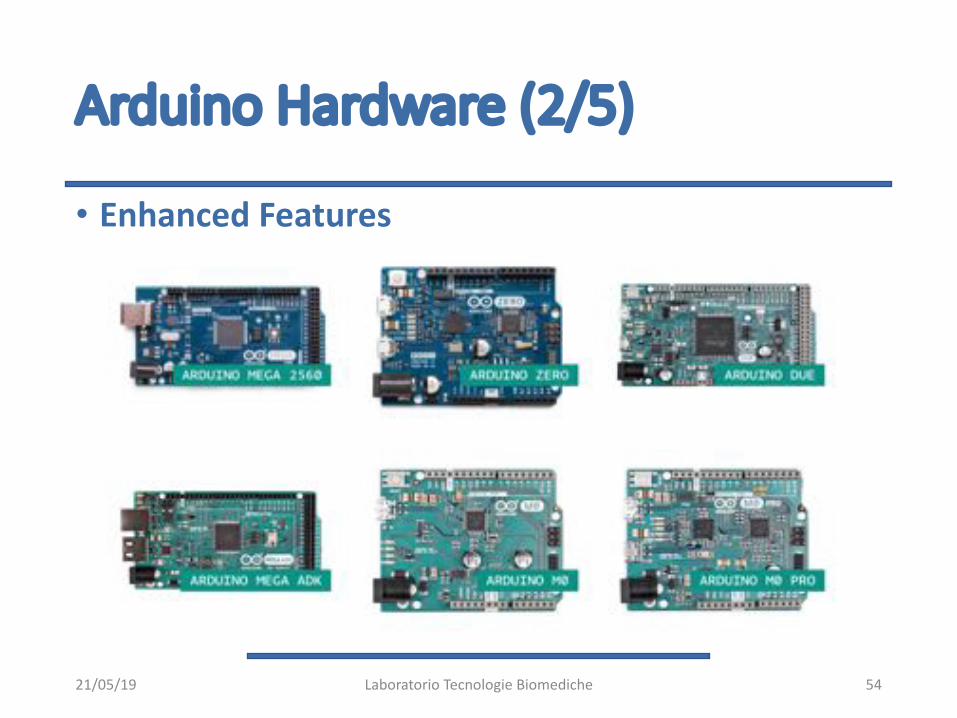
• Enhanced Features
21/05/19 Laboratorio Tecnologie Biomediche 54

Arduino Hardware (3/5)
21/05/19 Laboratorio Tecnologie Biomediche
• In this course we will use Arduino DUE
55

Arduino Hardware (4/5)
• Technical Specification
21/05/19 Laboratorio Tecnologie Biomediche
Microcontroller AT91SAM3X8E
Operating Voltage 3.3V
Input Voltage (recommended) 7-12V
Input Voltage (limits) 6-16V
Digital I/O Pins 54 (of which 12 provide PWM output)
Analog Input Pins 12
Analog Output Pins 2 (DAC)
Total DC Output Current on all I/O lines 130 mA
DC Current for 3.3V Pin 800 mA
DC Current for 5V Pin 800 mA
Flash Memory 512 KB all available for the user applications
SRAM 96 KB (two banks: 64KB and 32KB)
Clock Speed 84 MHz
Length 101.52 mm
Width 53.3 mm
Weight 36 g
56

Arduino Hardware (5/5)
• Fundamental Parts
21/05/19 Laboratorio Tecnologie Biomediche 57
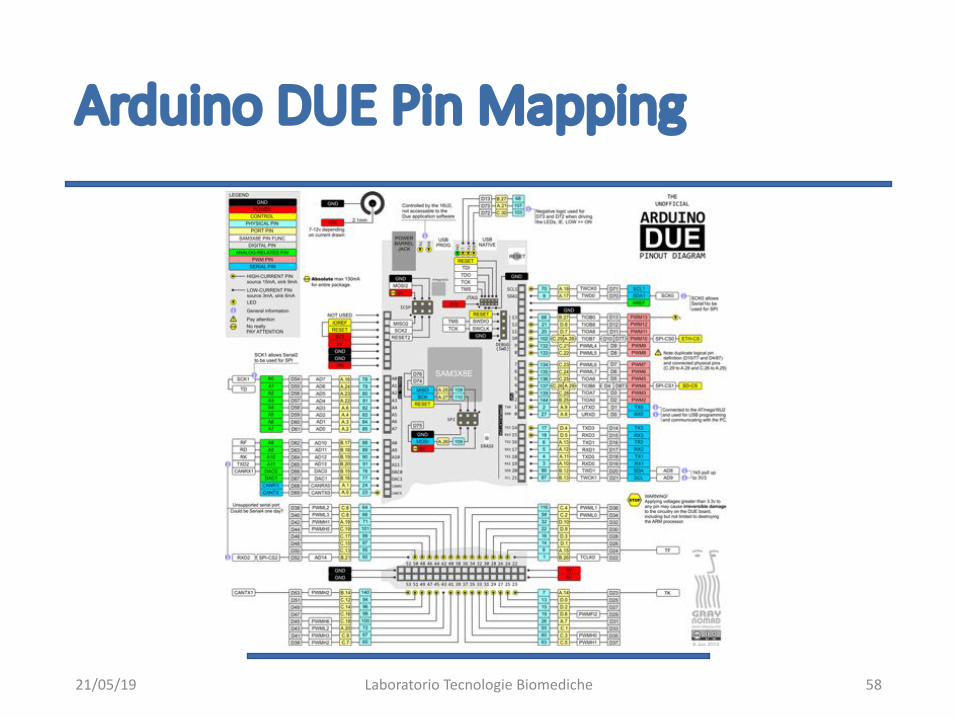
Arduino DUE Pin Mapping
21/05/19 Laboratorio Tecnologie Biomediche 58

Terminology
21/05/19 Laboratorio Tecnologie Biomediche
• sketch
• Is the program that you write and run on the Arduino board
• pin
• Input and output connectors
• digital
• It means that it can only take two values: HIGH or LOW, in another way ON/OFF or O/1
• analog
• When the values are continuous (infinite)
59
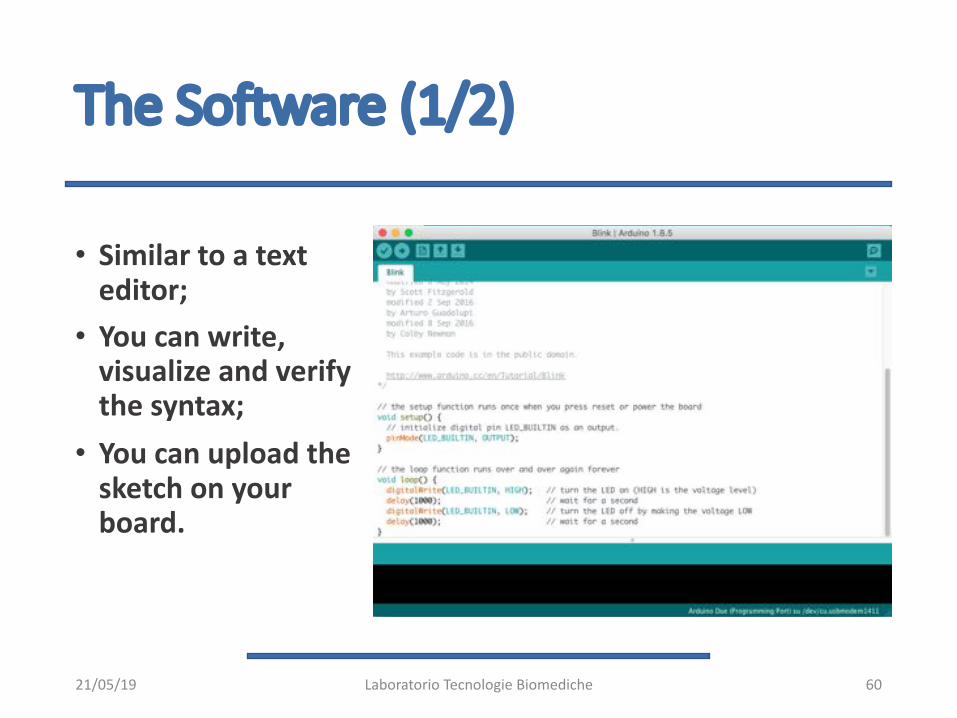
The Software (1/2)
• Similar to a text
editor;
• You can write,
visualize and verify
the syntax;
• You can upload the
sketch on your
board.
21/05/19 Laboratorio Tecnologie Biomediche 60

The Software (2/2)
CLARIFICATION
During these lessons to indicate the software
development environment, we will use:
software Arduino
Or with the same means:
IDE
IDE means: Integrated Development Enviroment,
in italiano: ambiente di sviluppo integrato per la realizzazione di programmi.
21/05/19 Laboratorio Tecnologie Biomediche 61
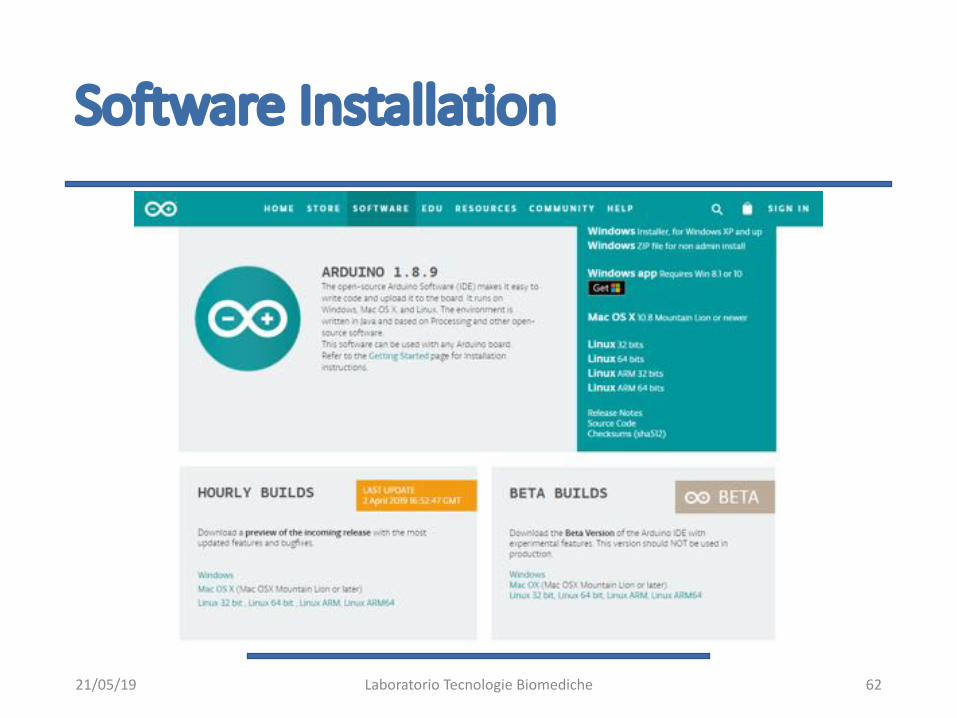
Software Installation
21/05/19 Laboratorio Tecnologie Biomediche 62

Communication with Arduino
• Launch the Arduino IDE (double click)
21/05/19 Laboratorio Tecnologie Biomediche 63
Arduino Program Development
• Based on C++ without 80% of the instructions.
• A handful of new commands.
• Programs are called 'sketches'.
• Sketches need two functions:
• void setup( )• void loop( )
• setup( ) runs first and once.
• loop( ) runs over and over, until power is lost or a new
sketch is loaded.
21/05/19 Laboratorio Tecnologie Biomediche 64
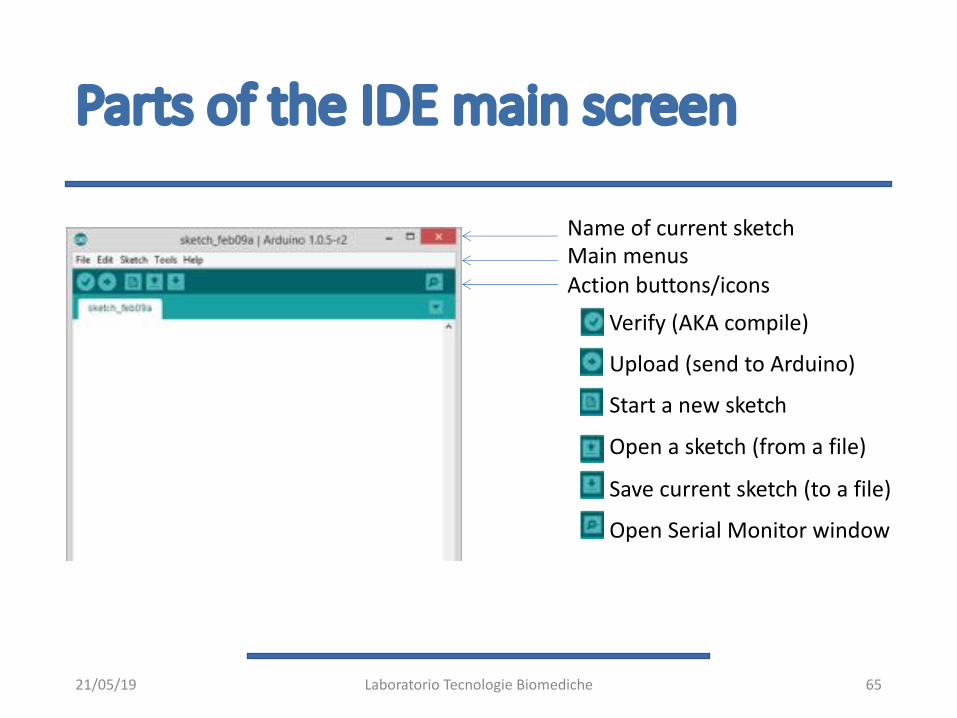
Parts of the IDE main screen
21/05/19 Laboratorio Tecnologie Biomediche
Name of current sketchMain menusAction buttons/icons
Verify (AKA compile)
Upload (send to Arduino)
Start a new sketch
Open a sketch (from a file)
Save current sketch (to a file)
Open Serial Monitor window
65

Programming
Development Cycle
21/05/19 Laboratorio Tecnologie Biomediche
Edit Compile Upload Run
Compile: Compile means to translate the sketch into machine language, also known as object codeRun: Arduino sketch is executed as soon as terminates the step of uploading on the board
66

Flow diagram
21/05/19 Laboratorio Tecnologie Biomediche 67

Flow diagram
21/05/19 Laboratorio Tecnologie Biomediche 68

The structure of Arduino Sketch (1/2)
21/05/19 Laboratorio Tecnologie Biomediche 69
The structure of Arduino Sketch (2/2)
• The first one is “setup()”. Anything you put in this function
will be executed by the Arduino just once when the
program starts.
• The second one is “loop()”. Once the Arduino finishes with
the code in the setup()function, it will move into loop(),
and it will continue running it in a loop, again and again,
until you reset it or cut off the power.
21/05/19 Laboratorio Tecnologie Biomediche 70

Arduino specific function
• pinMode(pin, mode)
• Configures a digital pin to read (input) or write (output) a digital value
• digitalWrite(pin, value)
• Writes the digital value (HIGH or LOW) to a pin set for output
• digitalRead(pin)
• Reads a digital value (HIGH or LOW) on a pin set for input
• analog versions of above
• analogRead's range is 0 to 1023 (for Arduino Uno)
• The Due and the Zero have 12-bit ADC capabilities that can be accessed by changing the resolution to 12. This will return values from analogRead() between 0 and 4095.
• serial commands
• print, println, write, delay
• Other example
https://www.arduino.cc/en/Reference/HomePage
21/05/19 Laboratorio Tecnologie Biomediche 71

Arduino Sketch Example
• Numerous
sample
sketches are
included in
the compiler
• Located
under File,
Examples
21/05/19 Laboratorio Tecnologie Biomediche 72

First exercise:turn on a LED if there is
no light
21/05/19 Laboratorio Tecnologie Biomediche 73

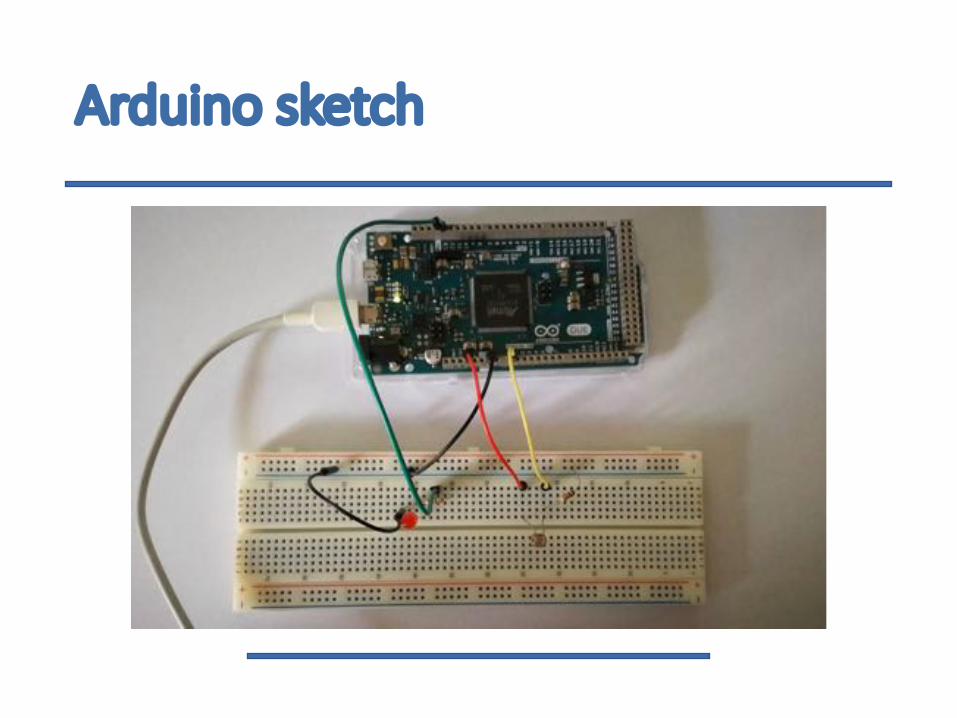
Photoresistor with LED
What are we going to use?
• Arduino DUE
• Breadboard
• USB Cable
• LED
• Photoresistor
• 10k W resistance
• 220 W resistance
• cables

How to connect components
LED Photoresistor
Analogvalue
Analogvalue
Find a datasheet

How to connect components

Arduino sketch
All variables must be declared before they can be used. Declaring a variable means:• define the type of value that can assume: int, long,float, etc …• assign a name• and optionally assign an initial value.

Arduino sketch
Identifies where theinstruction ends;
{…}
Identifies a block ofinstructions
Setup routine runs only ONCE when press reset
Serial.begin();Sets the data rate in bits per second(baud) for serial data transmission. Sobasically we are going to transfer 9600bits per second to the computer.
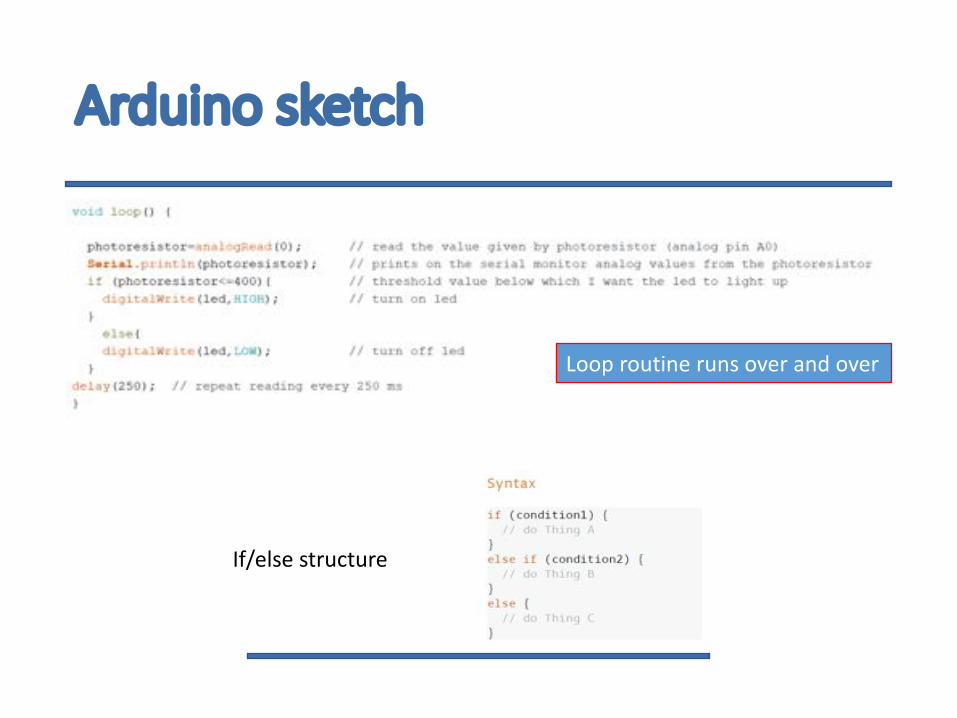
Arduino sketch
Loop routine runs over and over
If/else structure
Arduino sketch


