18
1 Booting Linux with U-boot Jason Kridner [email protected] June 7, 2010 Archived at: http://beagleboard.org/esc

1
Booting Linux with U-boot
Jason [email protected]
June 7, 2010
Archived at:http://beagleboard.org/esc
The five (5) boot phases
1. ROM loads x-load (MLO)
2. X-load loads u-boot
3. U-boot reads commands
4. Commands load kernel
5. Kernel reads root file
system
2

(1) ROM loads x-load (MLO)http://www.ti.com/litv/pdf/sprufd6a
ROM attempts to load boot image
◦ Sequence of attempts depends if USER button pressed
For MMC/SD boot
◦ Must have 255 heads and 63 sectors/track
◦ First partition is FAT and bootable
◦ Must have “MLO” as first file and directory entry “MLO” is x-load.bin.ift renamed
◦ Use mkcard.sh
X-load image must be “signed”
◦ signGP app is open source
There are utilities for USB and serial boot
◦ http://beagleboard.org/project/OMAP+U-Boot+Utils/
3
(2) X-load loads u-boothttp://gitorious.org/beagleboard-validation/x-load
X-load is a utility derived from u-boot◦ Small enough to fit in internal RAM
◦ Configures external RAM Could otherwise be done in configuration header, but doesn‟t allow for multiple memory types
Looks first on MMC/SD◦ If it finds u-boot.bin, loads and runs it
4

(3) U-boot reads commandshttp://gitorious.org/beagleboard-validation/u-boot
U-boot version allows interaction over the serial and USB ports
◦ Serial cable provided in case you have a laptop
◦ USB driver looks like a USB-to-serial converter device
◦ Use gserial.inf to install a driver in Windows
U-boot environment variables read from flash
◦ Stored in the third flash partition (mtd2)
◦ „bootcmd‟ variable stores the commands to execute
◦ „bootdelay‟ is number of seconds to allow interruption of the boot
Default „bootcmd‟ reads „boot.scr‟ auto-script
5

(4) Commands load kernel
U-boot loads kernel and passes it „bootargs‟
◦ Default environment is used when variables haven‟t been stored in flash Rev C boards are shipped without variables stored in flash
◦ Console can be used to interrupt the boot process and modify variables The Rev B u-boot only supported the console over the serial port
The Rev C u-boot adds support for the console over the USB OTG port
Future modifications may support USB keyboard/mouse and DVI-D monitor
◦ Fourth flash partition (mtd3) is reserved for the kernel
bootm <RAM addr> – executes kernel from RAM
6

Default bootcmd for Rev Chttp://gitorious.org/projects/beagleboard-default-u-boot/repos/jason-clone/blobs/for-khasim-
rebase/include/configs/omap3_beagle.h
bootcmd=if mmcinit; then
if run loadbootscript; then run bootscript;
else if run loaduimage; then if run loadramdisk; then run ramboot;
else run mmcboot;
fi; else run nandboot; fi;
fi; else run nandboot; fi
7

Default bootcmd for xM Rev Ahttp://gitorious.org/beagleboard-validation/u-boot/blobs/xm-jason-patches/include/configs/omap3_beagle.h
if mmc init ${mmcdev}; then
if userbutton; then
setenv bootscr boot.scr;
else
setenv bootscr user.scr;
fi
if run loadbootscript; then
run bootscript;
else
if run loaduimage; then
if run loadramdisk; then
run ramboot;
else
run mmcboot;
fi;
else run nandboot;
fi;
fi;
else run nandboot; fi8

U-boot command summaryhttp://www.denx.de/wiki/DULG/Manual
Basic commands
◦ help – provide the list of commands (varies by build)
◦ printenv – lists the contents of the current environment
◦ saveenv – writes the current environment to the flash
◦ setenv <variable> „string‟ – sets environment variable
◦ autoscr <RAM addr> – run script from RAM
MMC/SD
◦ mmcinit – initializes the MMC/SD card
◦ fatls mmc 0 – reads FAT directory on the first partition
◦ fatload mmc 0 <RAM addr> <filename> – load a file into RAM
NAND
◦ nand unlock – enables writing to the NAND
◦ nandecc <sw|hw> – configures ECC mode (OMAP3 specific)
◦ nand erase <start> <length> – erases portion of NAND flash
◦ nand read <RAM addr> <start> <length> – reads into RAM
◦ nand write <RAM addr> <start> <length> – writes from RAM
Serial
◦ loadb <RAM addr> – reads into RAM via kermit file send
9
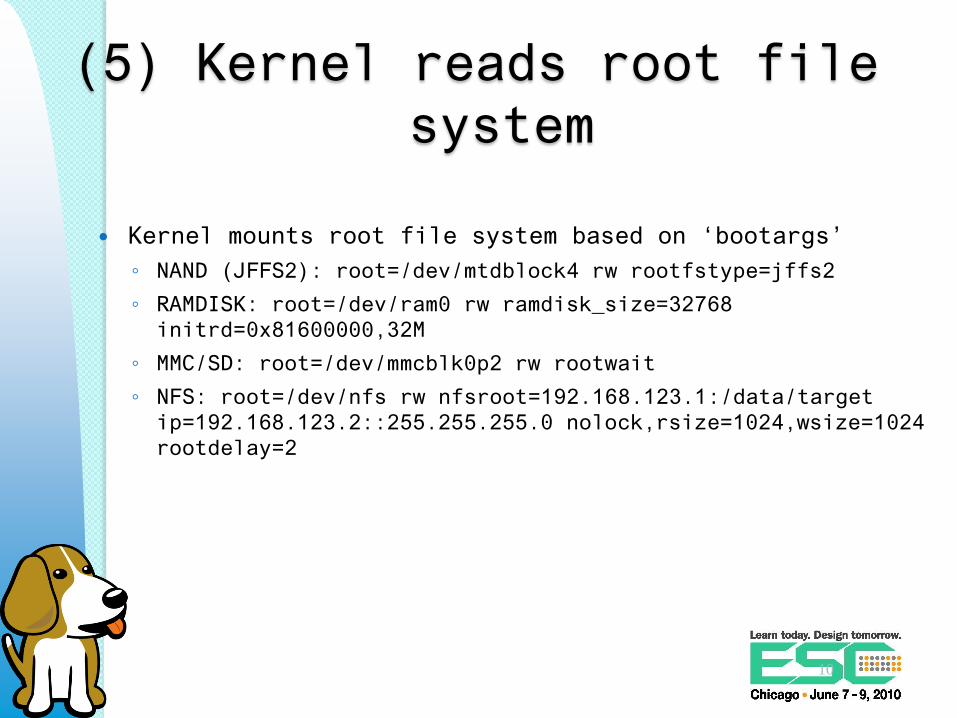
(5) Kernel reads root file
system
Kernel mounts root file system based on „bootargs‟
◦ NAND (JFFS2): root=/dev/mtdblock4 rw rootfstype=jffs2
◦ RAMDISK: root=/dev/ram0 rw ramdisk_size=32768
initrd=0x81600000,32M
◦ MMC/SD: root=/dev/mmcblk0p2 rw rootwait
◦ NFS: root=/dev/nfs rw nfsroot=192.168.123.1:/data/target
ip=192.168.123.2::255.255.255.0 nolock,rsize=1024,wsize=1024
rootdelay=2
10
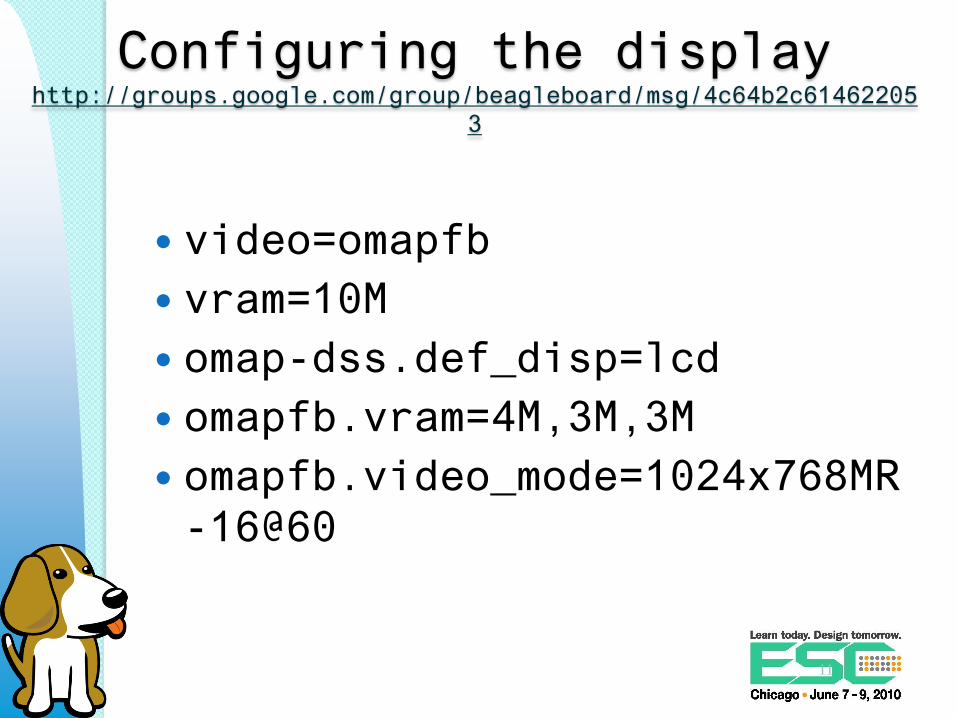
Configuring the displayhttp://groups.google.com/group/beagleboard/msg/4c64b2c61462205
3
video=omapfb
vram=10M
omap-dss.def_disp=lcd
omapfb.vram=4M,3M,3M
omapfb.video_mode=1024x768MR
-16@60
11

Other bootargs
nohz=off
◦ Power management (dynamic tick)
mem=88M
◦ Reserve memory
12

Writing our own boot script
13

Build u-boot and mkimage
cd ~/u-boot-omap3
make omap3_beagle_config
make
14
For the xM demo image, look in
/usr/share/esc-training/u-boot

Build my.scr
cd ~/u-boot-omap3
cp /media/mmcblk0p1/menu/kridner.scriptmy.script
nano my.script
./tools/mkimage -A arm -T script -C none -d my.script my.scr
Be very careful before executing the next step◦ cp my.scr /media/mmcblk0p1/boot.scr
◦ If unsure, run /switchboot now
◦ boot
15
These instructions are not for the xM
demo image, instead look at /boot/u-
boot-scripts

Edit environment in flash
make env
nano /etc/fw_env.config◦ /dev/mtd2 0 0x20000 0x20000
./tools/env/fw_printenv
ln -s tools/env/fw_printenv fw_setenv
./fw_setenv usbtty „cdc_acm‟
./fw_setenv stdout „serial,usbtty‟
./fw_setenv stdin „serial,usbtty‟
./fw_setenv stderr „serial,usbtty‟
./tools/env/fw_printenv
16
These
instructions
are not for the
xM

Trying usbtty
cp ~/gserial.inf /media/mmcblk0p1/
halt
Remove power and SD card
Copy gserial.inf from SD to PC
Plug USB from Beagle to your PC◦ Select driver
Start Hyperterminal◦ Newest serial port, max baud, n81, no flow
Optional◦ nand erase 0x260000 0x20000
17
These
instructions
are not for the
xM

Creating a ramdisk.gz
dd if=/dev/zero of=ramdisk bs=1k count=32768
mkfs.ext2 ramdisk mount -o loop ramdisk /mnt tar -xvjf fs.tar.bz2 -C /mnt
◦ Other methods to copy may be fine
umount /mnt gzip ramdisk
18


