1 Simon Fraser University 8888 University Drive, Burnaby, B.C. V5A 1S6 E [email protected]T 778.782.8158 F 778.782.3765 www.4dlabs.ca Mask Aligner SOP 4D Labs Confidential OAI Mask Aligner Standard Operation Procedure (Exposure, Front Side Alignment) Revision: 3.0 — Last Updated: Sep.22/2008, Revised by Grace Li Overview This document will provide a detailed operation procedure of the Mask Aligner system. Formal Training is required for all users prior to using the system. Revision History: # Revised by: Date Modification 1 Grace Li 03/20/07 Document initial release 2 Grace Li 01/22/08 Format Updating 3 Grace Li 09/26/08 Format Updating to include TOC and Doc No. 4 5 Document No. 4DSOP000 X
Transcript
1
Simon Fraser University 8888 University Drive, Burnaby, B.C. V5A 1S6
Revision: 3.0 — Last Updated: Sep.22/2008, Revised by Grace Li
Overview
This document will provide a detailed operation procedure of the Mask Aligner system. Formal Training is required for all users prior to using the system.
Revision History:
# Revised by: Date Modification
1 Grace Li 03/20/07 Document initial release
2 Grace Li 01/22/08 Format Updating
3 Grace Li 09/26/08 Format Updating to include TOC and Doc No.
4
5
Document No. 4DSOP000 X
2
Simon Fraser University 8888 University Drive, Burnaby, B.C. V5A 1S6
Reference and Files ...................................................................................................... 14 Contact Information ....................................................................................................... 14
3
Simon Fraser University 8888 University Drive, Burnaby, B.C. V5A 1S6
OAI System Description The Model 800 MBA Mask Aligner is a photolithography system, which use to align substrate to mask and to subsequently expose the substrate material using collimated UV light. This equipment is in-tended for a variety of UV exposure related applications including Expose, Front Side Alignment and Expo-sure, and Back Side Alignment and Exposure. Exposure may be proximity or contact.
Equipment Features
♦ High efficiency, Uniform Exposure System with Intensity Controlling Power supply ♦ Soft Contact, Hard Contact, Vacuum Contact, and Proximity Exposure Modes ♦ Top side Alignment as well as Back Side Alignment ♦ Four-camera optical system ♦ Interchangeable mask holder and chuck ♦ User-defined and controlled, substrate-to-mask pressure ♦ Precision chuck positioning ♦ Exposure time settable: 0.1 – 3200 seconds in 0.1 second increments ♦ Both Near UV, and DUV mirrors
4
Simon Fraser University 8888 University Drive, Burnaby, B.C. V5A 1S6
♦ USHIO 500 DUV lamp ♦ Two Digital Video Pattern Generator (DVPG) used to simultaneous feeding of two cameras on the monitor. The DVPG creates six different reticle patterns. ♦ System with Auto Level Option
Capabilities
♦ Capable of processing up to 50 to 100 mm wafers ♦ Uniform beam size up to 4˝ diameter ♦ Near and Deep UV with user-settable intensity levels ♦ Exposure resolution in Near UV:
○ Sub-micron under vacuum contact, ○ 1.0-2.0 micron under soft contact, ○ 3.0-6.0 micron at 15 micron exposure gap
Specifications Mask: Mask Size: 5’’x 5‛ and 3‛x 3‛ Mask Thickness: 0.09‛ (0.06‛ is possible) Mask ‘Clamp’ Vacuum (and Physical Clamp) Substrate Chuck: Chuck Motion X, Y, Theta and Z Standard: Micrometer X-Y Range: +/- 6.5mm Incremental Motion 0.5 micron Theta Rotation/Precision +/- 5o/0.001o Chuck Range: +/- 1,500 micron Substrate: Small piece, 2‛ and 4’’ wafers
Requisition
Formal training is required to use the system. Before you receive training, you need con-tact to Jessica Wong ([email protected]) to complete an application form.
Only IPA (2-propanel) can be used in cleaning, Acetone is not allowed to use in any clean-ing purpose in this system
1) The light emanating from the light source cause hazard to eyes. Therefore DO NOT LOOK INTO THE OUTPUT BEAM of the UV Lamp. Always ware UV filtered glasses (UVEX labeled goggles, available near the Mask Aligner) to protect eyes during the mercury lamp is operating, and limit exposure time to UV radiation. Do not directly looking at the mask area during exposure. 2) Be aware, a few seconds directly under the output beam or to the lamp itself, can cause UV skin burns or burns to the outer layers of the eye.
♦Lamp Explosion:
The system is designed any of the mercury vapor released by an exploded lamp will be drawn out the UV LIGHT SOURCE exhaust and poses no danger to operator. However, a minute amount of liquid mercury will be contained within the light source housing. If you suspect the UV lamp explosion, exit the room immediately and notify Yi Xu, or cleanroom staff.
Operation Procedure
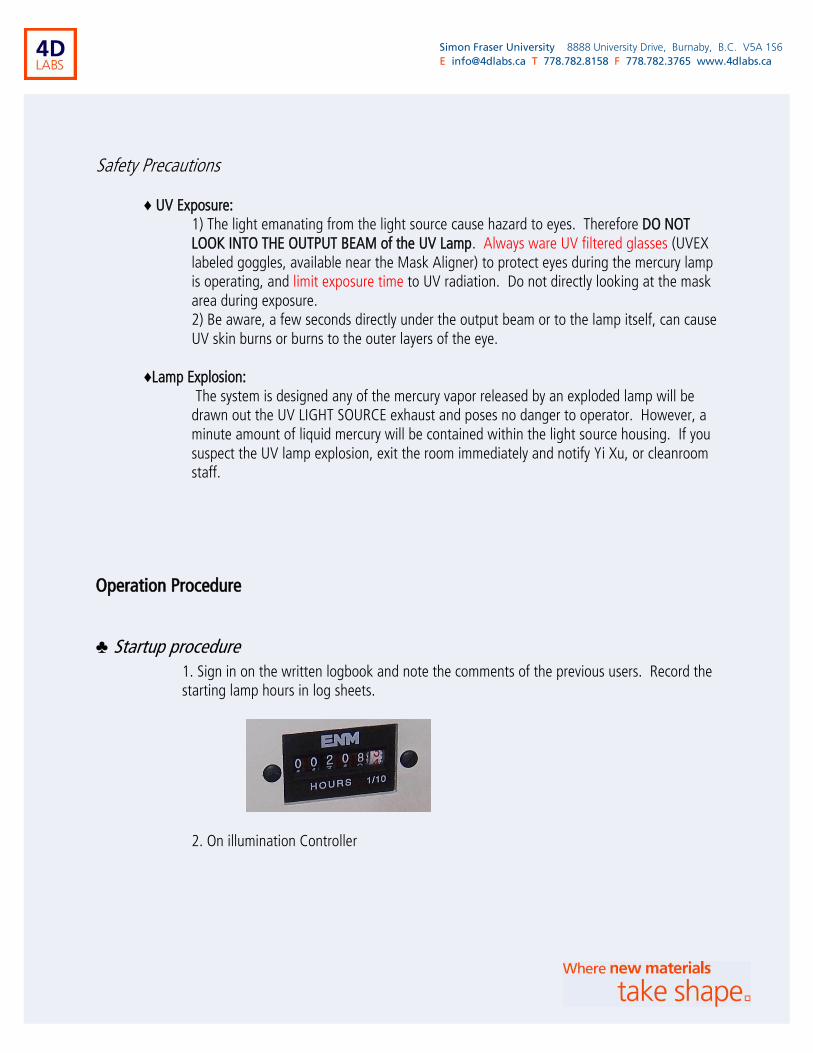
♣ Startup procedure 1. Sign in on the written logbook and note the comments of the previous users. Record the starting lamp hours in log sheets.
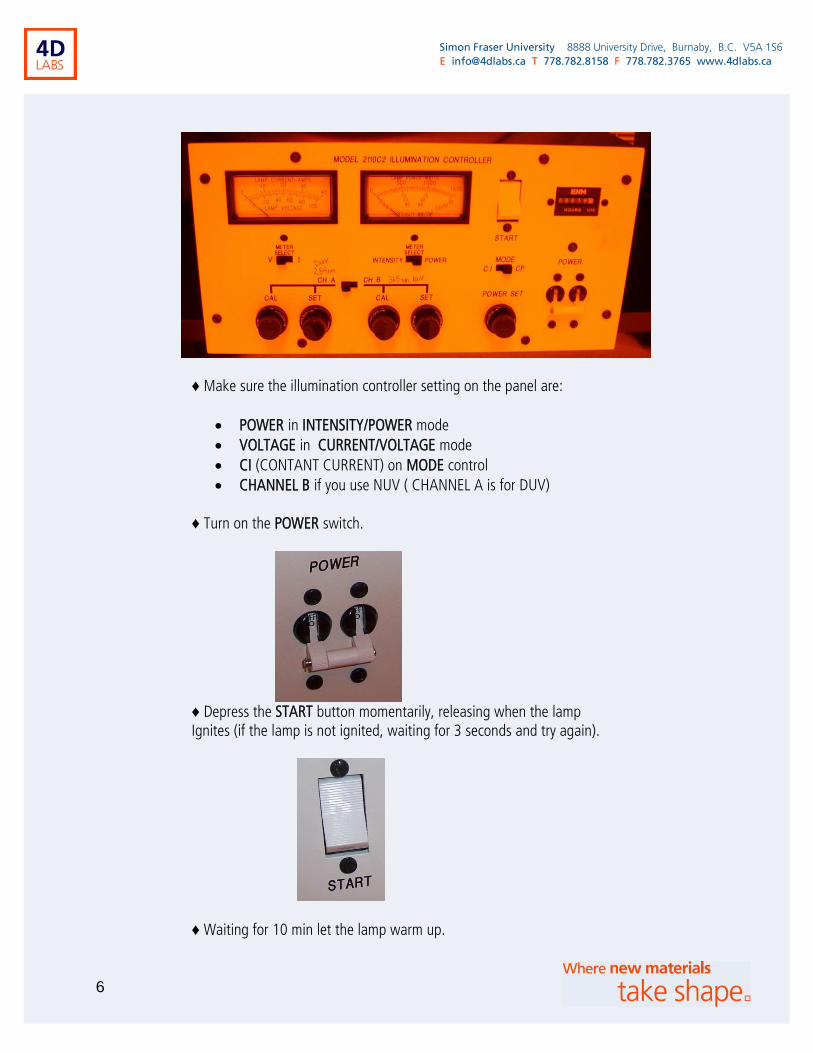
2. On illumination Controller
6
Simon Fraser University 8888 University Drive, Burnaby, B.C. V5A 1S6
Note: 1) Before attempting to restart the lamp, wait until it is fully cooled down (takes about 20 min). 2.) If someone booked the machine right after you, just leaving the lamp ON. Avoid turns ON and OFF the lamp too often. Think about Why?
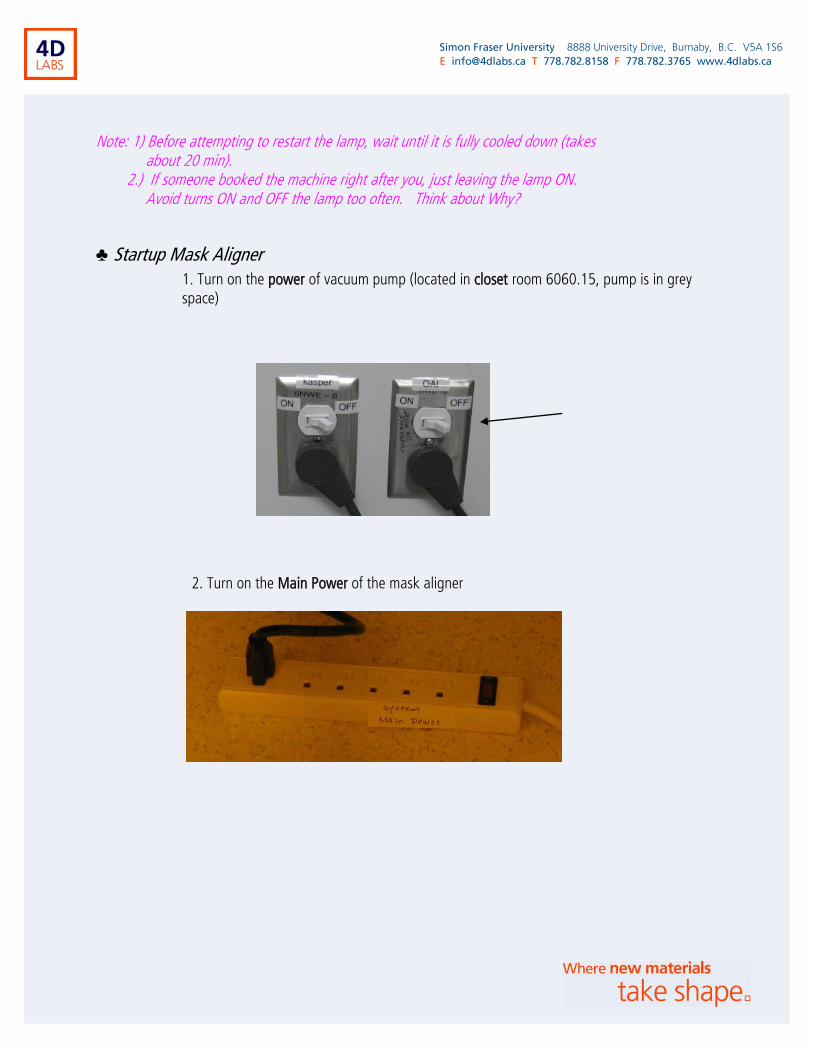
♣ Startup Mask Aligner 1. Turn on the power of vacuum pump (located in closet room 6060.15, pump is in grey space)
2. Turn on the Main Power of the mask aligner
8
Simon Fraser University 8888 University Drive, Burnaby, B.C. V5A 1S6
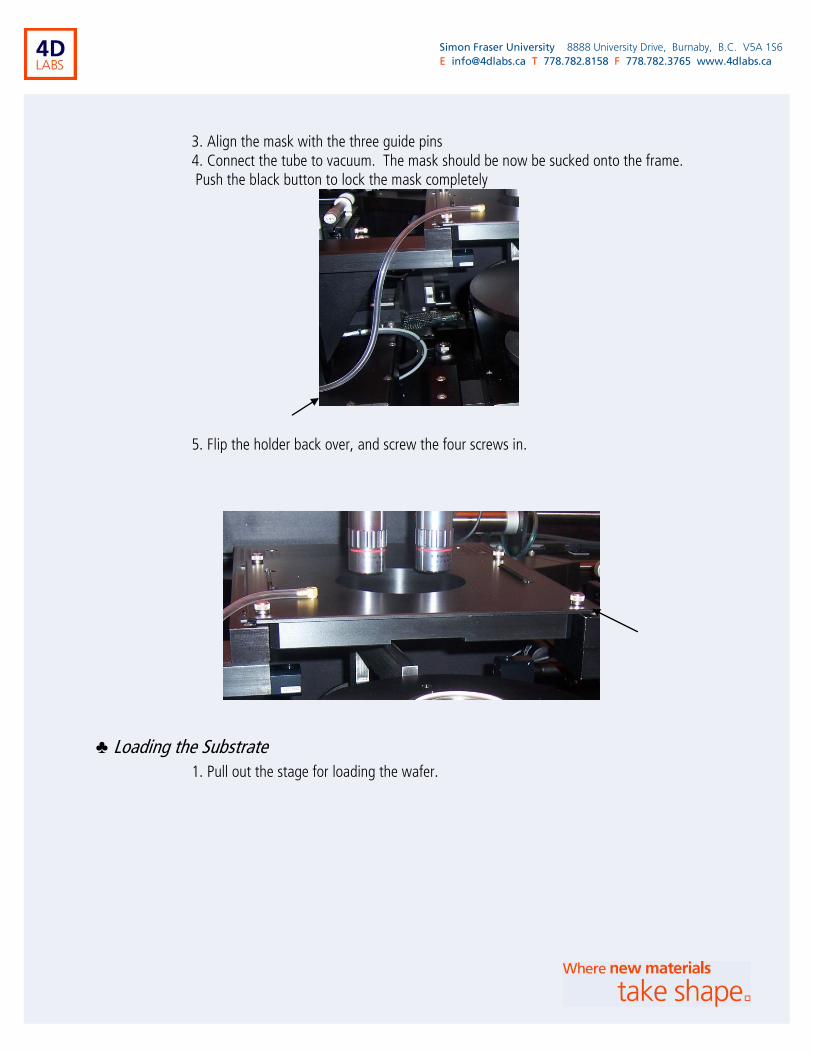
3. Align the mask with the three guide pins 4. Connect the tube to vacuum. The mask should be now be sucked onto the frame. Push the black button to lock the mask completely
5. Flip the holder back over, and screw the four screws in.
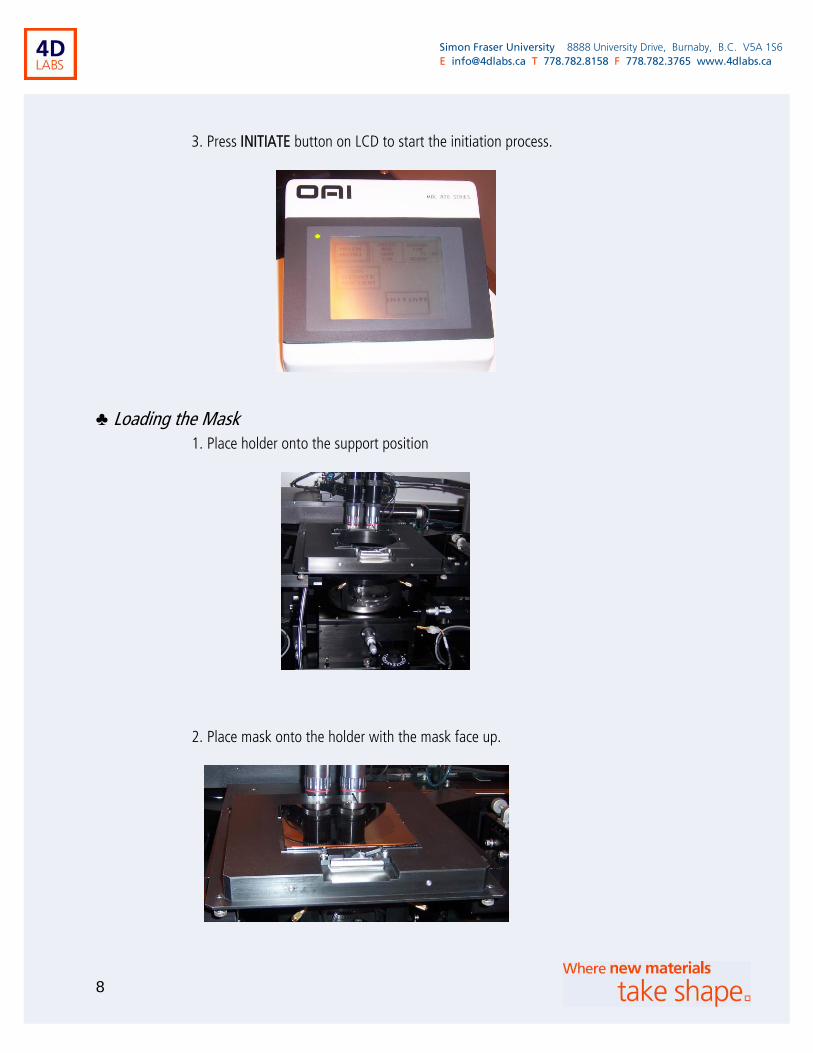
♣ Loading the Substrate 1. Pull out the stage for loading the wafer.
10
Simon Fraser University 8888 University Drive, Burnaby, B.C. V5A 1S6
2. Place wafer onto the chuck, and then push the chuck in completely.
♦ Press SUBSTRATE VACUUM on LCD, the wafer should be sucked on the chuck
♣ Align Mask Structure
(Note: For the sample only need to be exposed, skip this step and directly go to next step “Align Wafer)
1. Make sure the toggle switch is on TOP OPTICS side. Located at the left front of the mask aligner
2. Turn on the two TV monitors (If they are off) 3. Moving the joystick in X and Y direction to locate the mask structure (or marks) 4. Combine with adjust the ILLUMINATION, focus the microscope on the structure
11
Simon Fraser University 8888 University Drive, Burnaby, B.C. V5A 1S6
○ Press LEVEL. Once the ‚level‛ button is pressed, the chuck will move up to panelize to the substrate surface with the mask, and then automatically move to the alignment gap.
2. Adjust the N2 flow in 3-4. If no N2 flow in the flow meter, contact to Grace for help.
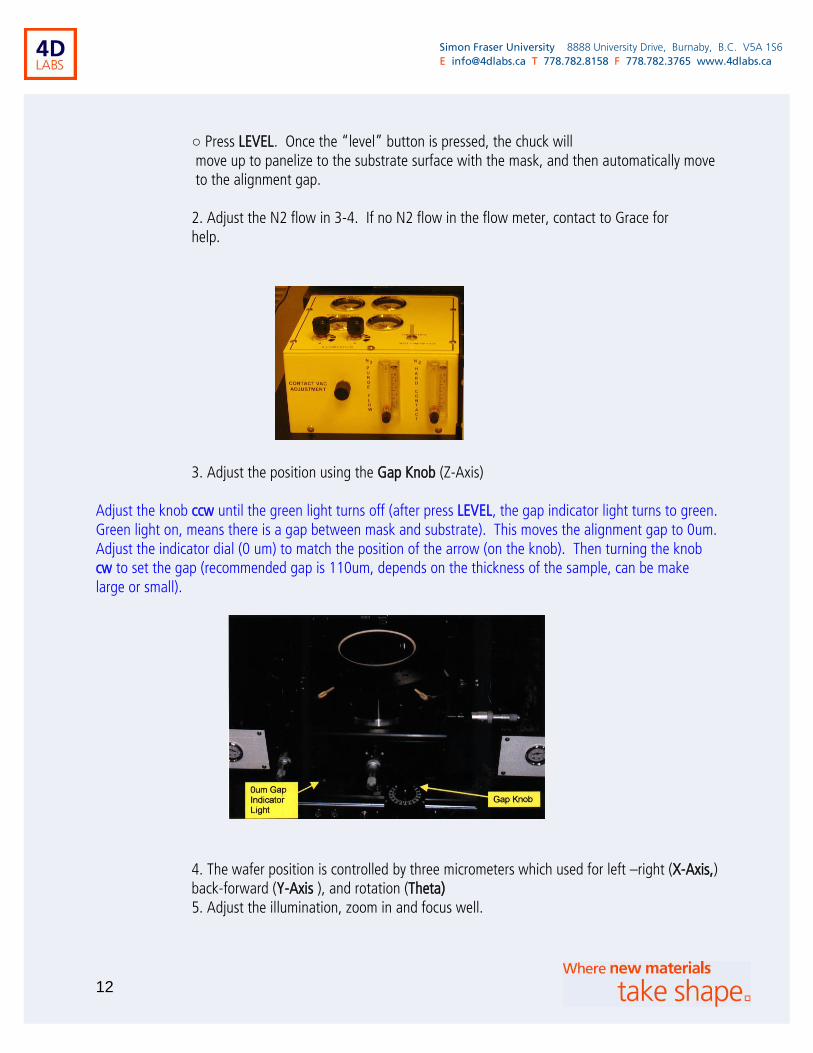
3. Adjust the position using the Gap Knob (Z-Axis)
Adjust the knob ccw until the green light turns off (after press LEVEL, the gap indicator light turns to green. Green light on, means there is a gap between mask and substrate). This moves the alignment gap to 0um. Adjust the indicator dial (0 um) to match the position of the arrow (on the knob). Then turning the knob cw to set the gap (recommended gap is 110um, depends on the thickness of the sample, can be make large or small).
4. The wafer position is controlled by three micrometers which used for left –right (X-Axis,) back-forward (Y-Axis ), and rotation (Theta) 5. Adjust the illumination, zoom in and focus well.
13
Simon Fraser University 8888 University Drive, Burnaby, B.C. V5A 1S6
♣ Exposure 1. Press MAIN MENU, and then PROCESS SETTING to set the
exposure time (maximum is 3200 seconds.) (Note: the controller is set for 26 mW/cm2 intensity for Near UV) 2. Select the contact mode. Vacuum contact will produce the smaller feature. 3. Then follow the next steps on LCD screen:
♣ Shutdown system
1. Turn off the POWER of Hg lamp first 2. Press UNLOAD on LCD screen (if not automatically Unloaded) 3. Press Substrate Vacuum to release the vacuum 4. Remove the sample from chuck 5. Lose the screws of the mask holder
MOVE to CONTACT POSITION
CONTACT VACUUM
CYCLE RUNNING
LEVEL SCREEN
MAIN MENU
RUN
SCREEN
14
Simon Fraser University 8888 University Drive, Burnaby, B.C. V5A 1S6
6. Flip up the mask holder (with the mask face up) 7. Unconnected the vacuum tube of the mask holder 8. Remove the mask from holder. 9. Turn off MAIN POWER of mask aligner 10. Turn off the POWER of vacuum pump (in Room Closet 6060.15) 11. Filling the Log Sheet 12. Clean up
Reference and Files
Mask Aligner Manual and training notes
Contact Information
Questions or comments in regard to this document should be directed towards Grace Li ([email protected]) of the 4D LABS at Simon Fraser University in Burnaby, BC, Canada.