13
NIC PRACTICAL EXAM FOR COSMETOLOGY: I PROCEDURE MANUAL BOOK, '!:. ..
| Date post: | 06-Mar-2018 |
| Category: |
Documents |
| Upload: | nguyenhanh |
| View: | 221 times |
| Download: | 2 times |
NIC PRACTICAL EXAM FORCOSMETOLOGY:
I
PROCEDURE MANUAL BOOK,'!:. ..
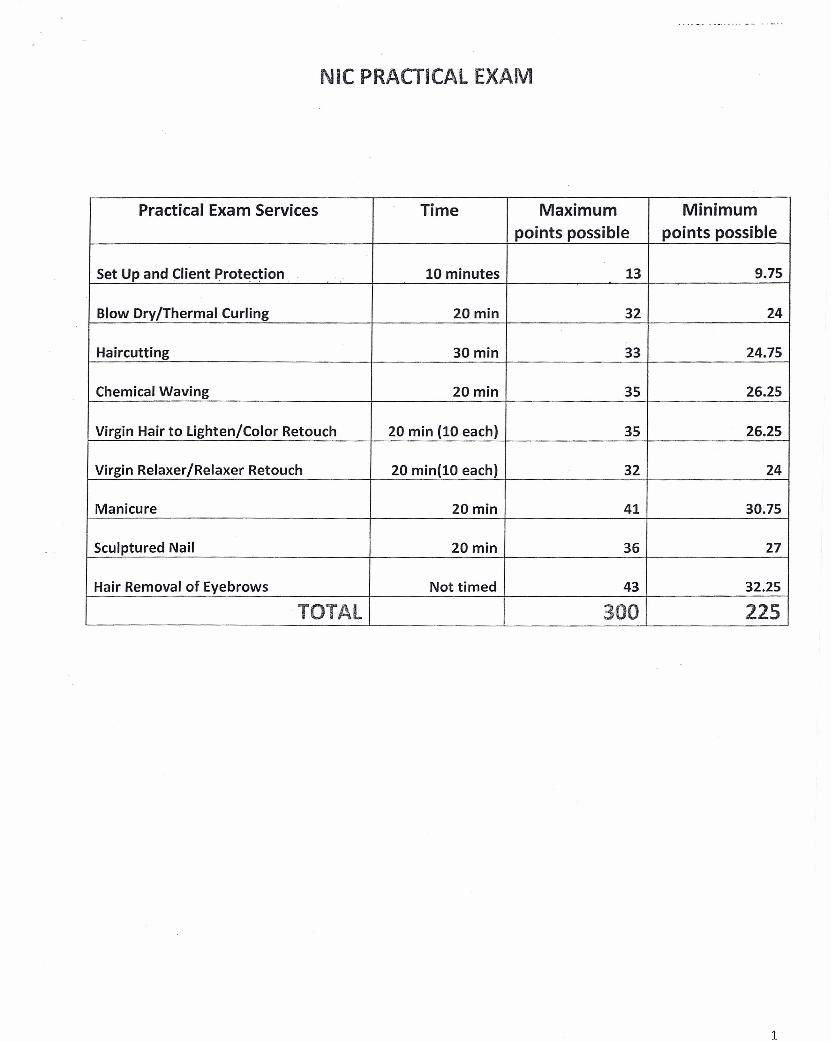
NIC PRACTICAL EXAM
Practical Exam Services Time Maximum Minimumpoints possible points possible
Set Up and Client Protection 10 minutes 13 9.75
Blow Dry/Thermal Curling 20min 32 24
Haircutting 30min 33 24.75
Chemical Waving 20min 35 26.25
Virgin Hair to Lighten/Color Retouch 20 min (10 each) 35 26.25
Virgin Relaxer/Relaxer Retouch 20 min(10 each) 32 24
Manicure 20min 41 30.75
Sculptured Nail 20min 36 27
Hair Removal of Eyebrows Not timed 43 32.25
TOTAL 300 225
1
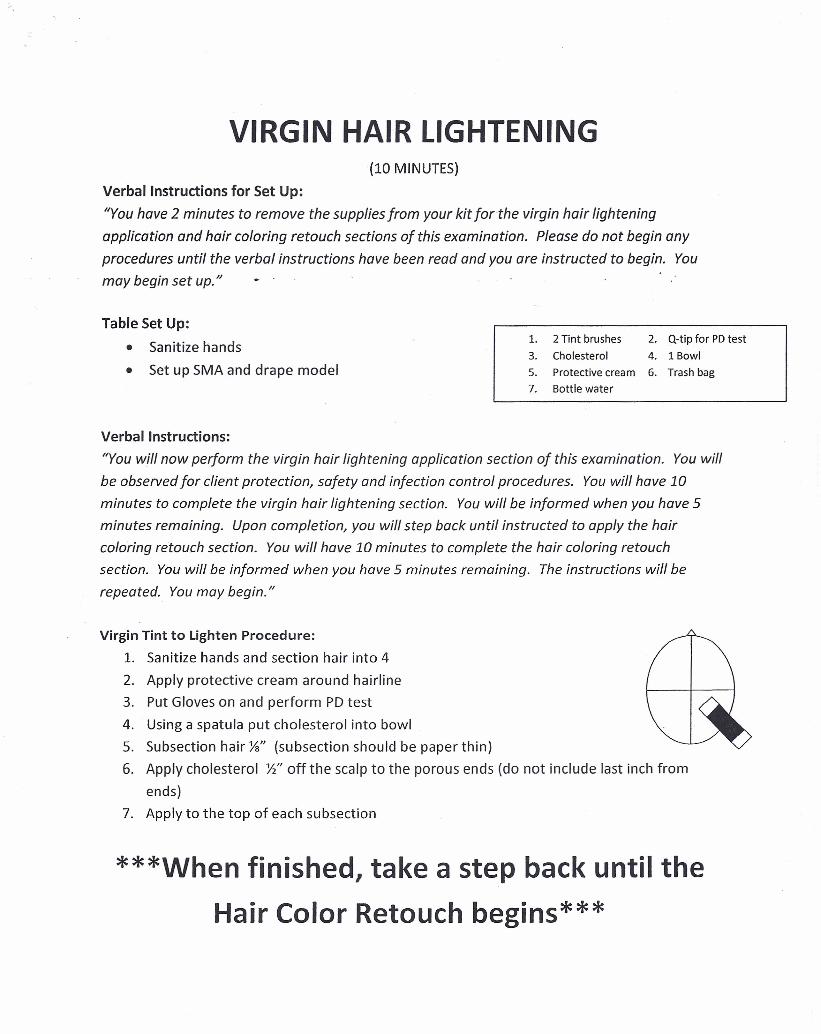
VIRGIN HAIR LIGHTENING(10 MINUTES)
Verbal Instructions for Set Up:
"You have 2 minutes to remove the supplies from your kit forthe virgin hair lighteningapplication and hair coloring retouch sections of this examination. Please do not begin anyprocedures until the verbal instructions have been read ond you are instructed to begin. Youmay begin set up. "
Table Set Up:
• Sanitize hands
• Set up SMA and drape model
1. 2Tint brushes3. Cholesterol5. Protectivecream7. Bottle water
2. Q-tip for PDtest4. 1Bowl6. Trashbag
Verbal Instructions:
"You will now perform the virgin hair lightening application section of this examination. You willbe observed for client protection, safety and infection control procedures. You will have 10minutes to complete the virgin hair lightening section. You will be informed when you have 5minutes remaining. Upon completion, you will step back until instructed to apply the haircoloring retouch section. You will have 10 minutes to complete the hair coloring retouchsection. You will be informed when you have 5 minutes remaining. The instructions will berepeated. You may begin."
Virgin Tint to Lighten Procedure:
1. Sanitize hands and section hair into 4
2. Apply protective cream around hairline3. Put Gloves on and perform PD test
4. Using a spatula put cholesterol into bowl
5. Subsection hair YsJJ (subsection should be paper thin)6. Apply cholesterol }2" off the scalp to the porous ends (do not include last inch from
ends)
7. Apply to the top of each subsection
***When finished, take a step back until theHair Color Retouch begins***
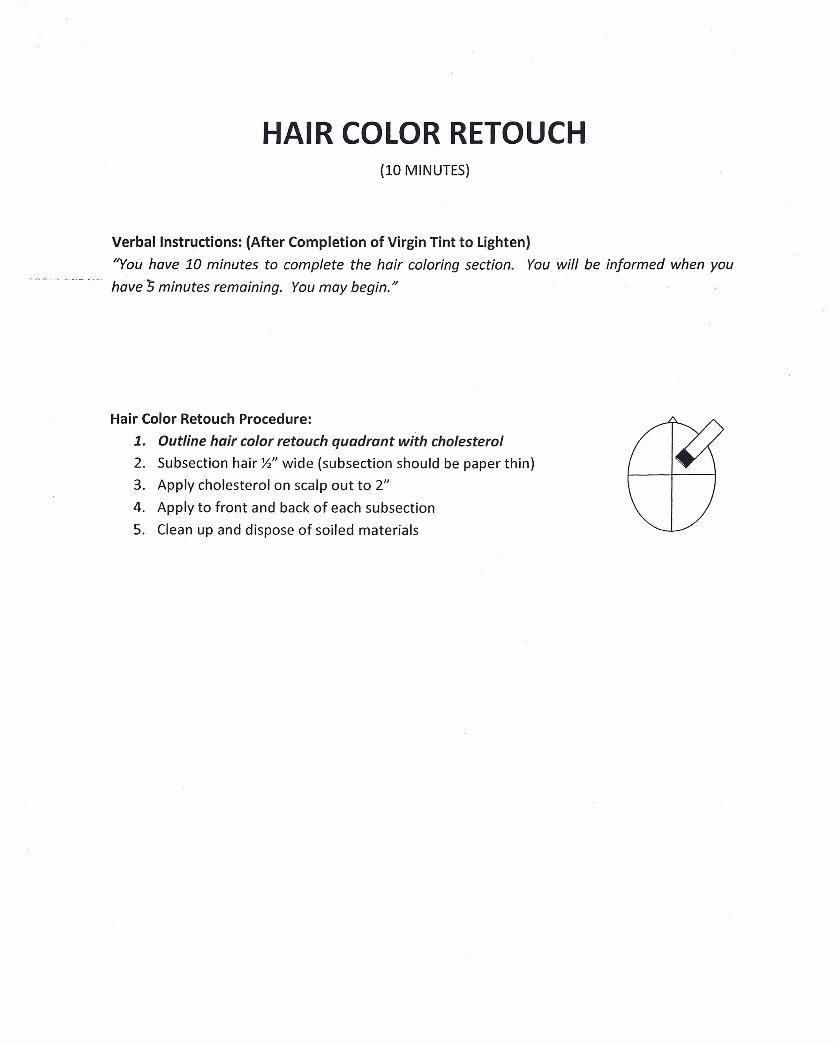
HAIR COLOR RETOUCH(10 MINUTES)
Verbal Instructions: (After Completion of Virgin Tint to Lighten)
"You have 10 minutes to complete the hair coloring section. You will be informed when youhavel; minutes remaining. Youmay begin."
Hair Color Retouch Procedure:1. Outline hair color retouch quadrant with cholesterol2. Subsection hair W' wide (subsection should be paper thin)3. Apply cholesterol on scalp out to 2"
4. Apply to front and back of each subsection
5. Clean up and dispose of soiled materials
BLOW DRY STYUNG AND THERMAL CURLING(20 MINS)
Table Set Up:
• Set up implements that are visibly clean
• Sanitize hands
1. SMA 2. 2 Vent brushes3. Blow dryer 4. 2 hard rubber combsS. White paper towel 6. 4 plastic clips
Procedure for Blow Drying1. Turn curling iron on and sanitize hands
2. Drape client and lightly spray hair with water bottle
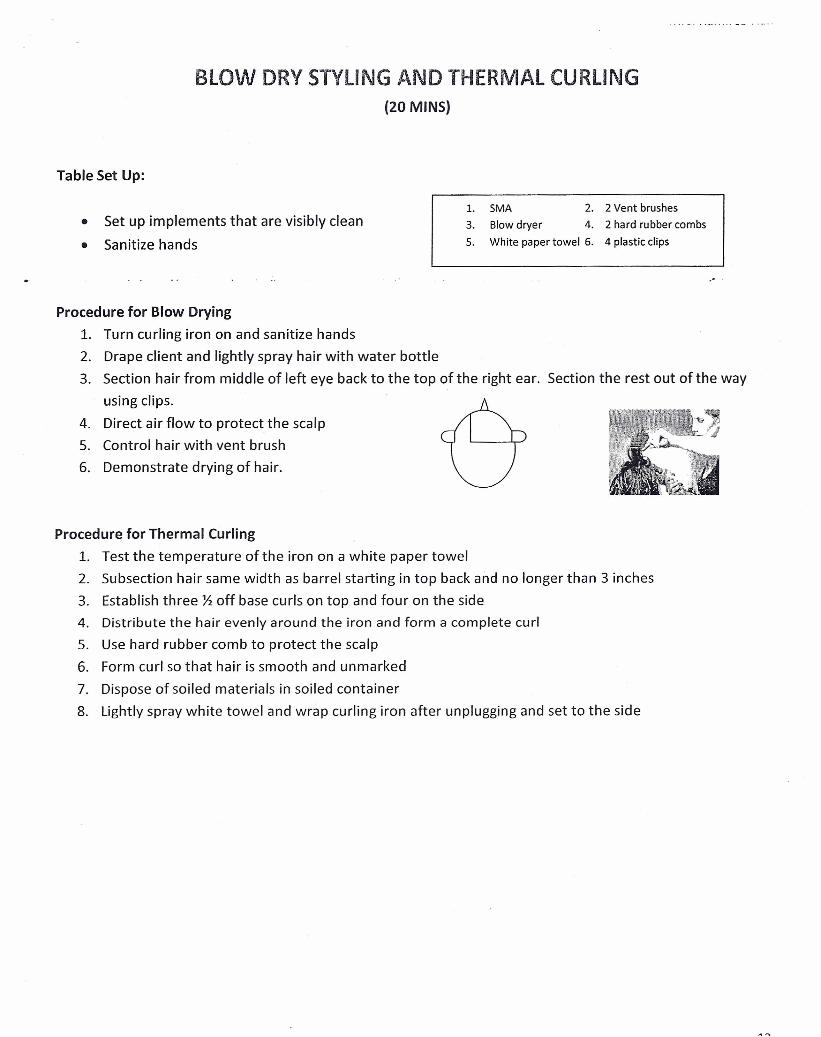
3. Section hair from middle of left eye back to the top of the right ear. Section the rest out of the wayusing clips.
4. Direct air flow to protect the scalp5. Control hair with vent brush6. Demonstrate drying of hair.
Procedure for Thermal Curling1. Test the temperature of the iron on a white paper towel
2. Subsection hair same width as barrel starting in top back and no longer than 3 inches3. Establish three 12 off base curls on top and four on the side4. Distribute the hair evenly around the iron and form a complete curl5. Use hard rubber comb to protect the scalp
6. Form curl so that hair is smooth and unmarked
7. Dispose of soiled materials in soiled container8. Lightly spray white towel and wrap curling iron after unplugging and set to the side
HAIRCUTTING(30 MINS)
Table Set Up:
• Sanitize hands
• Lightly spray down hair and comb back
• Apply blue paper towel over white SMA
1. Razor 2. 2 combs3. 2 Shears 4. 6 plastic clips5. Blue paper towel (to place razor and shearsover)
Procedure:1. Sanitize hands
2. Section hair into four dropping off your length guide at the nape3. Cut 1" from the length guide with the razor using 0° elevation
4. Drop down hair from below the ears and take vertical sections using 90° elevation and cut 1" with
razor connecting to the length guide.5. From the ears up connect the rest of the hair using 90° elevation and cut 1" with the shears using
radial (pie) sections and a traveling guide.
***Step back when you are done with your haircut. Examiner will come by and check it***
Clean Up Procedure:
• Remove any hair clippings from skin, drape and work area
• Remove hair from floor completely (Sweep)
111
CHEMICAL WAVING(20 MINS)
l. New sanex 2. Cotton coilTable Set Up: 3. 20 perm rods 4. 8 clips
• Sanitize hands 5. Gloves 6. End paper
7. Protective cream 8. 2 combs
9. Spatula 10. Simulated lotion bottle
Procedure:1. Sanitize hands2. Apply new sanex strip on client
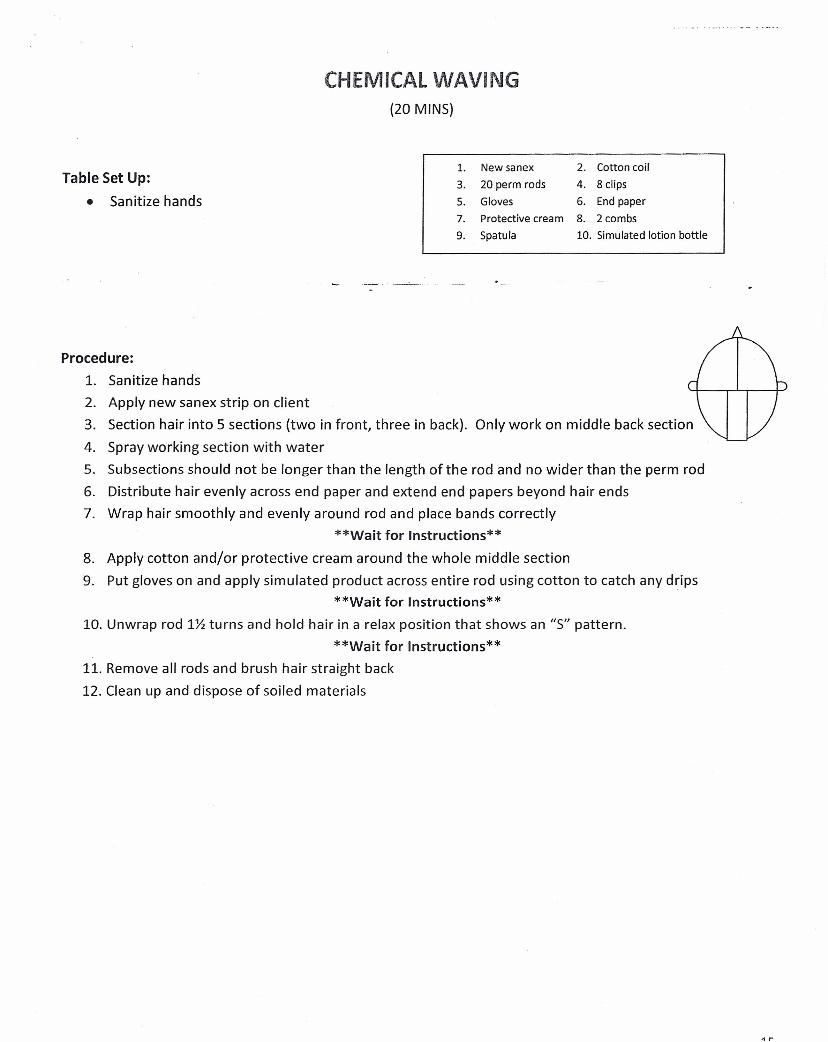
3. Section hair into 5 sections (two in front, three in back). Only work on middle back section
4. Spray working section with water
5. Subsections should not be longer than the length of the rod and no wider than the perm rod6. Distribute hair evenly across end paper and extend end papers beyond hair ends7. Wrap hair smoothly and evenly around rod and place bands correctly
**Wait for Instructions**
8. Apply cotton and/or protective cream around the whole middle section
9. Put gloves on and apply simulated product across entire rod using cotton to catch any drips**Wait for Instructions**
10. Unwrap rod 11'2 turns and hold hair in a relax position that shows an "5" pattern.
**Wait for Instructions**11. Remove all rods and brush hair straight back
12. Clean up and dispose of soiled materials
BASIC FACIAL(10 Minutes)
Table Set Up: 1. Hair drape 2. 2 Towels
• Disinfects new area 3. Cleanser 4. Massage cream
• Use protective covering 5. Toner 6. Tissues
7. Cotton 8. Trash bag• Sanitize hands 9. Spatula
Procedure:1. Apply hair drape completely covering hair
2. Re-sanitize hands
3. Remove cleanser using a spatula over trash
4. Apply cleanser over entire face in an upward motion5. Remove cleanser with tissue in an upward motions6. Remove massagecream using a spatula over trash7. Distribute massagecream over entire face in an upward motion
8. Demonstrate massage movement maintaining continuous contact
9. Remove massagecream with tissue in an upward motion
10. Remove all residual massage product with tissue11. Apply toner on cotton ball over trash12. Apply toner over entire face jn an upward motion13. Clean up and dispose of soiled materials
1R
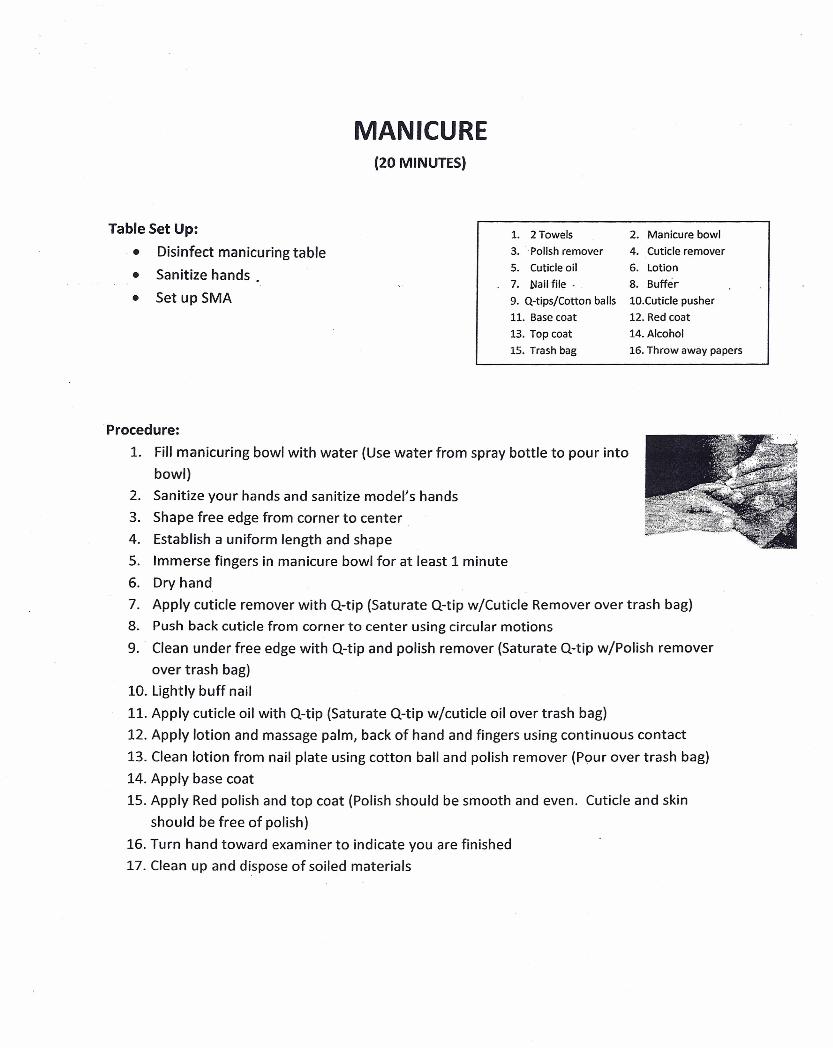
MANICURE(20 MINUTES)
1. 2 Towels 2. Manicure bowl3. Polish remover 4. Cuticle remover5. Cuticle oil 6. Lotion7. ~ailfile - 8. Buffer9. Q-tips/Cotton balls 10.Cuticle pusher11. Basecoat 12. Red coat13. Top coat 14. Alcohol15. Trash bag 16. Throwaway papers
Table Set Up:
• Disinfect manicuring table• Sanitize hands.
• Set up SMA
Procedure:
1. Fill manicuring bowl with water (Use water from spray bottle to pour intobowl)
2. Sanitize your hands and sanitize model's hands3. Shape free edge from corner to center4. Establish a uniform length and shape5. Immerse fingers in manicure bowl for at least 1 minute6. Dry hand7. Apply cuticle remover with O-tip (Saturate Q-tip w/Cuticle Remover over trash bag)8. Push back cuticle from corner to center using circular motions9. Clean under free edge with Q-tip and polish remover (Saturate Q-tip w/Polish remover
over trash bag)10. Lightly buff nail
11. Apply cuticle oil with Q-tip (Saturate Q-tip w/cuticle oil over trash bag)12. Apply lotion and massage palm, back of hand and fingers using continuous contact13. Clean lotion from nail plate using cotton ball and polish remover (Pour over trash bag)14. Apply base coat15. Apply Red polish and top coat (Polish should be smooth and even. Cuticle and skin
should be free of polish)16. Turn hand toward examiner to indicate you are finished17. Clean up and dispose of soiled materials
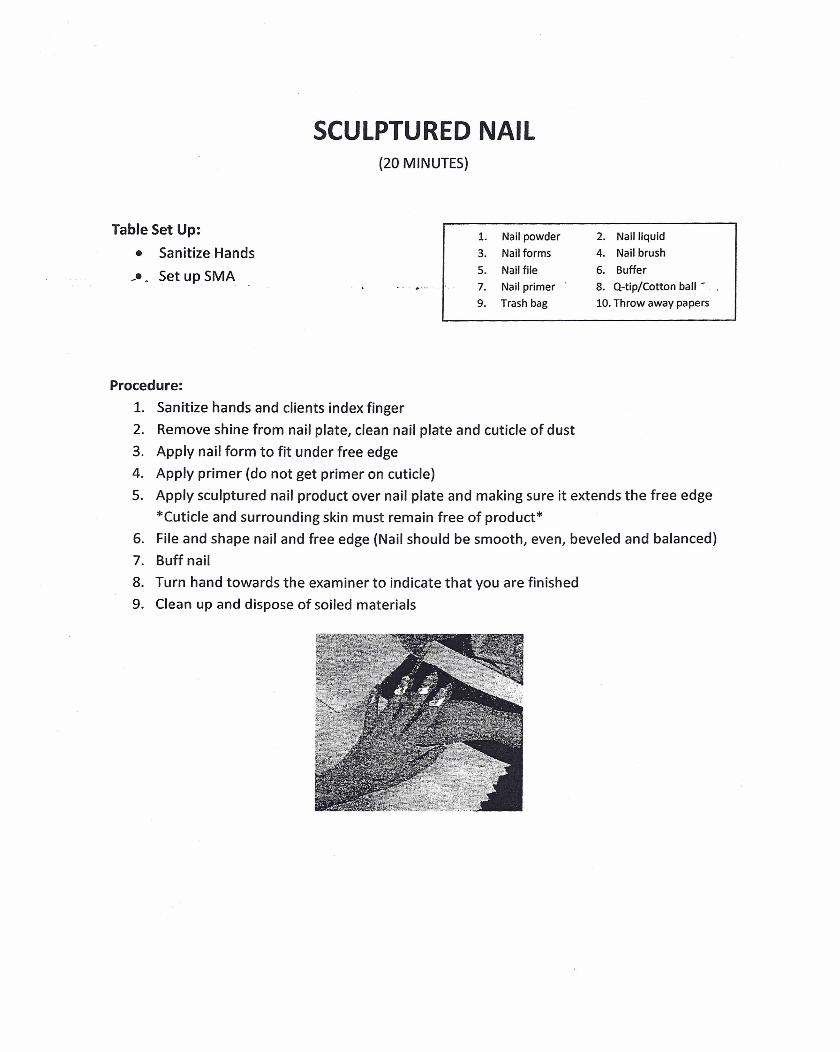
SCULPTURED NAIL(20 MINUTES)
Table Set Up:e Sanitize Hands
_e. Set upSMA
1. Nail powder 2. Nail liquid3. Nail forms 4. Nail brush5. Nail file 6. Buffer7. Nail primer 8. Q-tip/Cotton ball -9. Trash bag 10. Throwaway papers
Procedure:1. Sanitize hands and clients index finger2. Remove shine from nail plate, clean nail plate and cuticle of dust3. Apply nail form to fit under free edge4. Apply primer (do not get primer on cuticle)S. Apply sculptured nail product over nail plate and making sure it extends the free edge
*Cuticle and surrounding skin must remain free of product*6. File and shape nail and free edge (Nail should be smooth, even, beveled and balanced)7. Buff nail8. Turn hand towards the examiner to indicate that you are finished9. Clean up and dispose of soiled materials
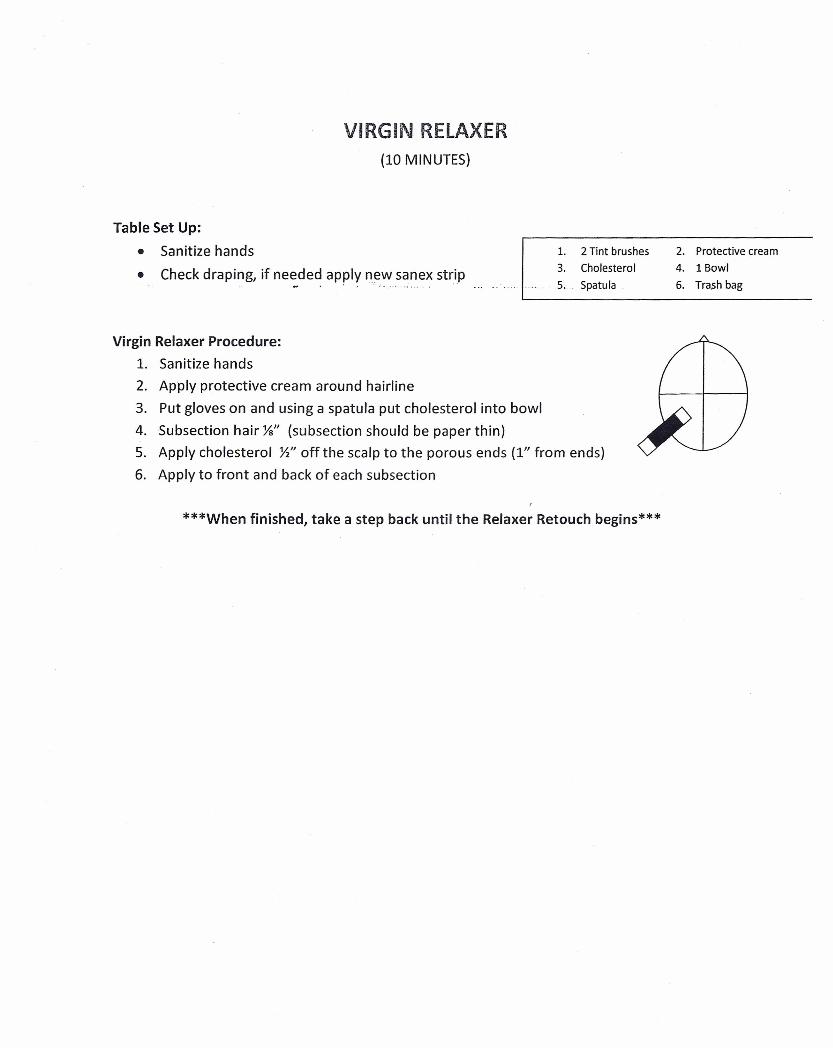
VIRGIN RELAXER(10 MINUTES)
Table Set Up:
• Sanitize hands
• Check draping, if needed apply new sanex strip
1. 2 Tint brushes
3. Cholesterol
S... Spatula
2. Protective cream
4. 1Bowl
6.. Trash bag
Virgin Relaxer Procedure:
1. Sanitize hands2. Apply protective cream around hairline
3. Put gloves on and using a spatula put cholesterol into bowl4. Subsection hair}ls" (subsection should be paper thin)5. Apply cholesterol Yz" off the scalp to the porous ends (1" from ends)
6. Apply to front and back of each subsection
***When finished, take a step back until the Relaxer Retouch begins***
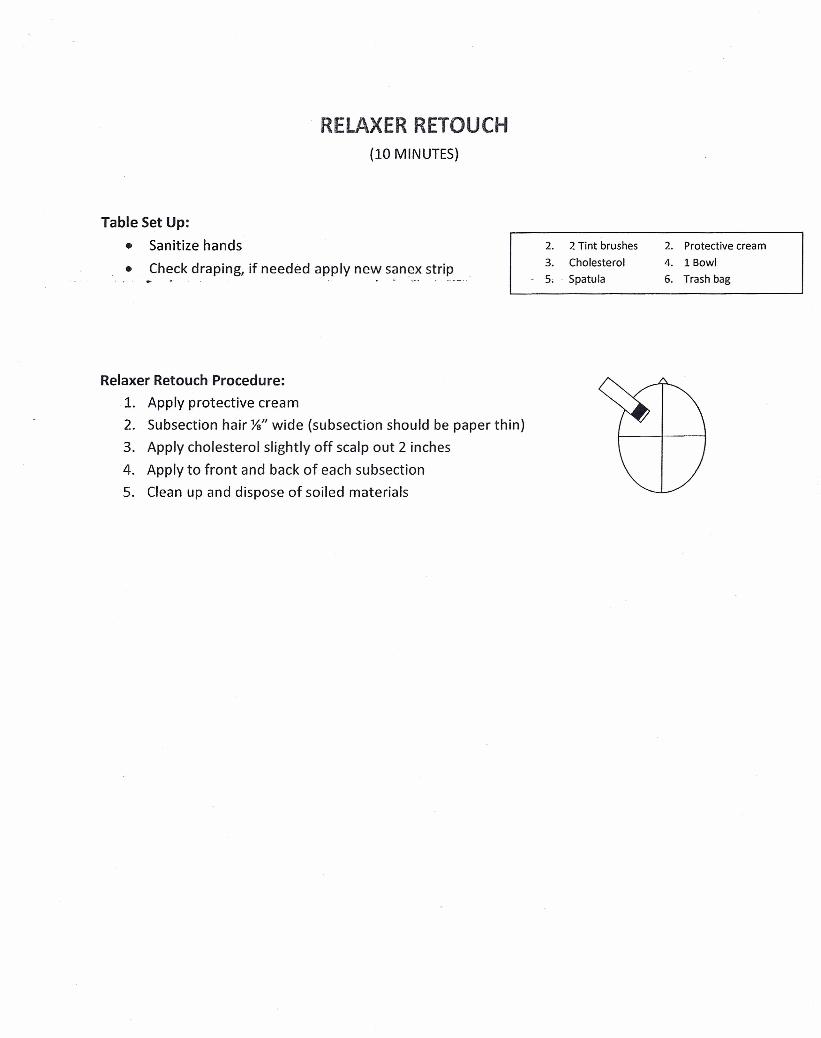
RELAXER RETOUCH(10 MINUTES)
Table Set Up:
• Sanitize hands
• Check draping, if needed apply new sanex strip
Relaxer Retouch Procedure:1. Apply protective cream
2. Subsection hair ls" wide (subsection should be paper thin)
3. Apply cholesterol slightly off scalp out 2 inches
4. Apply to front and back of each subsection5. Clean up and dispose of soiled materials
2. Protective cream4. 1 Bowl6. Trash bag
2. 2 Tint brushes3. Cholesterol5; Spatula
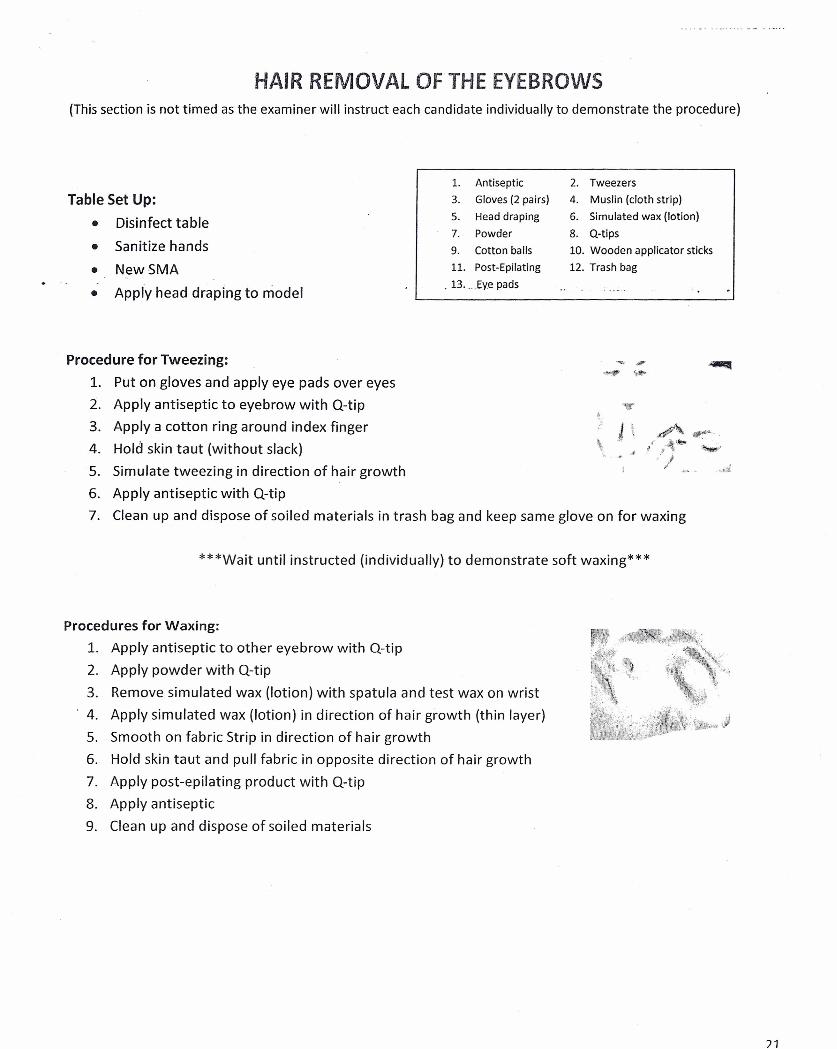
HAIR REMOVAL OFTHE EYEBROWS(Thissection is not timed asthe examiner will instruct each candidate individually to demonstrate the procedure)
1. Antiseptic 2. Tweezers
Table Set Up: 3. Gloves (2 pairs) 4. Muslin (cloth strip)
Disinfect table 5. Head draping 6. Simulated wax (lotion)• 7. Powder 8. Q-tips• Sanitize hands 9. Cotton balls 10. Wooden applicator sticks
• NewSMA 11. Post-Epilating 12. Trash bag-
.13 .. .Eyepads• Apply head draping to model ..
Procedure for Tweezing:
1. Put on gloves and apply eye pads over eyes
2. Apply antiseptic to eyebrow with Q-tip3. Apply a cotton ring around index finger
4. Hold skin taut (without slack)
5. Simulate tweezing in direction of hair growth6. Apply antiseptic with Q-tip
7. Clean up and dispose of soiled materials in trash bag and keep same glove on for waxing
t.
***Wait until instructed (individually) to demonstrate soft waxing***
Procedures for Waxing:1. Apply antiseptic to other eyebrow with O-tip
2. Apply powder with Q-tip
3. Remove simulated wax (lotion) with spatula and test wax on wrist
4. Apply simulated wax (lotion) in direction of hair growth (thin layer)
5. Smooth on fabric Strip in direction of hair growth6. Hold skin taut and pull fabric in opposite direction of hair growth
7. Apply post-epilating product with O-tip8. Apply antiseptic
9. Clean up and dispose of soiled materials
71


