Page 1
Copyright – Gina Allen ginabeanhandmade.blogspot.com Page 1
Sewing Caddy Tutorial
Finished Size: 7” high, 13” wide, 6” deep, 15” handles
Materials Needed
3/4 yard Exterior Fabric
2/3 yard Lining Fabric
2/3 yard Pellon Décor Bond
1/2 yard Pellon Peltex
Coordinating Thread
Step 1: Cut out Fabric and Interfacing
Exterior Fabric:
Front, Back and Sides - 8” X WOM, sub cut into (2) 8”x14” and (2) 8”x7”
Handles- 5” x WOM, sub cut into (2) 5”x16”
Pockets- 6” x WOM, sub cut into (3) 6”x14”
Bottom – 7”x14”
Lining Fabric:
Front, Back and Sides - 8” X WOM, sub cut into (2) 8”x14” and (2) 8”x7”
Pockets- 7” x WOM, sub cut into (3) 7”x14”
Bottom- 7”x14”
Décor Bond:
Front, Back and Sides- 8”X WOM, sub cut into (2) 8”x14” and (2) 8”x7”
Handles- 5”xWOM, sub cut into (2) 5”x16”
Pockets- 6”xWOM, sub cut into (3) 6”x14”
Peltex: Cut two pieces of Peltex 7” wide and then sub cut those into
(3) 7”x13” - front, back, bottom
(2)7”x6” – sides
*cut the bottom piece down to 6” x 13”*
Page 2
Copyright – Gina Allen ginabeanhandmade.blogspot.com Page 2
Use ½” seams used unless otherwise noted
Please read all instructions before beginning.
Step 2: Make Handles
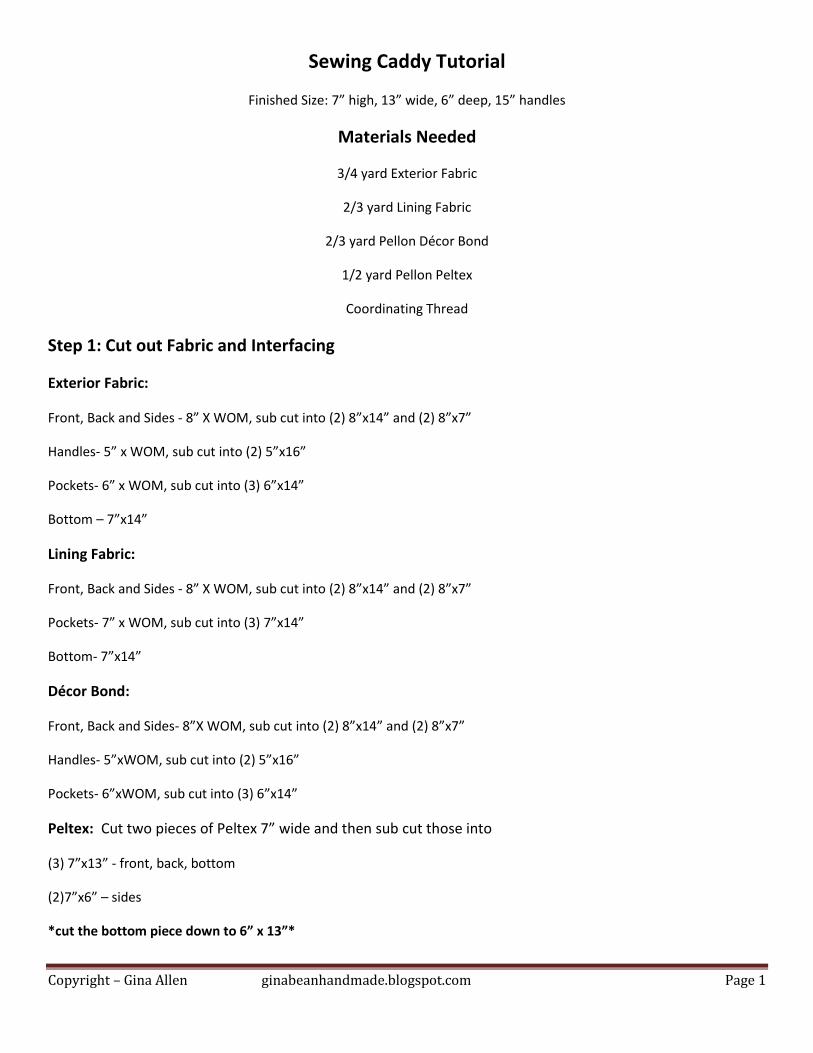
Fuse the Décor Bond to Handle Fabric
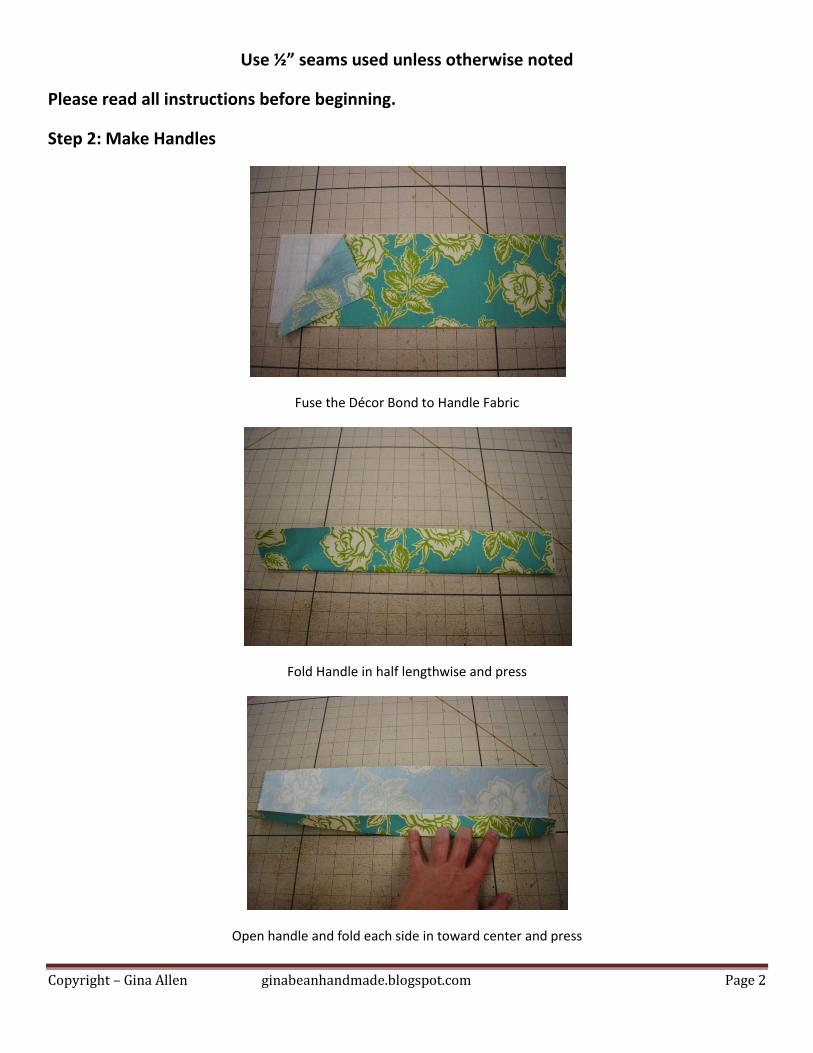
Fold Handle in half lengthwise and press
Open handle and fold each side in toward center and press
Page 3
Copyright – Gina Allen ginabeanhandmade.blogspot.com Page 3
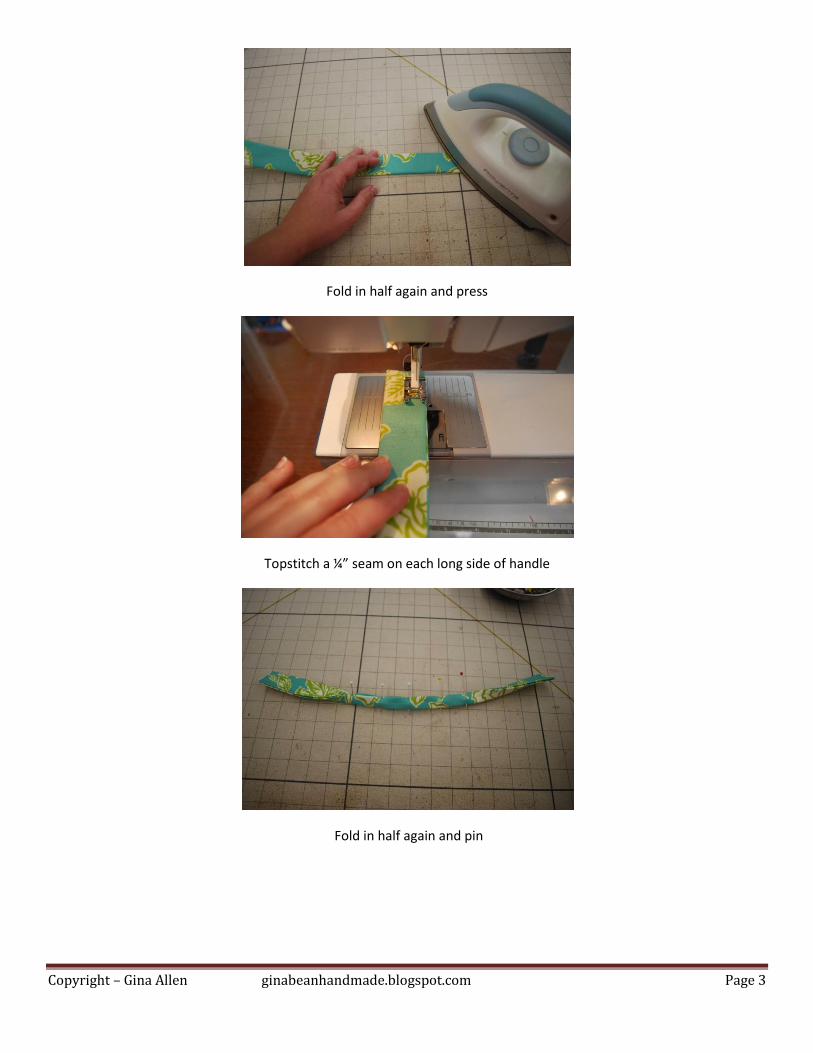
Fold in half again and press
Topstitch a ¼” seam on each long side of handle
Fold in half again and pin
Page 4
Copyright – Gina Allen ginabeanhandmade.blogspot.com Page 4
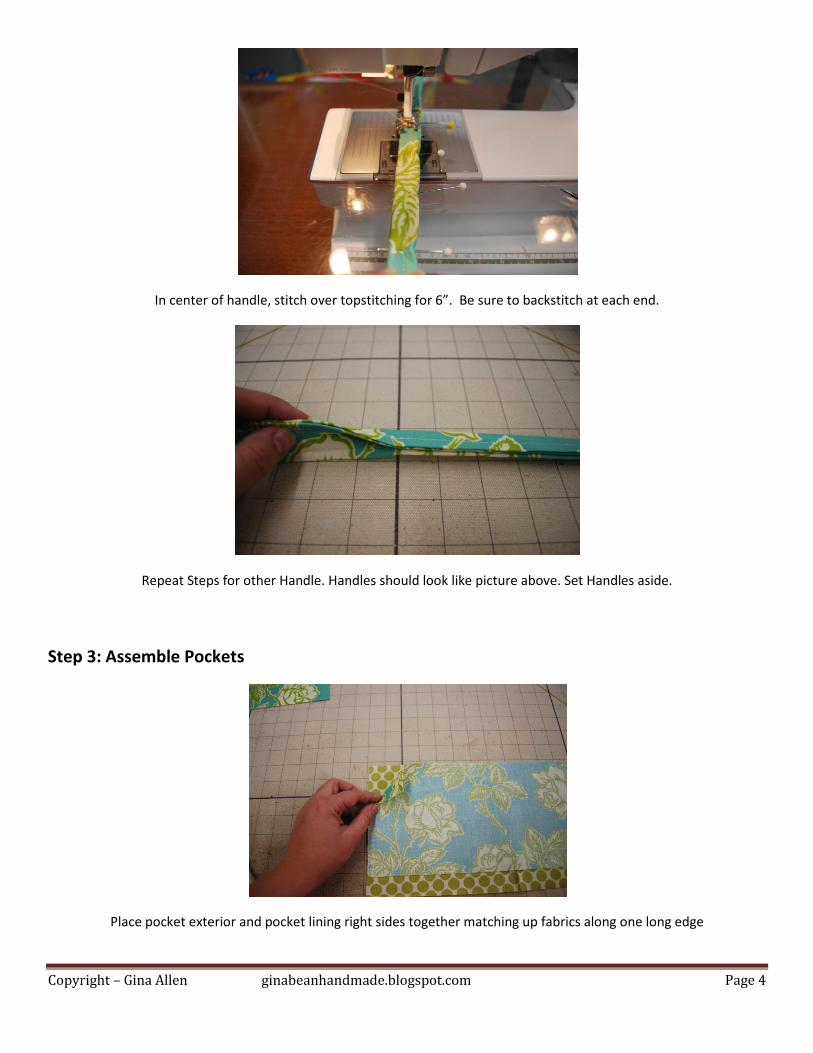
In center of handle, stitch over topstitching for 6”. Be sure to backstitch at each end.
Repeat Steps for other Handle. Handles should look like picture above. Set Handles aside.
Step 3: Assemble Pockets
Place pocket exterior and pocket lining right sides together matching up fabrics along one long edge
Page 5
Copyright – Gina Allen ginabeanhandmade.blogspot.com Page 5
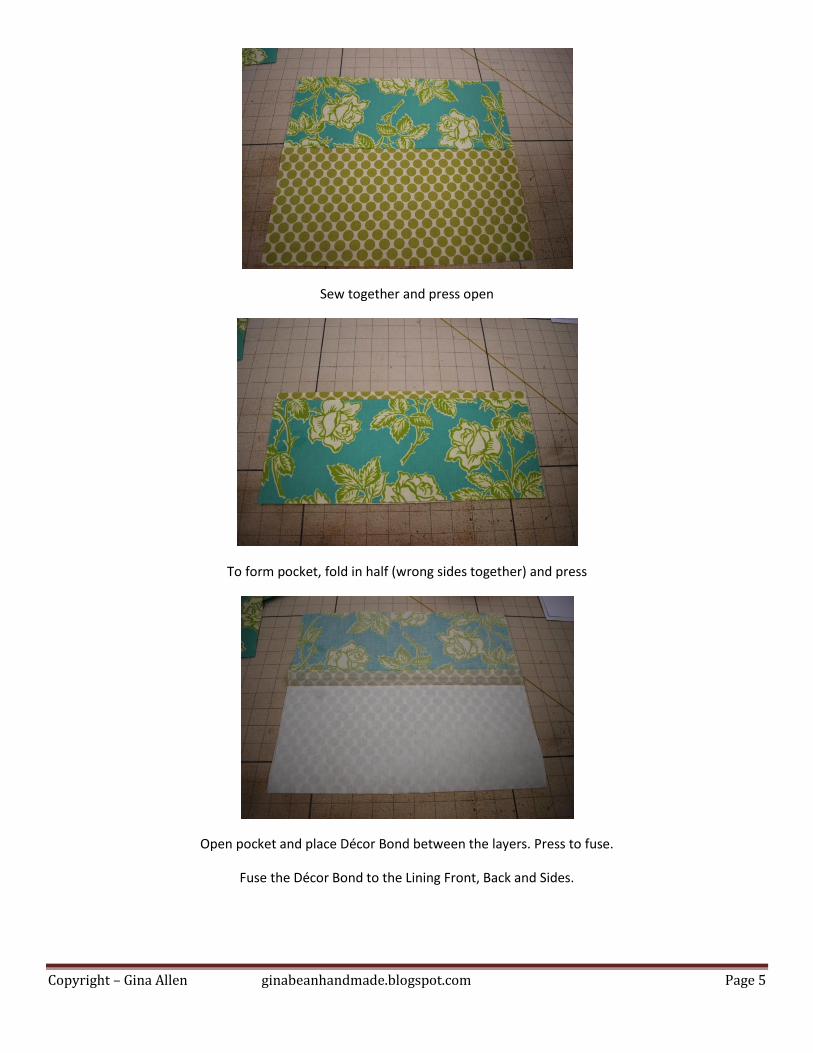
Sew together and press open
To form pocket, fold in half (wrong sides together) and press
Open pocket and place Décor Bond between the layers. Press to fuse.
Fuse the Décor Bond to the Lining Front, Back and Sides.
Page 6
Copyright – Gina Allen ginabeanhandmade.blogspot.com Page 6
Layer pocket onto Lining Front aligning layers along the bottom edge. Pin in place.
Repeat above step for the Lining Back and Exterior Front. Baste along sides and bottom.
Mark Pocket Divides with a chalk pencil or fabric marker.
Exterior- 3 pockets / Interior- 2 pockets on one side, 3 pockets on other side
Page 7
Copyright – Gina Allen ginabeanhandmade.blogspot.com Page 7
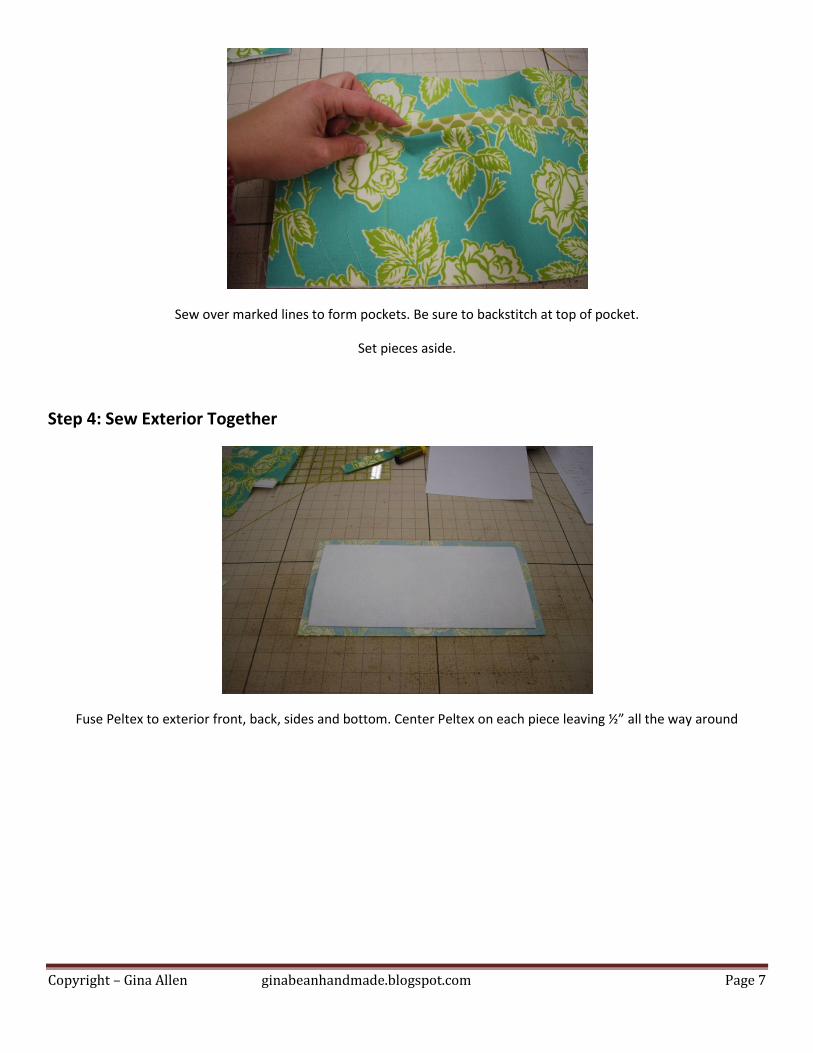
Sew over marked lines to form pockets. Be sure to backstitch at top of pocket.
Set pieces aside.
Step 4: Sew Exterior Together
Fuse Peltex to exterior front, back, sides and bottom. Center Peltex on each piece leaving ½” all the way around
Page 8
Copyright – Gina Allen ginabeanhandmade.blogspot.com Page 8
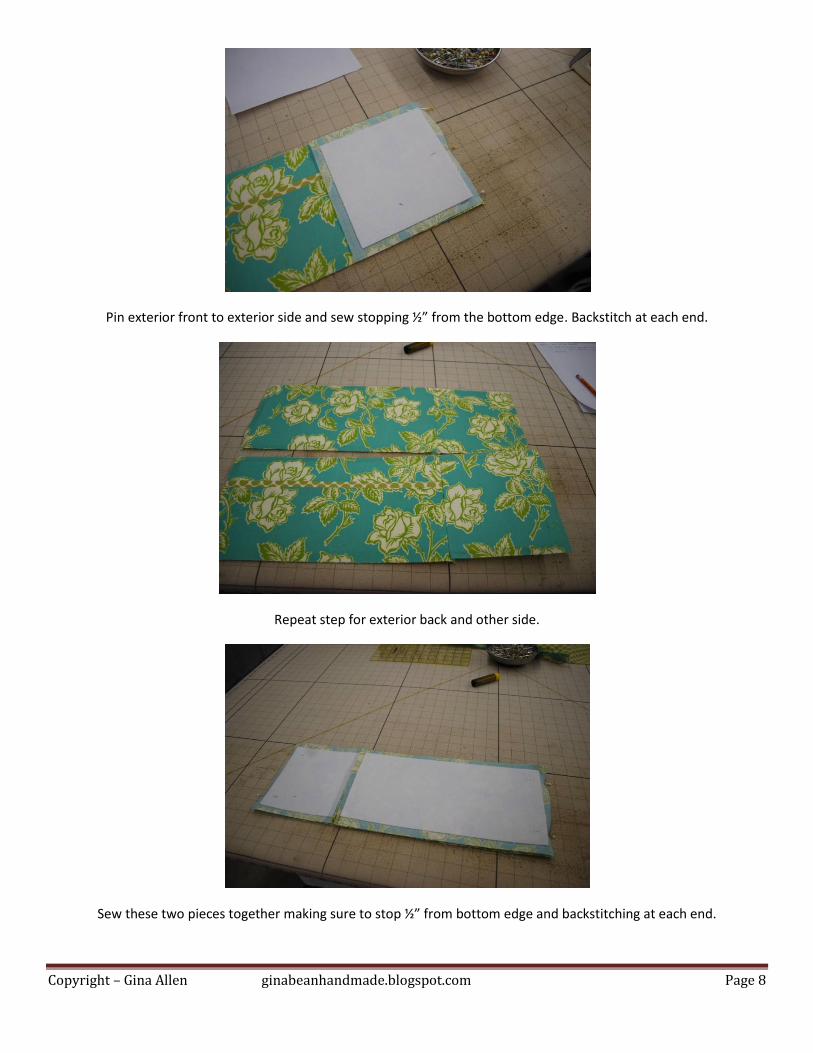
Pin exterior front to exterior side and sew stopping ½” from the bottom edge. Backstitch at each end.
Repeat step for exterior back and other side.
Sew these two pieces together making sure to stop ½” from bottom edge and backstitching at each end.
Page 9
Copyright – Gina Allen ginabeanhandmade.blogspot.com Page 9
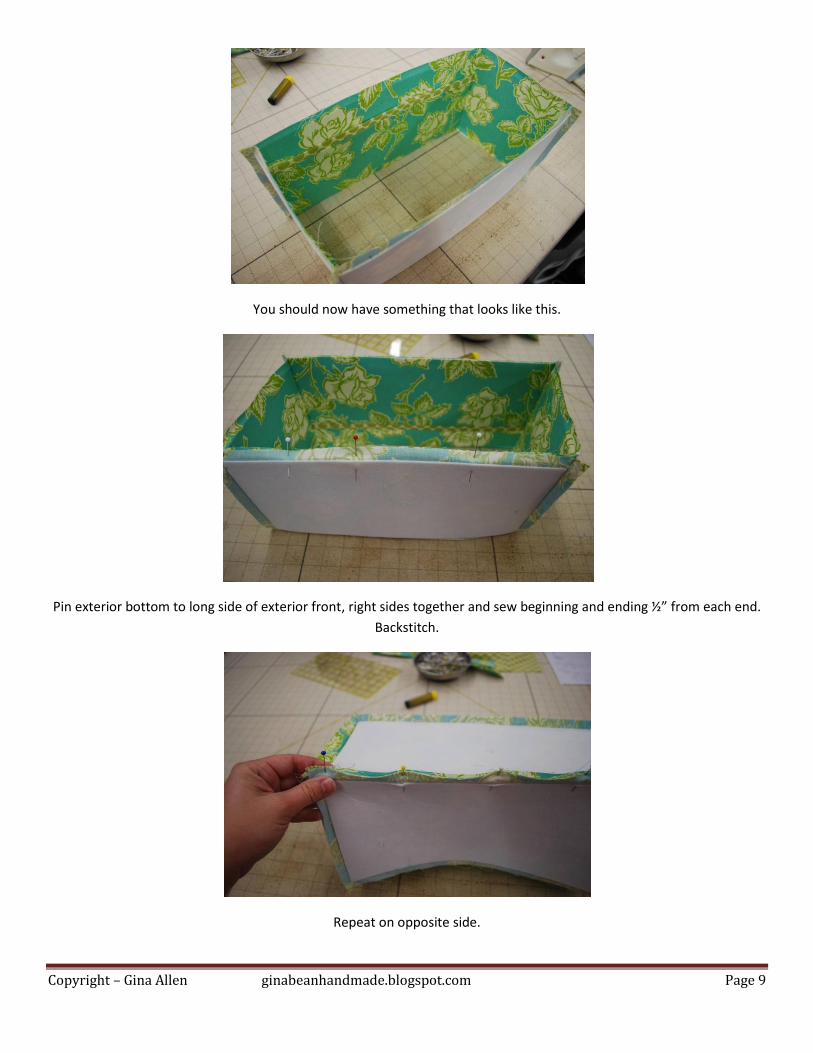
You should now have something that looks like this.
Pin exterior bottom to long side of exterior front, right sides together and sew beginning and ending ½” from each end.
Backstitch.
Repeat on opposite side.
Page 10
Copyright – Gina Allen ginabeanhandmade.blogspot.com Page 10
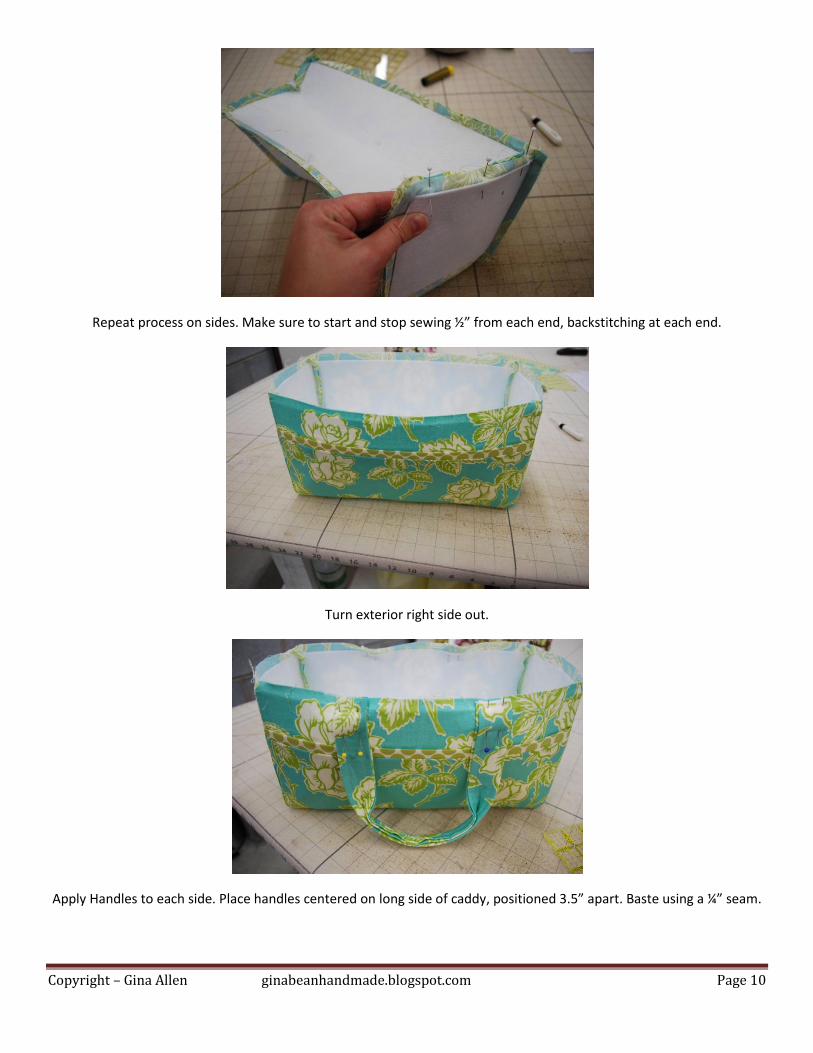
Repeat process on sides. Make sure to start and stop sewing ½” from each end, backstitching at each end.
Turn exterior right side out.
Apply Handles to each side. Place handles centered on long side of caddy, positioned 3.5” apart. Baste using a ¼” seam.
Page 11
Copyright – Gina Allen ginabeanhandmade.blogspot.com Page 11
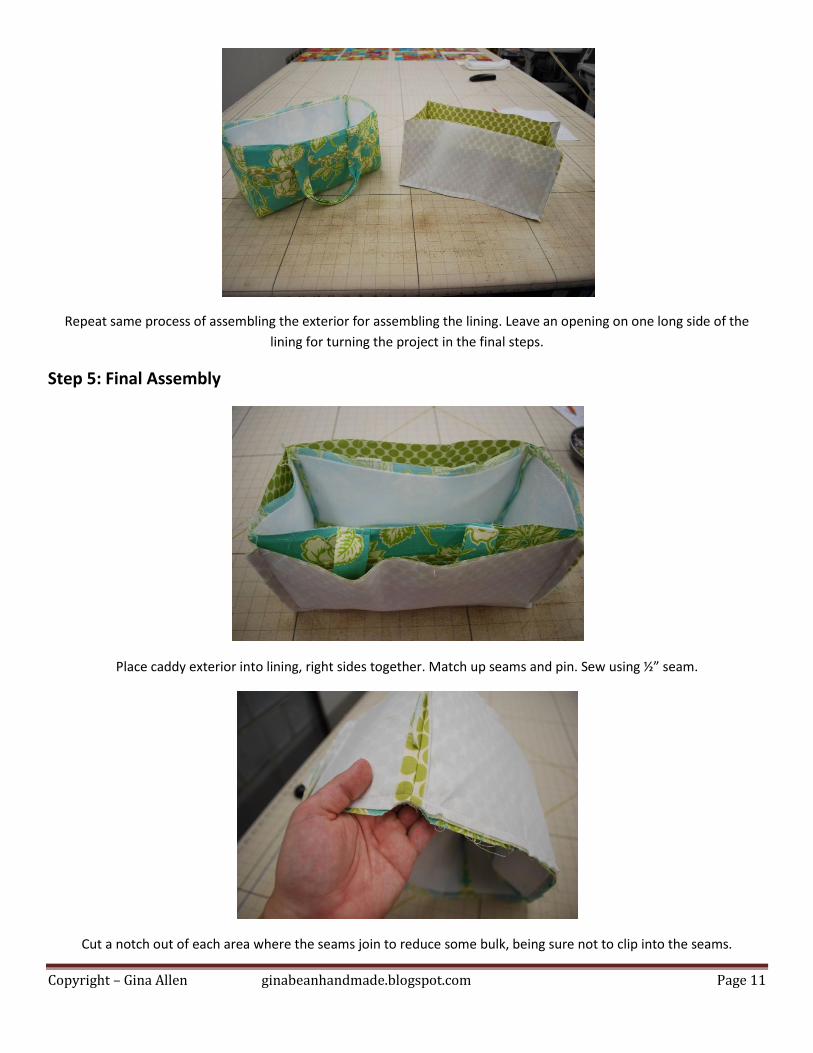
Repeat same process of assembling the exterior for assembling the lining. Leave an opening on one long side of the
lining for turning the project in the final steps.
Step 5: Final Assembly
Place caddy exterior into lining, right sides together. Match up seams and pin. Sew using ½” seam.
Cut a notch out of each area where the seams join to reduce some bulk, being sure not to clip into the seams.
Page 12
Copyright – Gina Allen ginabeanhandmade.blogspot.com Page 12
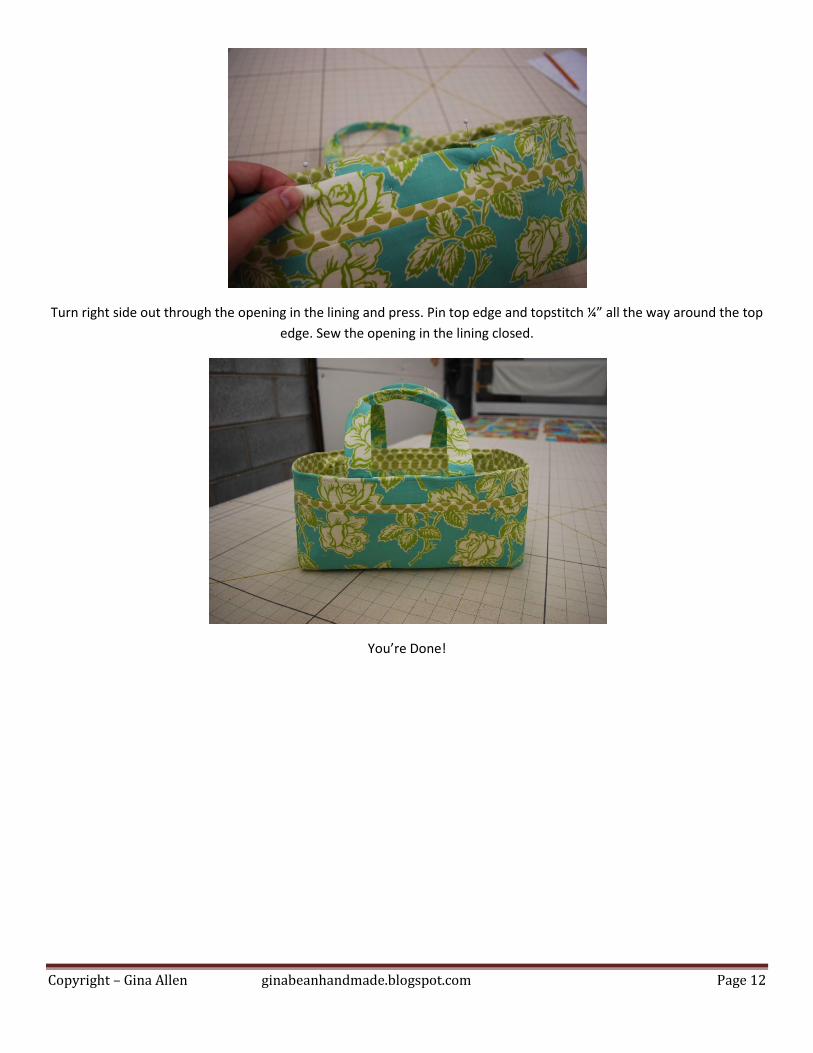
Turn right side out through the opening in the lining and press. Pin top edge and topstitch ¼” all the way around the top
edge. Sew the opening in the lining closed.
You’re Done!