20
Using Photostory
| Date post: | 19-Dec-2015 |
| Category: |
Documents |
| View: | 216 times |
| Download: | 0 times |

Using Photostory

Creating a Visual Audio Story in Microsoft Photo Story 3
• Before you begin, you will need to save images and sounds to file ready for use.
• You may like to use photographs from a digital camera, illustrations that you have scanned, or images saved from the internet.
• Sounds may be found on the internet or you may like to save a copy of a song from CD onto your computer.
• You may even like to be daring and create a sound file of your own by recording yourself.

To save an image from the internet
• Place your cursor on the image you would like to save and right click the mouse
• Select Save Picture As • Select the folder you would like to store your image in
and click Save

To save a sound file from the internet
• Place you cursor on the sound file and right click the mouse
• Select Save Target As• Select the folder you would like to story your sound file in
and click Save

Using Microsoft Photo Story 3
• Microsoft Photo Story includes a Wizard that will take you through the step by step process to create an audio visual story.

Import Pictures
1. Click Import Pictures, locate and select the images you would like to use in your story and click OK.
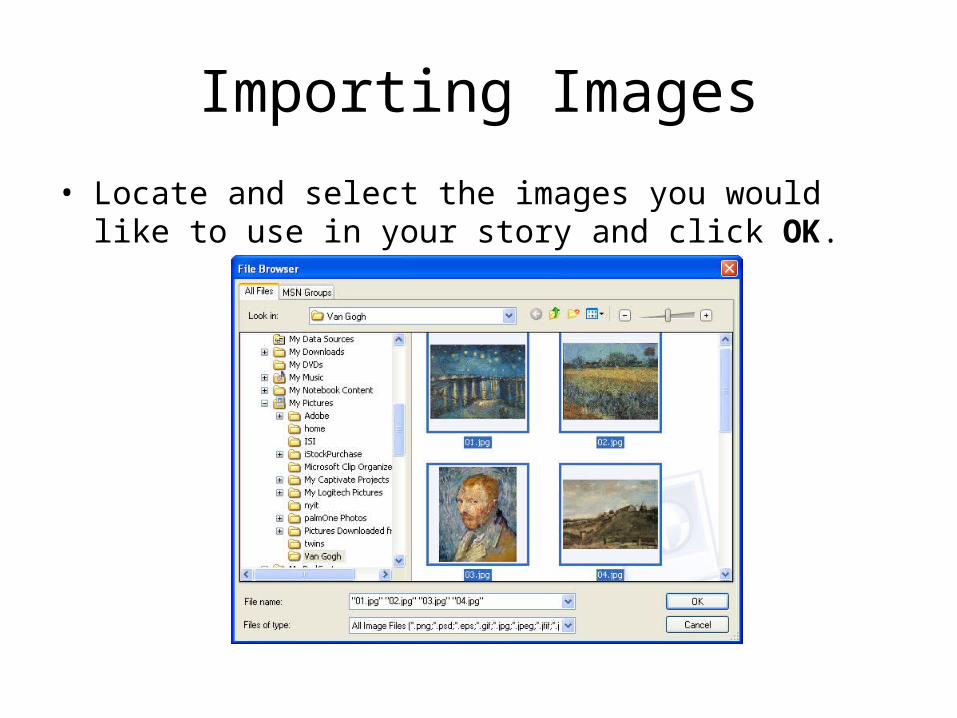
Importing Images
• Locate and select the images you would like to use in your story and click OK.

• Once you have imported your images onto the film strip, select Next.

Removing Black Space
• You may choose to have Photostory remove the black space around the images.

Adding Text to Your Images
• You may like to include some text on your images such as names, dates, quotes etc.

Continue Adding Text
• Continue adding text to individual pictures by selecting them on the timeline. Once you have completed adding text to all your images, select Next.

Adding Narration
• To record narration, select the slide and click the record button. Click the stop button to end the recording.

Customizing Motion Animation
• Select Customize Motion. From the Motion and Duration tab, tick Specify start and end position of motion.

Customizing Motion Animation
• Both starting and ending images have a box that can be repositioned by dragging the resize handles.

Changing the Transitions
• From the Transitions tab, select the transition between images.

Adding Background Music
• Click Select Music or Create Music to add background music to your presentation.

Creating Music
• Select a Band and Mood. Then click OK.
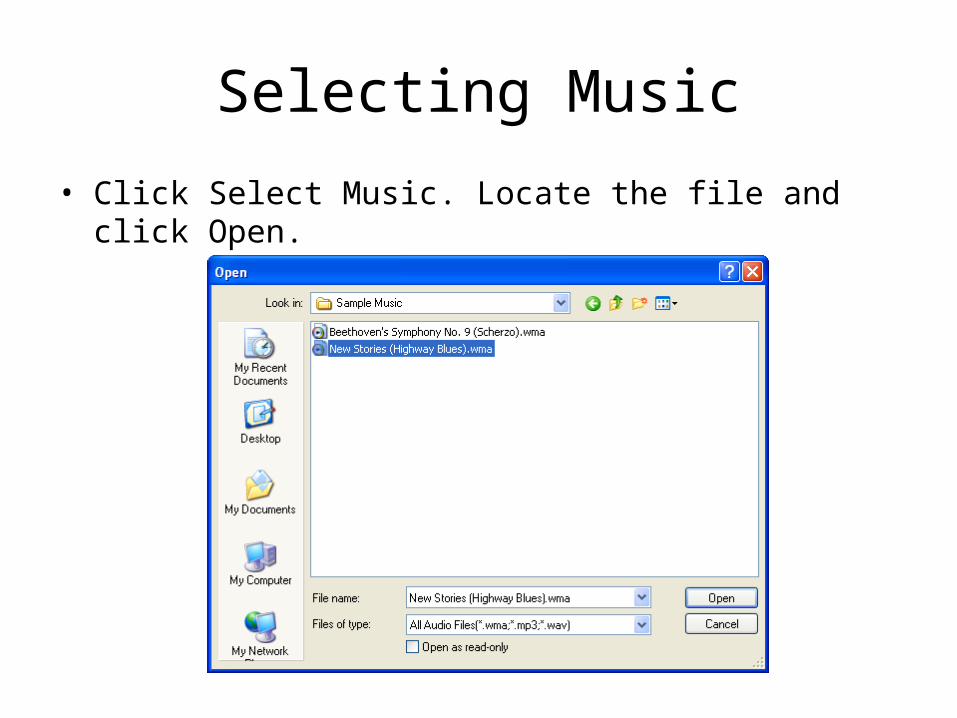
Selecting Music
• Click Select Music. Locate the file and click Open.

Save Your Project
• Click Save Project (on the bottom left).

Saving Your Digital Narrative
• Select Save your story for playback on your computer.


