32
WELCOME WELCOME EF 105 Spring 2006
| Date post: | 12-Jan-2016 |
| Category: |
Documents |
| Upload: | emery-freeman |
| View: | 214 times |
| Download: | 0 times |

WELCOMEWELCOME
EF 105
Spring 2006
EF 105Computer Methods in
Engineering Problem Solving
Week 2: FrontPageIntroduction to SoftwareUse to create Web PagesFormatting with FrontPageLinks

Visual Icons
Tabs
Menu Bar
Help
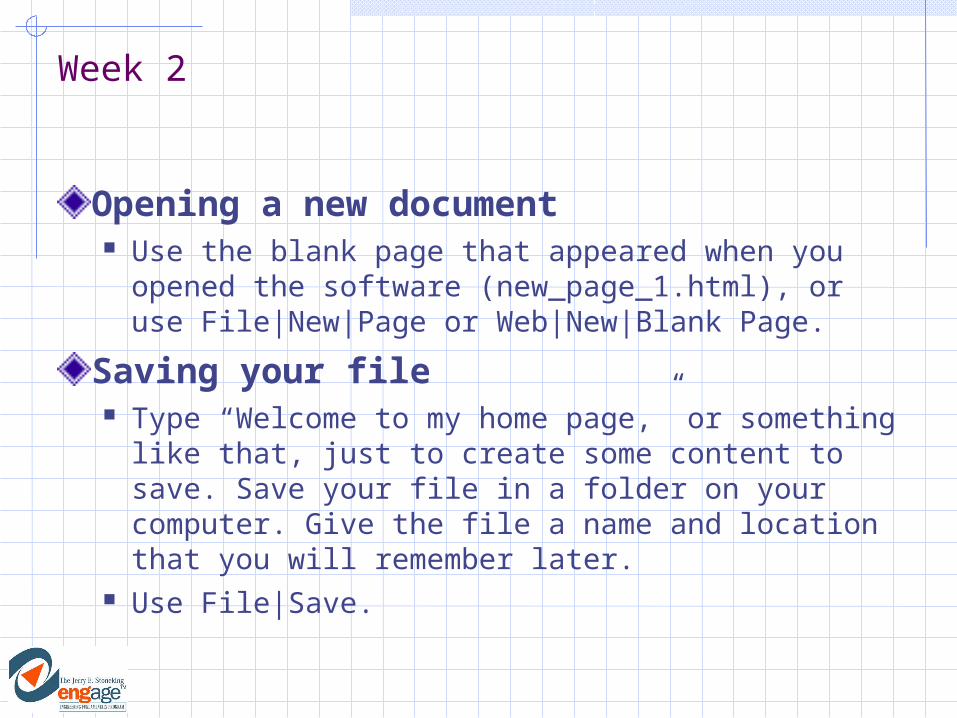
Week 2
Opening a new document Use the blank page that appeared when you
opened the software (new_page_1.html), or use File|New|Page or Web|New|Blank Page.
Saving your file Type “Welcome to my home page,” or something
like that, just to create some content to save. Save your file in a folder on your computer. Give the file a name and location that you will remember later.
Use File|Save.
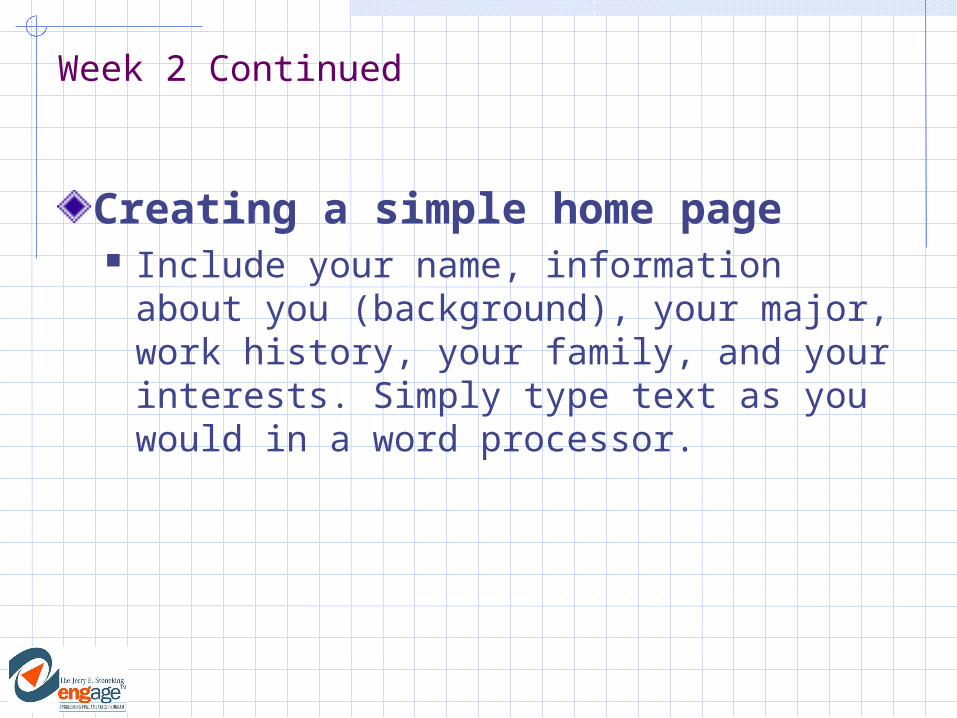
Week 2 Continued
Creating a simple home page Include your name, information about you
(background), your major, work history, your family, and your interests. Simply type text as you would in a word processor.

Using headings•HTML includes six levels of predefined heading styles. Headings always have extra vertical space before and after the line, and are bolded. Available headings from largest to smallest are Heading 1 through Heading 6. Heading 4 is the same size as regular type, but is bolded with space before and after.
•First, make sure the cursor is in the paragraph you wish to turn into a heading.
Click the Style button and select a heading style

Use Format/Font and then select a size.
Or use the font size drop-down box.
Changing Text Size:

Week 2 Continued
Making bulleted lists Create your list, then highlight the list,
then click the bullet button on the toolbar.
Or use Format/Bullets and Numbering , then select Picture Bullets or Plain Bullets.

Week 2 Continued
Making numbered lists Create your list, then highlight the list,
then click the Numbered List button on the toolbar.
Or use Format|Bullets and Numbering from the menu and select Numbers.

Week 2 Continued
Changing the background color In general, it is a good idea to be cautious when
adding background colors. Try to maintain high contrast between the color of the text and the color of the page.
Use Format| Background. Click the Background list under the Color
section. Select a color. The colors of the Text may also be changed as well as the Hyperlink, the Visited link, and the Active Hyperlink.
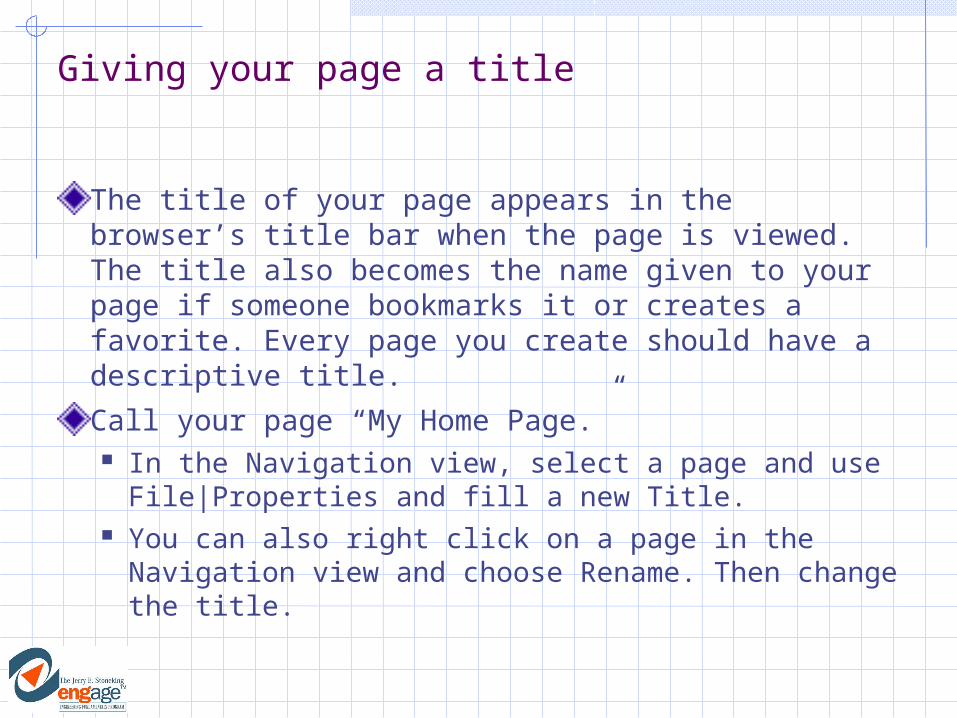
Giving your page a title
The title of your page appears in the browser’s title bar when the page is viewed. The title also becomes the name given to your page if someone bookmarks it or creates a favorite. Every page you create should have a descriptive title.
Call your page “My Home Page.” In the Navigation view, select a page and use
File|Properties and fill a new Title. You can also right click on a page in the
Navigation view and choose Rename. Then change the title.
Viewing your page in a browser
Save your page again by using File|Save. Preview your page in a web browser.
FrontPage has a built-in preview at the bottom of the editing window. This mode does not allow you to test links to other files, however. So use this technique: In page view, click the Preview in Browser
button. Or right-click the filename in the site view and
choose Preview in Browser.

Week 2: Working with text, layout and links
Goals
1. Make the text look the way you want on your web pages
2. Insert tables and images on your web pages
3. Create links between your web pages
Changing the page properties
The page properties include colors for text, links, background color, and page margins.
Use Format|Background to change the background color.
Justifying text
Click a Justification button.
Or press Ctrl+L for left, Ctrl+E for center, or Ctrl+R for right.

Adjusting text colors
Use Format/Font. Click Color button and choose a color.
Inserting a Horizontal Line
Use Insert/Horizontal Line
After you have inserted a horizontal line, double click on the line and you can change some of the attributes of the line, including height, width, alignment, color, and shading.

Creating Links to URLs
Highlight text, click on Insert Hyperlink button
Either type in or copy and paste the URL in the address field

•Click the Insert Picture From File button . Browse to the image, click OK.
•Or use Insert|Picture|From Clip Art. Browse to the image, click OK
Inserting Images
Creating Bookmarks (Anchors)
Bookmarks (which is also called Anchors) are specified locations on a web page that can serve as the destination or “target” of a link. They are used in menus to navigate within a page, or can be added to links to the page to specify a particular spot in the page.
In FrontPage, an Anchor is referred to as a Bookmark: Select Insert|Bookmark and fill in a name
Linking to a bookmark within a page
The whole point of creating a bookmark is that you can link to it either from within the same page or from another page. You might want to link to bookmarks within a page from a menu at the top of the page.
Front Page: Use Insert|Hyperlink and select the
correct bookmark.
Linking to a bookmark within a page
Bookmarks can also serve as the target of a link from another page
Be sure the page you want to link to has a bookmark (anchor) within it and that it has been saved. (It does not have to be open.) Highlight the text you want to link from. Click the link button. Click the Current Folder section under the
Look in section of the Insert Hyper Link box and browse to the correct file.
Linking to e-mail addresses
An e-mail link on a web page pops up an e-mail compose box with the address already in the “To:” field.
First, highlight the text you want to link from.
FrontPage: Click on the HyperLink button and select the E-mail
address button. Fill in the Text to display field. Then type your e-mail address (e.g., [email protected]) into the E-mail field. FrontPage will add the “mailto:”
Adding tables
Tables consist of rows, columns, and cells. They can be used for displaying tabular data, for example names and email addresses. They also allow careful positioning of elements on a page. You can nest tables within tables in order to achieve exact placement. You can set the color and formatting of individual cells or groups of cells. FrontPage: Use Table|Insert|Table. Choose number of rows and
columns.

Task
Create a simple one-page web about something of interest to you. It should be entitled, “Pets” or “Hobbies” or “My Family”, etc. and include the following
Your name and other relevant information about you Information the topic you chose
Your webpage should include the following formatting items:
A bulleted list At least two different levels of text A background color A page title A table Some graphics

Site Maps
A list of hyperlinks that shows how the pages in the site are organized.To have FrontPage create a site map for you create categories assign pages to those categories create a page for the site map and insert
a web component for each category using the Based on Page Category option from the Table of Contents Web Component
Styles
If you want to create a new style or change a style that already exists, you can.
If you modify a style or add a style on a Web page, then those changes will only affect THAT page.

Cascading Style Sheet
If you want those changes to affect all or some pages in the Web, you have two choices If the web site has a theme, you can
change or add a style in a theme and it affects that style throughout all pages in the site Do this by going to Format, Theme and click
the Modify button If the web site has no theme, you can use
a Cascading Style Sheet (CSS).

To create a CSS
Create a blank web page Remove any shared borders or themes in
that page. In it, modify the styles and/or create
additional styles that you want for your web site.
Save it as a Hypertext Style Sheet type of file
To use the CSS
In the page where you want to use the styles from the CSS, do this Select Format and then Style Sheet Links
from the menu Select either All Pages or Selected Pages
to apply the CSS to Select the appropriate CSS in the list Click OK
Summary
1. Getting Started. Open Office and start Front Page.
2. Note the three tabs at the bottom of the screen. Normal displays the working page of your web page (you edit and add things here). HTML shows the converted HTML version of the page. Preview shows you what to expect the page to look like once it is launch to the Internet. We will design the web page in Normal view.
3. To insert and center text, press the center button and begin typing.
4. You may format your text just as in WORD.
5. To insert a picture, use the same steps as in WORD. Choose Insert, Picture and choose From File or Clip Art.
6. To create a background, place your mouse anywhere on your page, right click and choose Page Properties. Choose Background. You can choose a color or something from file. Choose the picture from a file using Browse, and choose OK.
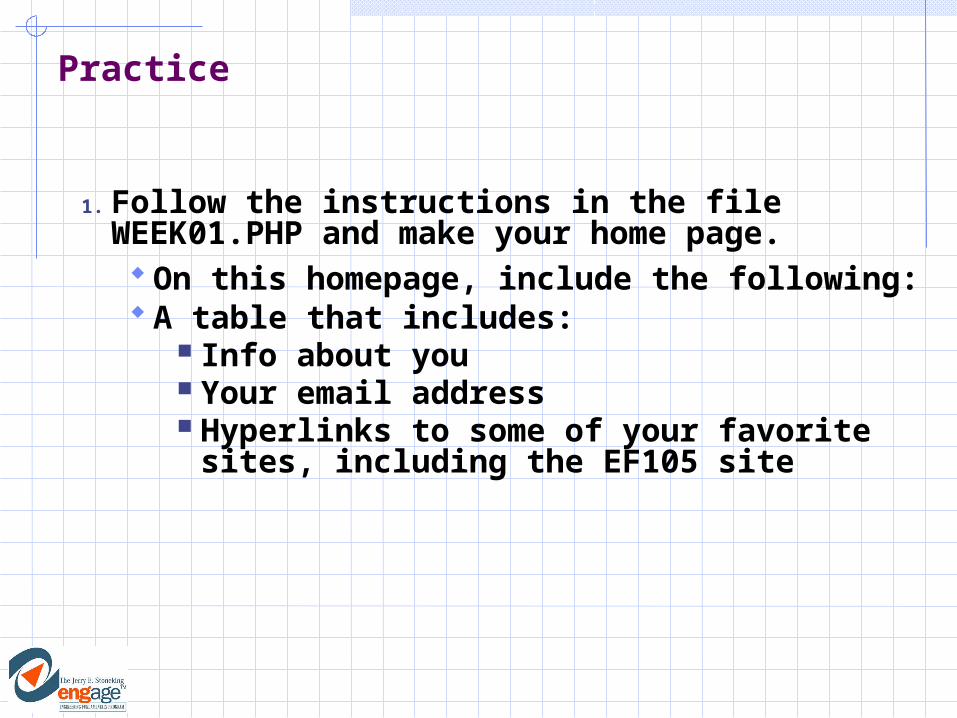
Practice
1. Follow the instructions in the file WEEK01.PHP and make your home page. On this homepage, include the following: A table that includes:
Info about you Your email address Hyperlinks to some of your favorite
sites, including the EF105 site


