26
| Date post: | 22-Jul-2015 |
| Category: |
Data & Analytics |
| Upload: | benwhite101 |
| View: | 41 times |
| Download: | 0 times |


BOTTLE - 15.01.15
To begin with, I created a simple bottle. I used a capsule
object for the main body and trimmed off the bottom
hemisphere to make it flat. I then created two shapes using
the disc primitive. A long neck for the bottle and the top. I
then created a third shape to slot-down the middle of the
object, then used Speed Boolean subtract to create a hole
through the centre of the bottle to make it look like
things could be stored inside it. To finalize, I used the in
built surface editor to colour the object.
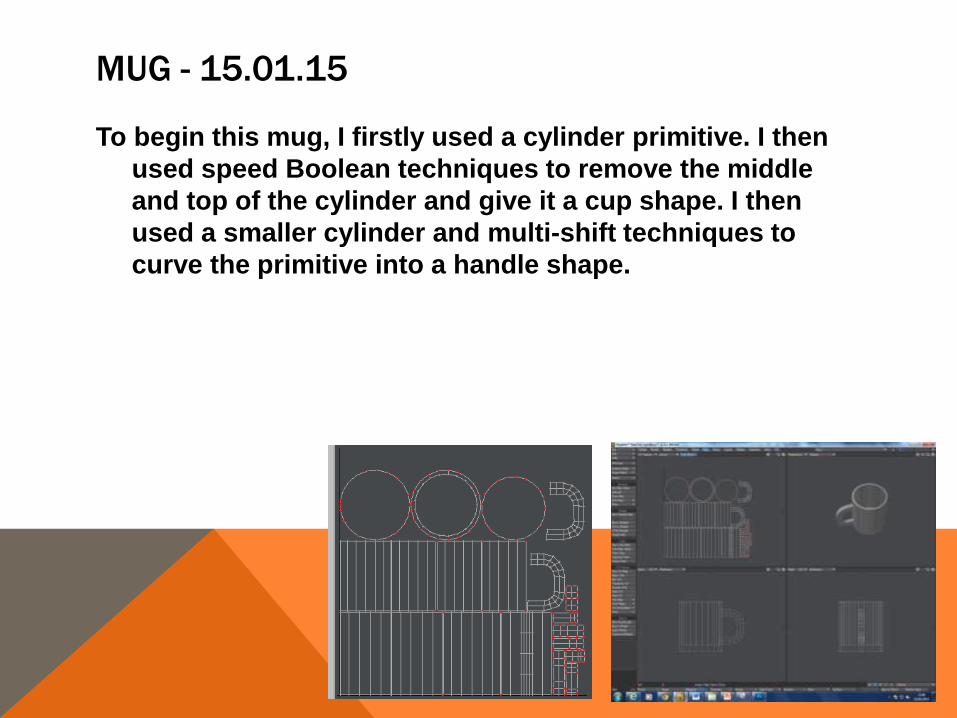
MUG - 15.01.15
To begin this mug, I firstly used a cylinder primitive. I then
used speed Boolean techniques to remove the middle
and top of the cylinder and give it a cup shape. I then
used a smaller cylinder and multi-shift techniques to
curve the primitive into a handle shape.
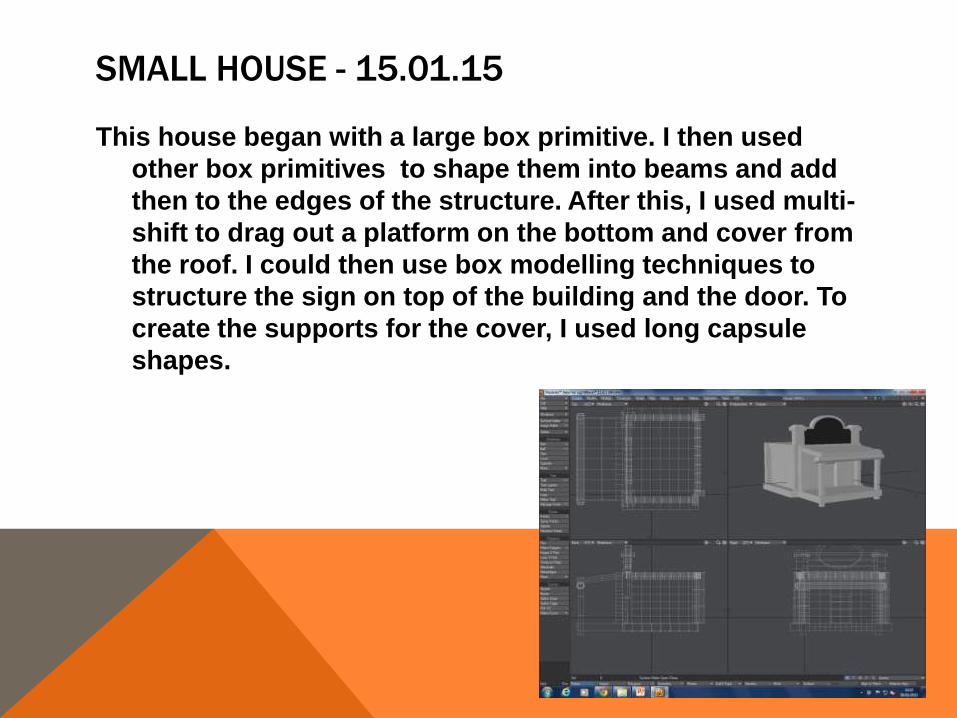
SMALL HOUSE - 15.01.15
This house began with a large box primitive. I then used
other box primitives to shape them into beams and add
then to the edges of the structure. After this, I used multi-
shift to drag out a platform on the bottom and cover from
the roof. I could then use box modelling techniques to
structure the sign on top of the building and the door. To
create the supports for the cover, I used long capsule
shapes.
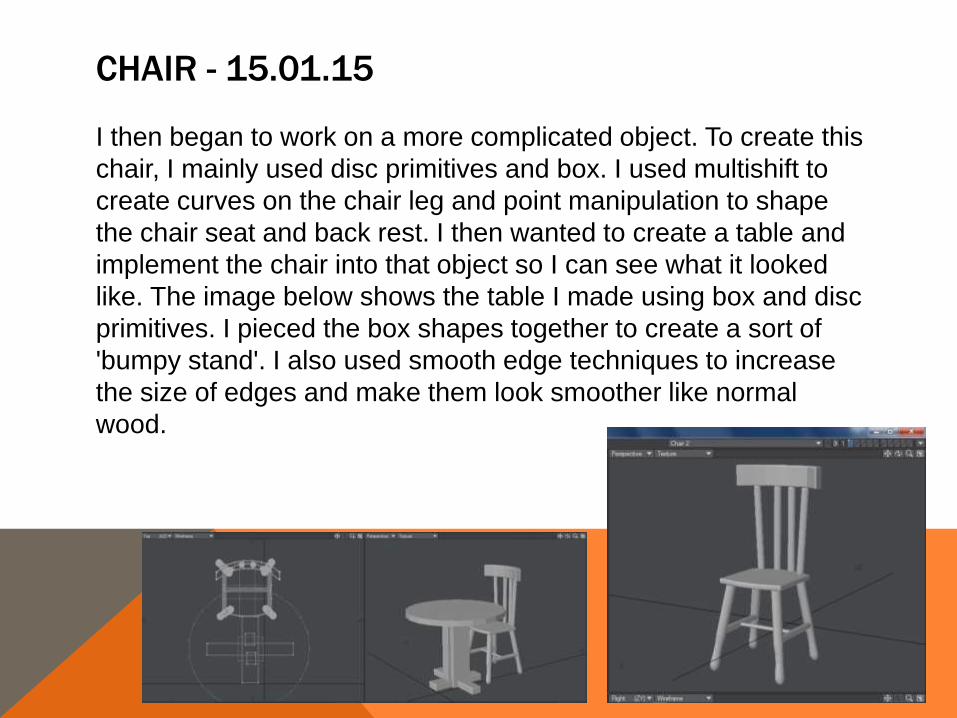
CHAIR - 15.01.15
I then began to work on a more complicated object. To create this
chair, I mainly used disc primitives and box. I used multishift to
create curves on the chair leg and point manipulation to shape
the chair seat and back rest. I then wanted to create a table and
implement the chair into that object so I can see what it looked
like. The image below shows the table I made using box and disc
primitives. I pieced the box shapes together to create a sort of
'bumpy stand'. I also used smooth edge techniques to increase
the size of edges and make them look smoother like normal
wood.
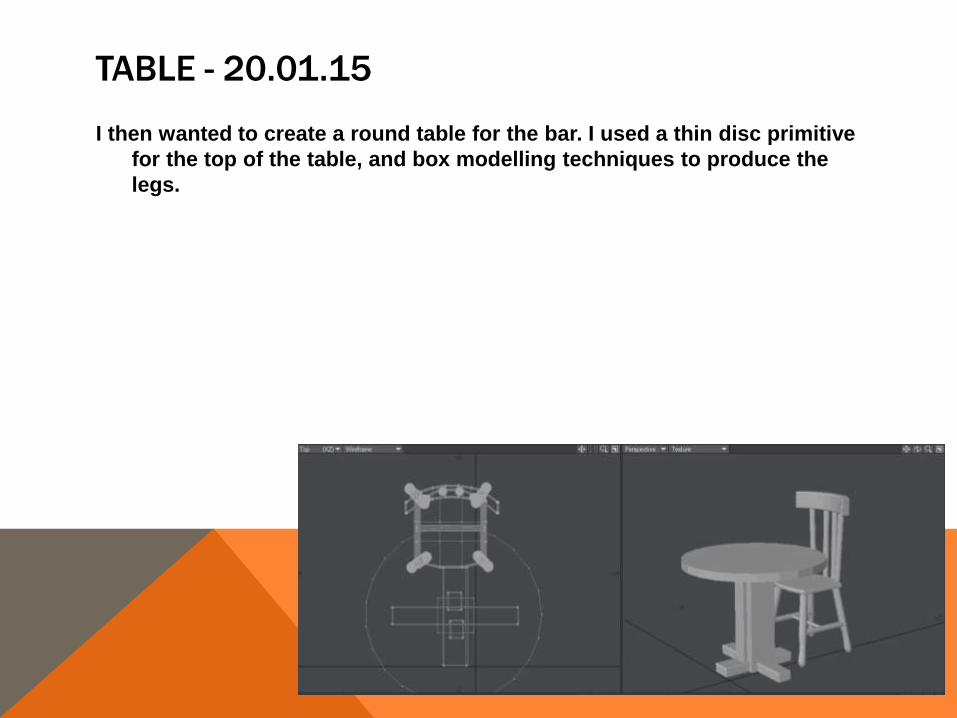
TABLE - 20.01.15
I then wanted to create a round table for the bar. I used a thin disc primitive
for the top of the table, and box modelling techniques to produce the
legs.
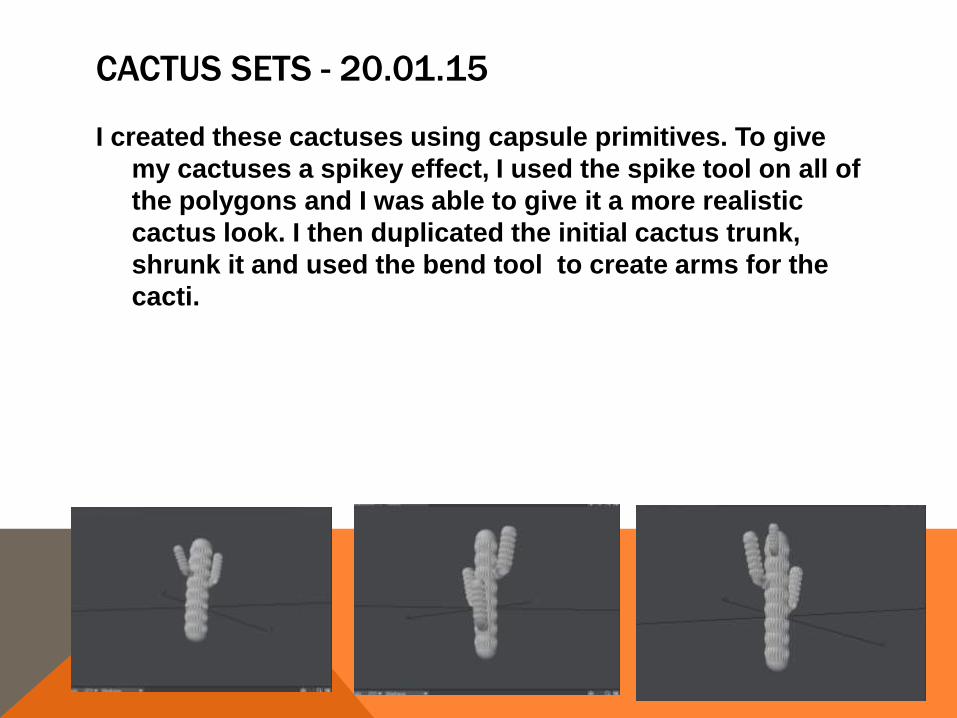
CACTUS SETS - 20.01.15
I created these cactuses using capsule primitives. To give
my cactuses a spikey effect, I used the spike tool on all of
the polygons and I was able to give it a more realistic
cactus look. I then duplicated the initial cactus trunk,
shrunk it and used the bend tool to create arms for the
cacti.
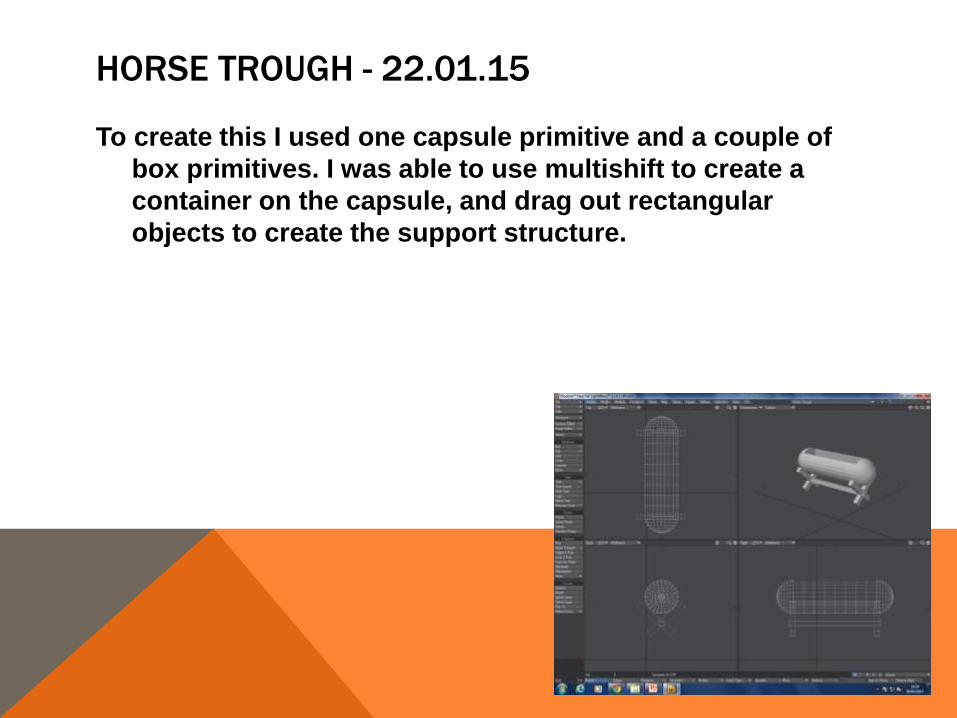
HORSE TROUGH - 22.01.15
To create this I used one capsule primitive and a couple of
box primitives. I was able to use multishift to create a
container on the capsule, and drag out rectangular
objects to create the support structure.
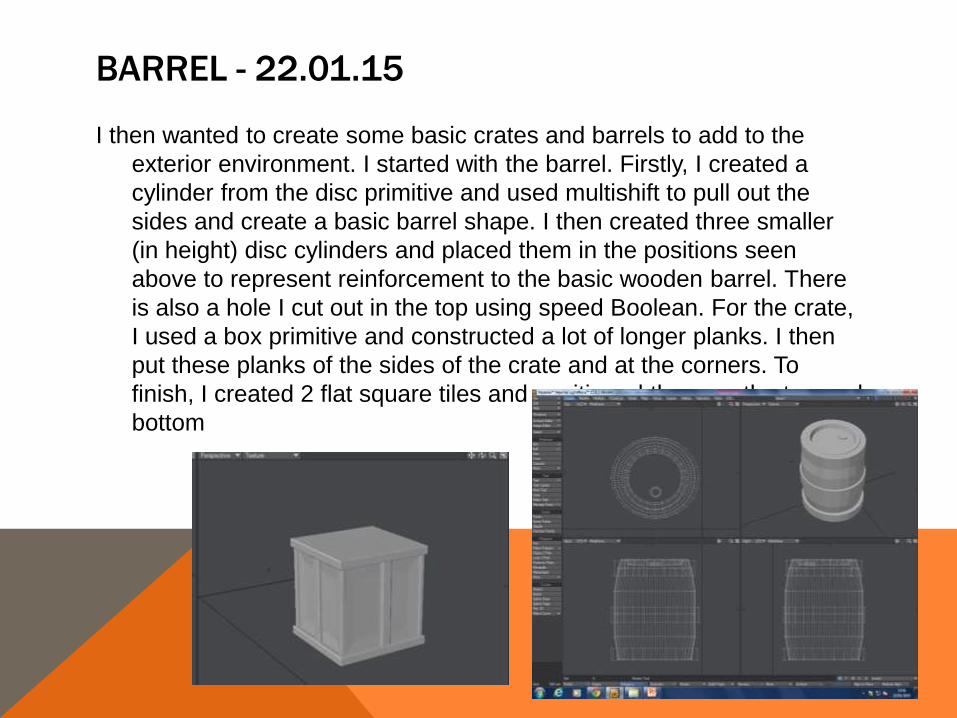
BARREL - 22.01.15
I then wanted to create some basic crates and barrels to add to the
exterior environment. I started with the barrel. Firstly, I created a
cylinder from the disc primitive and used multishift to pull out the
sides and create a basic barrel shape. I then created three smaller
(in height) disc cylinders and placed them in the positions seen
above to represent reinforcement to the basic wooden barrel. There
is also a hole I cut out in the top using speed Boolean. For the crate,
I used a box primitive and constructed a lot of longer planks. I then
put these planks of the sides of the crate and at the corners. To
finish, I created 2 flat square tiles and positioned them on the top and
bottom
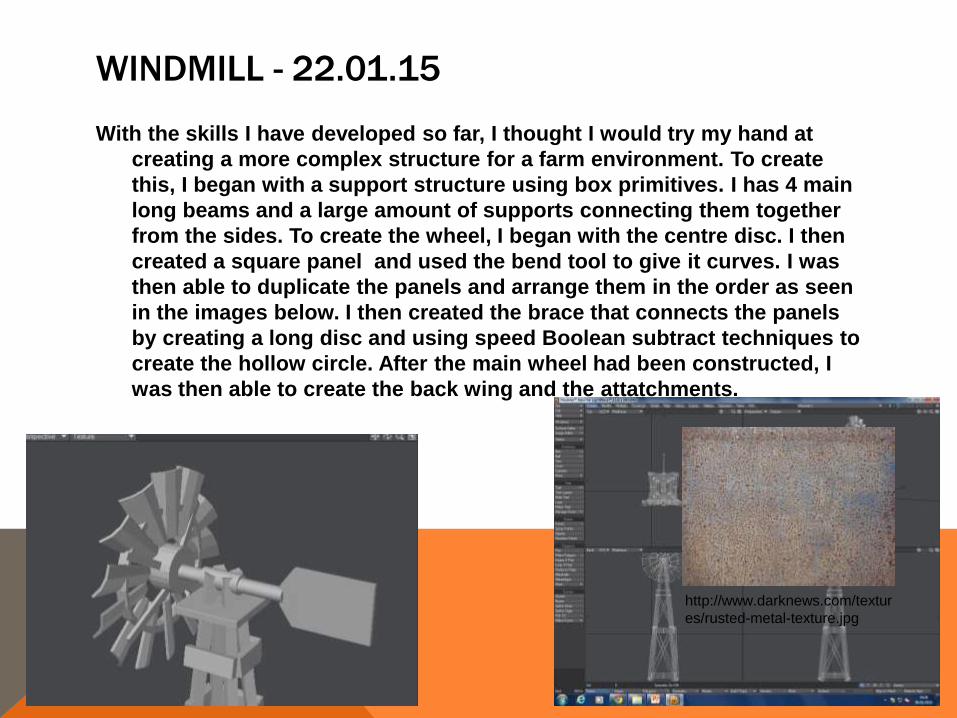
WINDMILL - 22.01.15
With the skills I have developed so far, I thought I would try my hand at
creating a more complex structure for a farm environment. To create
this, I began with a support structure using box primitives. I has 4 main
long beams and a large amount of supports connecting them together
from the sides. To create the wheel, I began with the centre disc. I then
created a square panel and used the bend tool to give it curves. I was
then able to duplicate the panels and arrange them in the order as seen
in the images below. I then created the brace that connects the panels
by creating a long disc and using speed Boolean subtract techniques to
create the hollow circle. After the main wheel had been constructed, I
was then able to create the back wing and the attatchments.
http://www.darknews.com/textur
es/rusted-metal-texture.jpg

RIFLES – BOLT ACTION + LEVER ACTION -
23.01.15To begin these two rifles, I firstly began with a reference image which I would use to
get the basic shape. I began with the lever-action rifle on the right. I could use the
spline tool in modeller to draw the back stock of the weapon and the trigger. After
the stock and trigger had been produce, I used the extrude tool to convert it from
2D to 3D. I could then use box modelling techniques to produce the centre of the
rifle as well as sights and additional extras, and disc primitives to produce the
barrel. I used these same techniques for both rifles. This also includes using
speed Boolean to open up the barrel. On the bolt action however, I used multishift
to construct the reloading mechanism. I also produced variants with scopes in
which I used disc modelling techniques and speed Boolean.
http://www.kygunco.com/prodimages/198
77-DEFAULT-L.jpg
Bolt
Action
Lever
Action
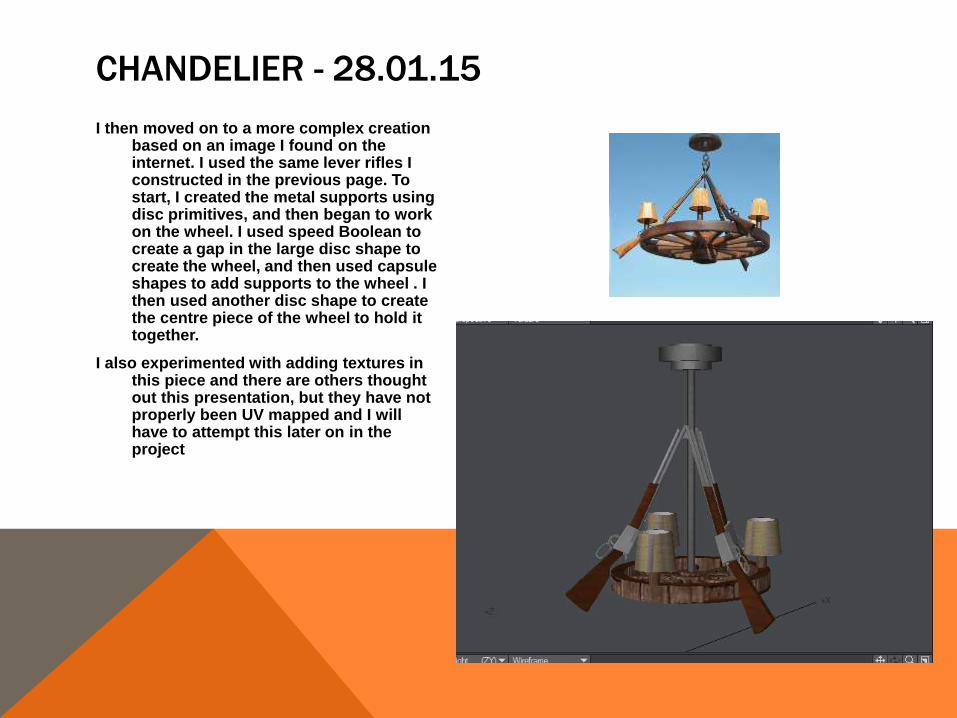
CHANDELIER - 28.01.15
I then moved on to a more complex creation based on an image I found on the internet. I used the same lever rifles I constructed in the previous page. To start, I created the metal supports using disc primitives, and then began to work on the wheel. I used speed Boolean to create a gap in the large disc shape to create the wheel, and then used capsule shapes to add supports to the wheel . I then used another disc shape to create the centre piece of the wheel to hold it together.
I also experimented with adding textures in this piece and there are others thought out this presentation, but they have not properly been UV mapped and I will have to attempt this later on in the project
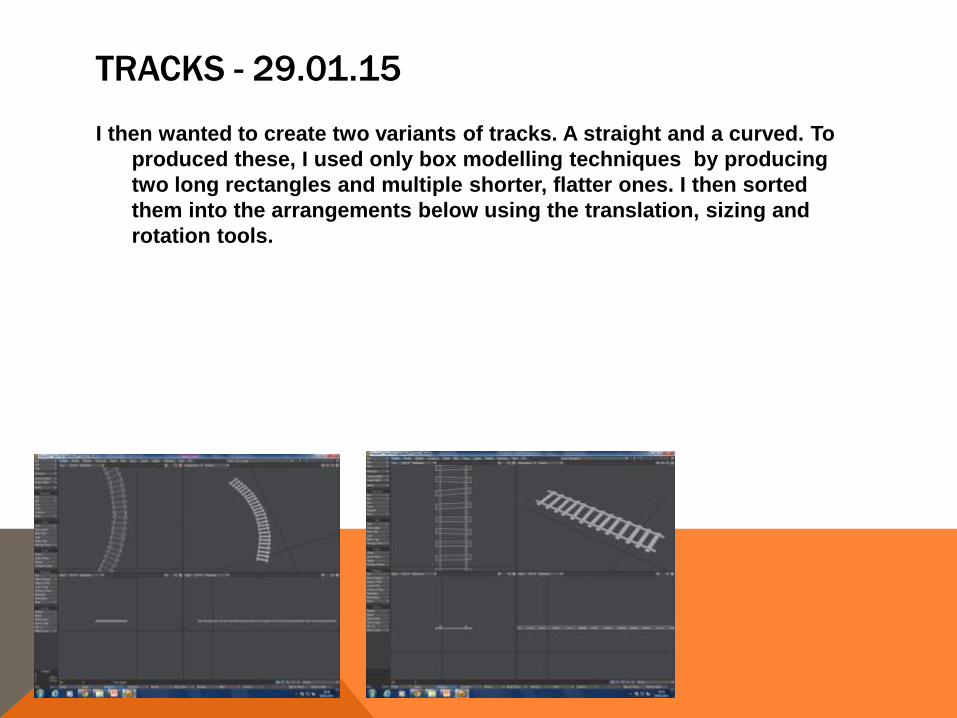
TRACKS - 29.01.15
I then wanted to create two variants of tracks. A straight and a curved. To
produced these, I used only box modelling techniques by producing
two long rectangles and multiple shorter, flatter ones. I then sorted
them into the arrangements below using the translation, sizing and
rotation tools.
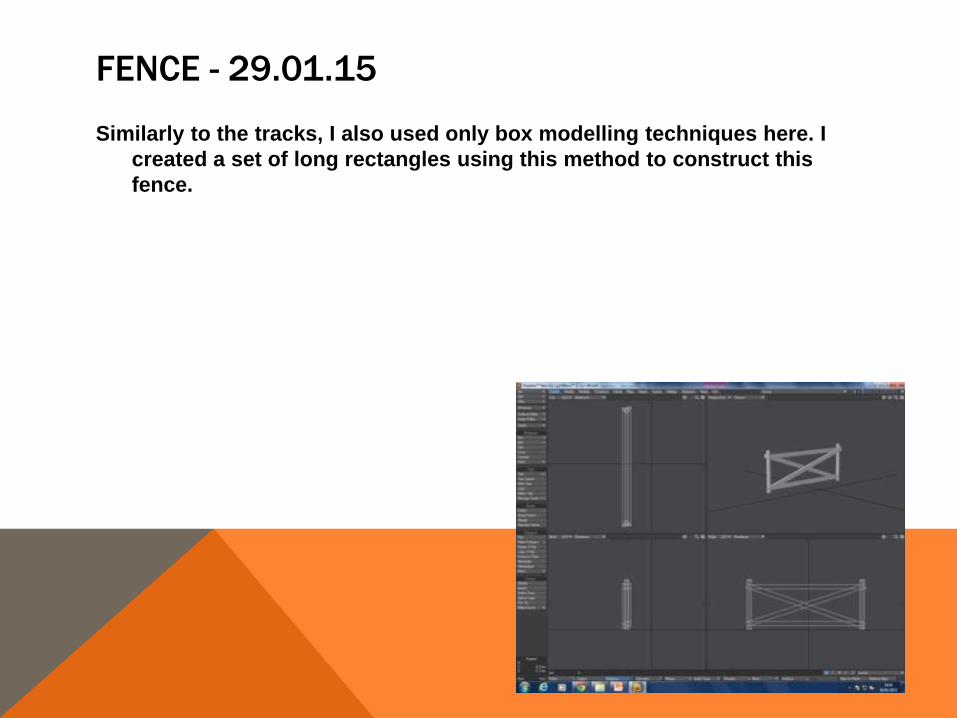
FENCE - 29.01.15
Similarly to the tracks, I also used only box modelling techniques here. I
created a set of long rectangles using this method to construct this
fence.
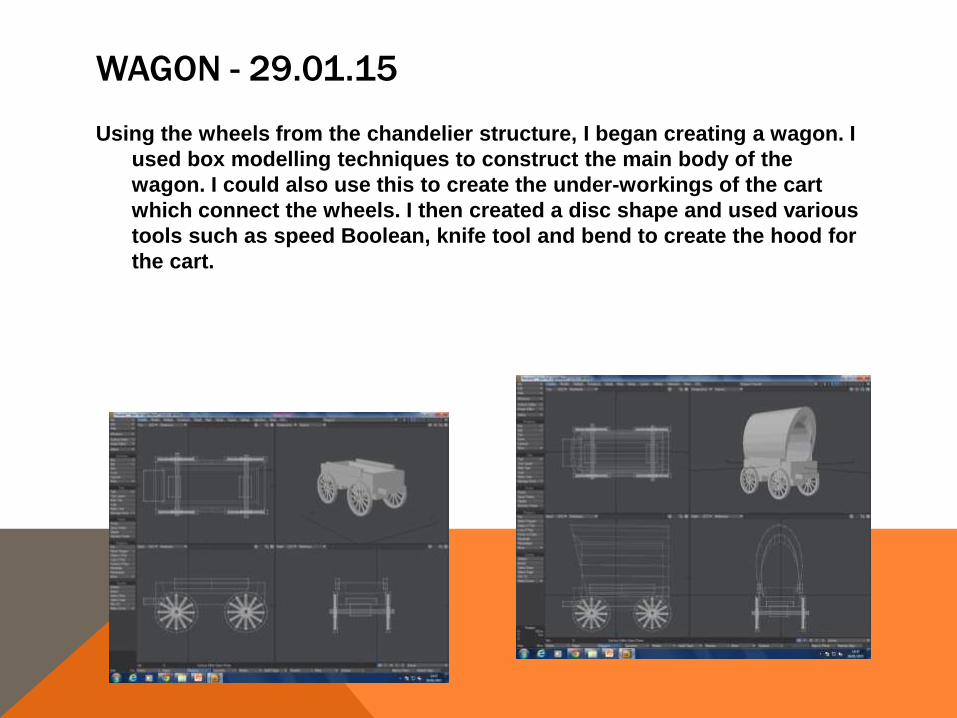
WAGON - 29.01.15
Using the wheels from the chandelier structure, I began creating a wagon. I
used box modelling techniques to construct the main body of the
wagon. I could also use this to create the under-workings of the cart
which connect the wheels. I then created a disc shape and used various
tools such as speed Boolean, knife tool and bend to create the hood for
the cart.

GOLD BAR - 05.02.15
This gold bar was creating using one box and the resizing tool to resize the
top polygon.
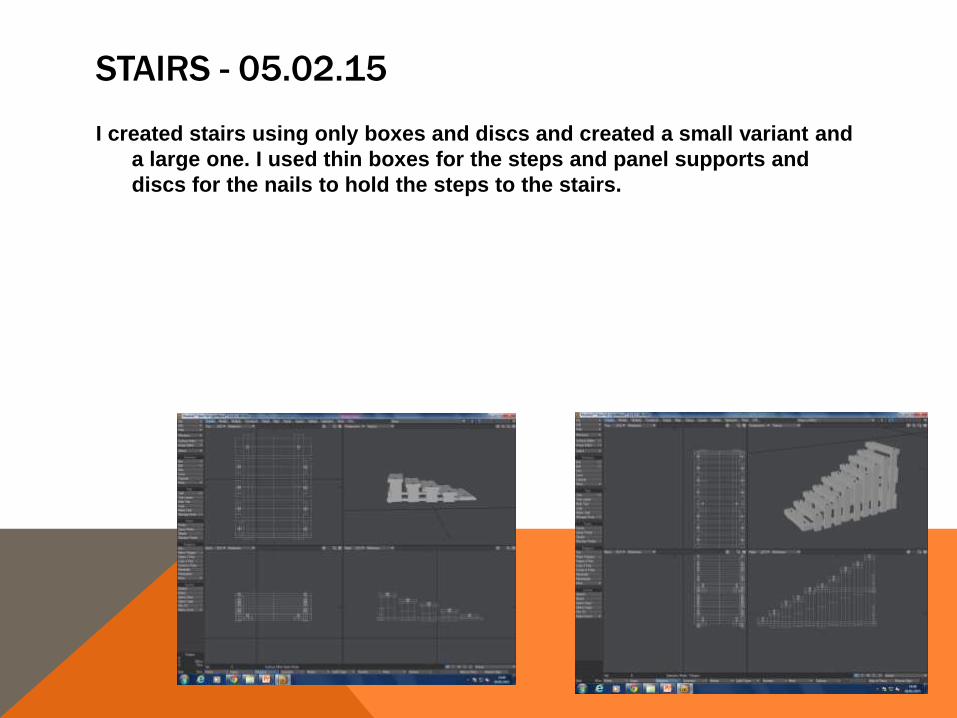
STAIRS - 05.02.15
I created stairs using only boxes and discs and created a small variant and
a large one. I used thin boxes for the steps and panel supports and
discs for the nails to hold the steps to the stairs.
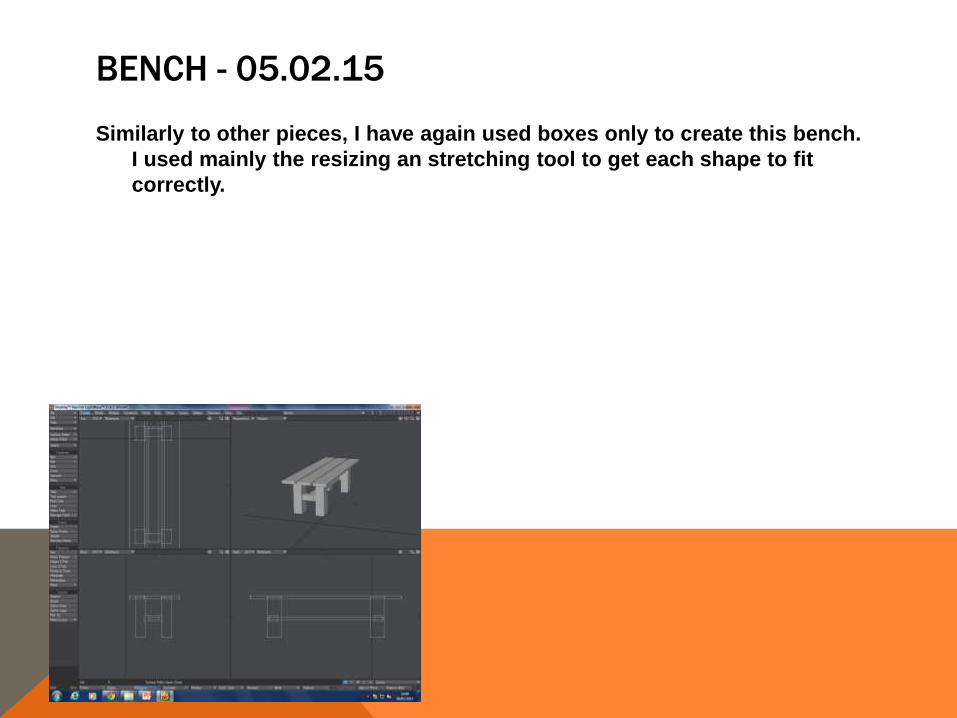
BENCH - 05.02.15
Similarly to other pieces, I have again used boxes only to create this bench.
I used mainly the resizing an stretching tool to get each shape to fit
correctly.
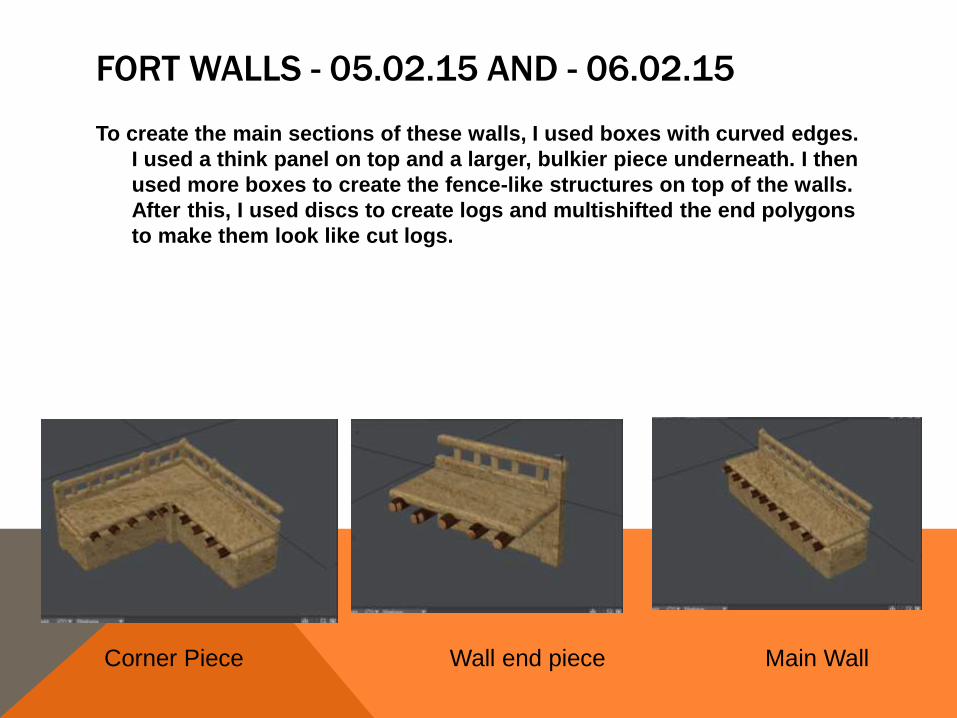
FORT WALLS - 05.02.15 AND - 06.02.15
To create the main sections of these walls, I used boxes with curved edges.
I used a think panel on top and a larger, bulkier piece underneath. I then
used more boxes to create the fence-like structures on top of the walls.
After this, I used discs to create logs and multishifted the end polygons
to make them look like cut logs.
Corner Piece Wall end piece Main Wall
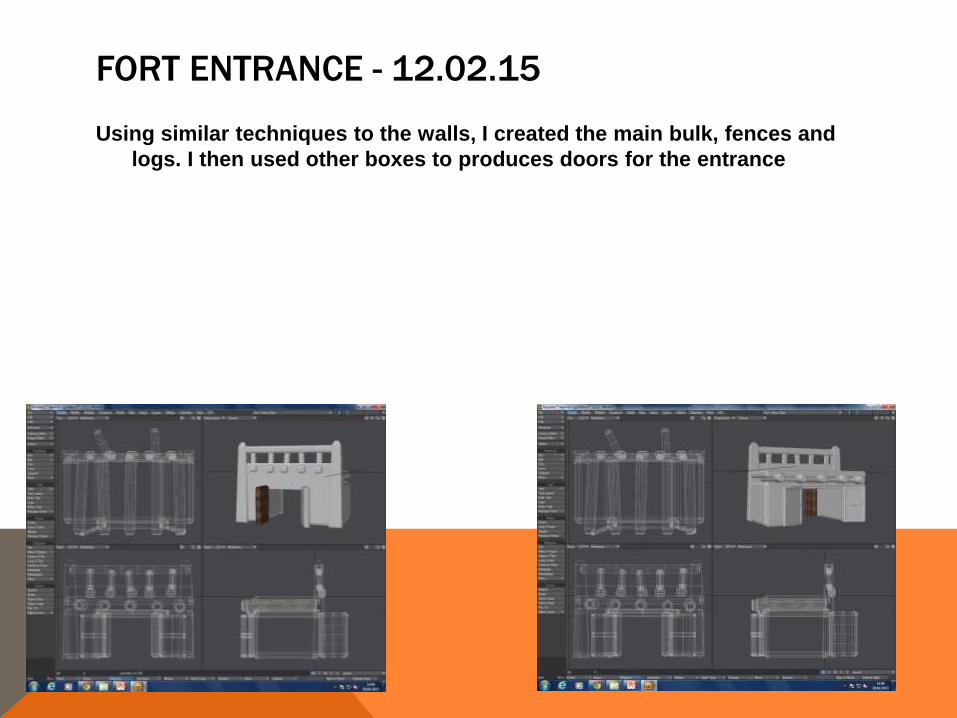
FORT ENTRANCE - 12.02.15
Using similar techniques to the walls, I created the main bulk, fences and
logs. I then used other boxes to produces doors for the entrance

CHURCH - 12.02.15
To create the church, I started with the main body by creating a large box
and moving the points on top to create the shape seen below. I was
then able to create beams using boxes and a tower. To create the roof
for the tower, I next used more box modelling techniques and multishift
and I did the same to create the door. To create the windows, I had to
firstly create a separate shape which could be duplicated and moved
over and then be speed Booleaned to create a window surrounded by
beams
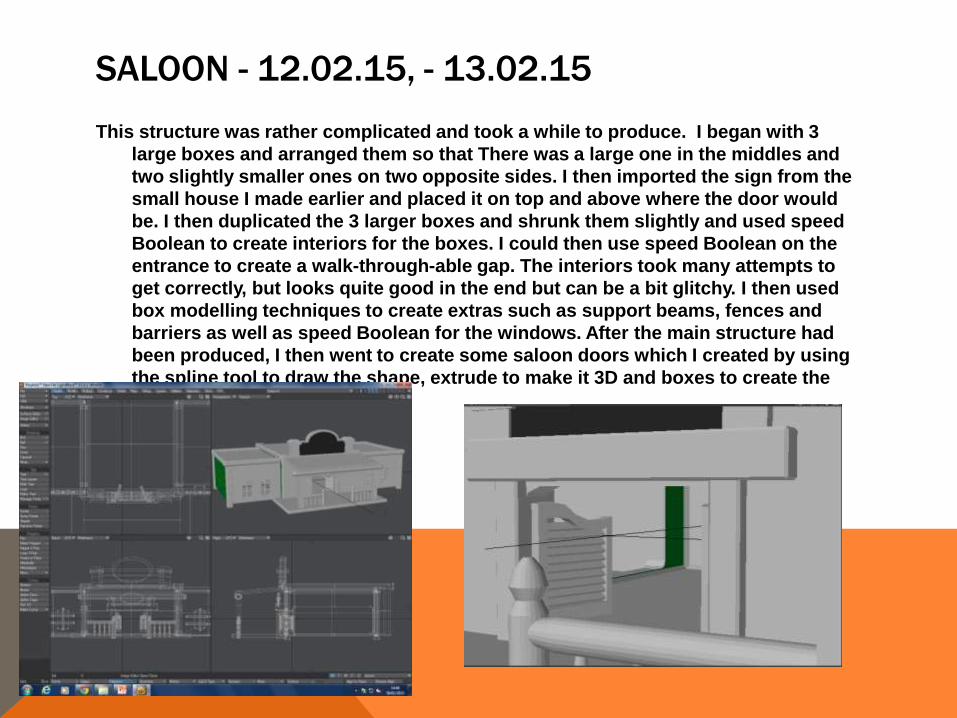
SALOON - 12.02.15, - 13.02.15
This structure was rather complicated and took a while to produce. I began with 3
large boxes and arranged them so that There was a large one in the middles and
two slightly smaller ones on two opposite sides. I then imported the sign from the
small house I made earlier and placed it on top and above where the door would
be. I then duplicated the 3 larger boxes and shrunk them slightly and used speed
Boolean to create interiors for the boxes. I could then use speed Boolean on the
entrance to create a walk-through-able gap. The interiors took many attempts to
get correctly, but looks quite good in the end but can be a bit glitchy. I then used
box modelling techniques to create extras such as support beams, fences and
barriers as well as speed Boolean for the windows. After the main structure had
been produced, I then went to create some saloon doors which I created by using
the spline tool to draw the shape, extrude to make it 3D and boxes to create the
inside panels
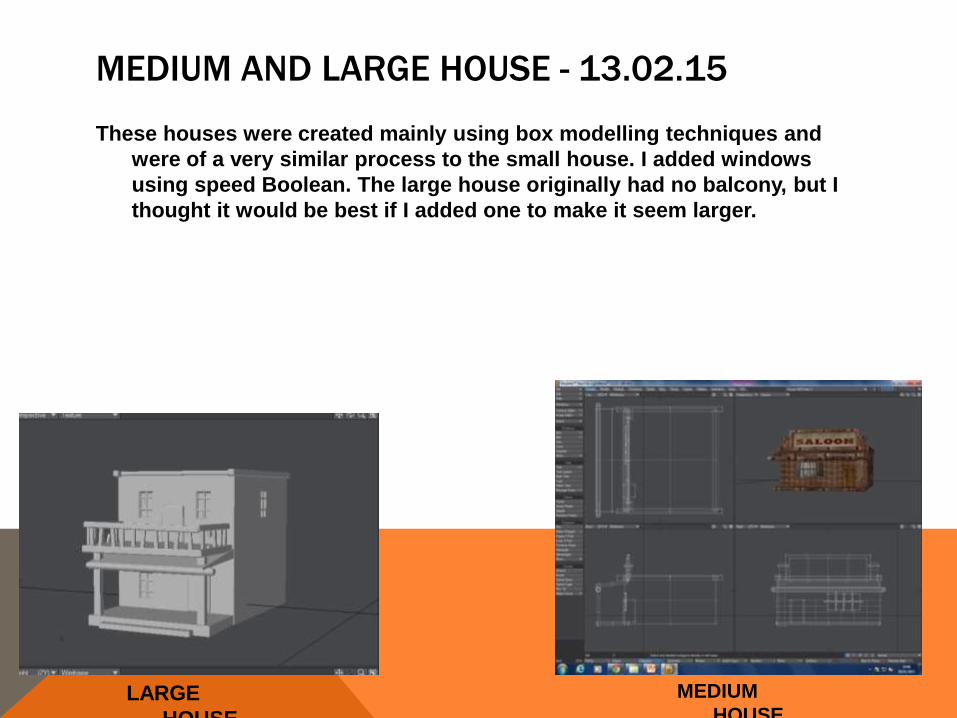
MEDIUM AND LARGE HOUSE - 13.02.15
These houses were created mainly using box modelling techniques and
were of a very similar process to the small house. I added windows
using speed Boolean. The large house originally had no balcony, but I
thought it would be best if I added one to make it seem larger.
LARGE
HOUSE
MEDIUM
HOUSE

BARN - 19.02.15
This was a very simple barn structure made similarly to the church. I used
and modified a large box and added beams for support and a door.
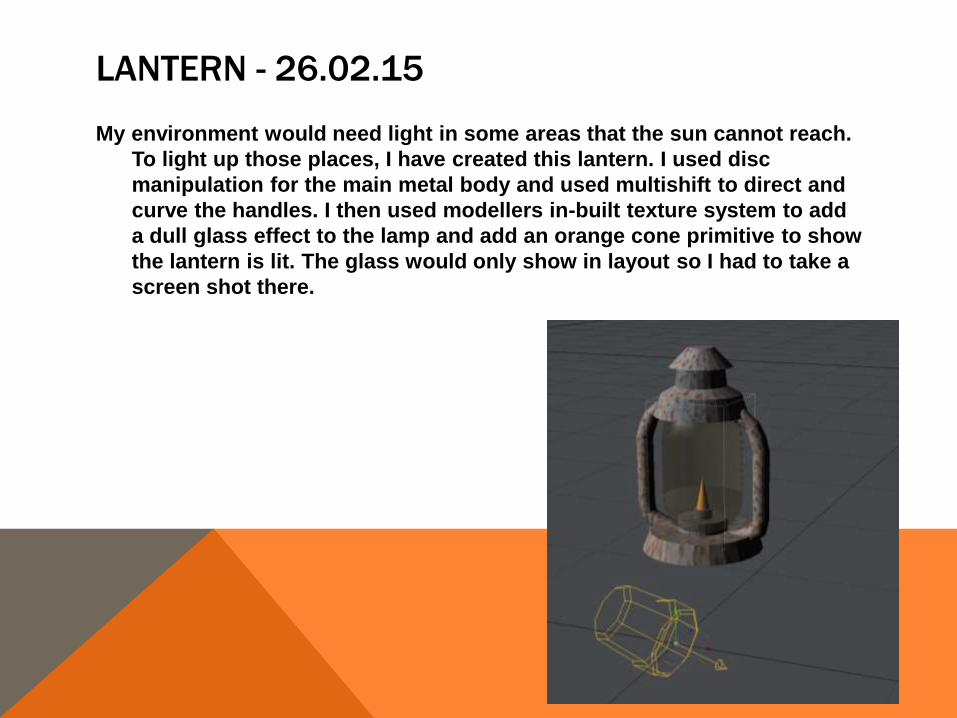
LANTERN - 26.02.15
My environment would need light in some areas that the sun cannot reach.
To light up those places, I have created this lantern. I used disc
manipulation for the main metal body and used multishift to direct and
curve the handles. I then used modellers in-built texture system to add
a dull glass effect to the lamp and add an orange cone primitive to show
the lantern is lit. The glass would only show in layout so I had to take a
screen shot there.

EXTRAS - 26.02.15
These cards and poster were created using one rectangular
box primitive. I wanted to make them to add extra detail to
specific areas such as on the sides of houses and in the
bar.


