45
Stabilizing Acute Orthopedic Injuries In The Pediatric Patient and Cast Management Principles Torrie D. Edwards, FNP-C, CPN Department of Orthopedics Cook Children’s Physician Network

Stabilizing Acute Orthopedic Injuries In The Pediatric Patient and Cast
Management Principles
Torrie D. Edwards, FNP-C, CPN Department of Orthopedics
Cook Children’s Physician Network
Discussion Topics
• Purpose of Splinting • Splinting and Casting Materials • Types of Splints and Their Uses • Positioning Basics • Risks and Complications Associated with
Immobilization • Caring for the Immobilized Extremity

Why Do We Splint The Injured Extremity?

Purpose of Splinting • Provide comfort • Protect and position the injured
extremity • Prevent further injury • More easily able to accommodate and
adjust for swelling • Allows for easy visualization of the
extremity if needed • If high quality and with correct
application, it can aid in maintaining optimum injury position that can affect the overall treatment plan

Splinting and Casting Materials

Prefabricated Splint
• Injury specific premade splints exist for almost any body location – Aluminum and Foam Constructs – Soft (Neoprene, elastic) – Semi-rigid – Rigid (plastic, metal)
• Good for soft tissue injuries or stabilized fractures with low risk of loss of position

Plaster
• Used for splints and casts • Slow setting time
– Produces less heat • More pliable than fiberglass • Requires 10-12 layers • More mess than fiberglass

Fiberglass
• Used for splints and casts • Quick setting time • Little mess • Light material • Requires less layers than
plaster • Moldable • Can be waterproof if used in
conjunction with other waterproof materials

Soft Fiberglass
• Semi-rigid due to incomplete setting • Patient has some motion • Can be removed without a cast saw • Used most commonly for clubfoot casting in infants
Encased Fiberglass
• Fiberglass covered by a felt covering • Used for splinting • Able to mold in multiple planes • Comes either precut or in a roll that can be cut to
length • Used in conjunction with padding and Ace wrap to
secure • Commonly referred to as Ortho-Glass

Encased Fiberglass
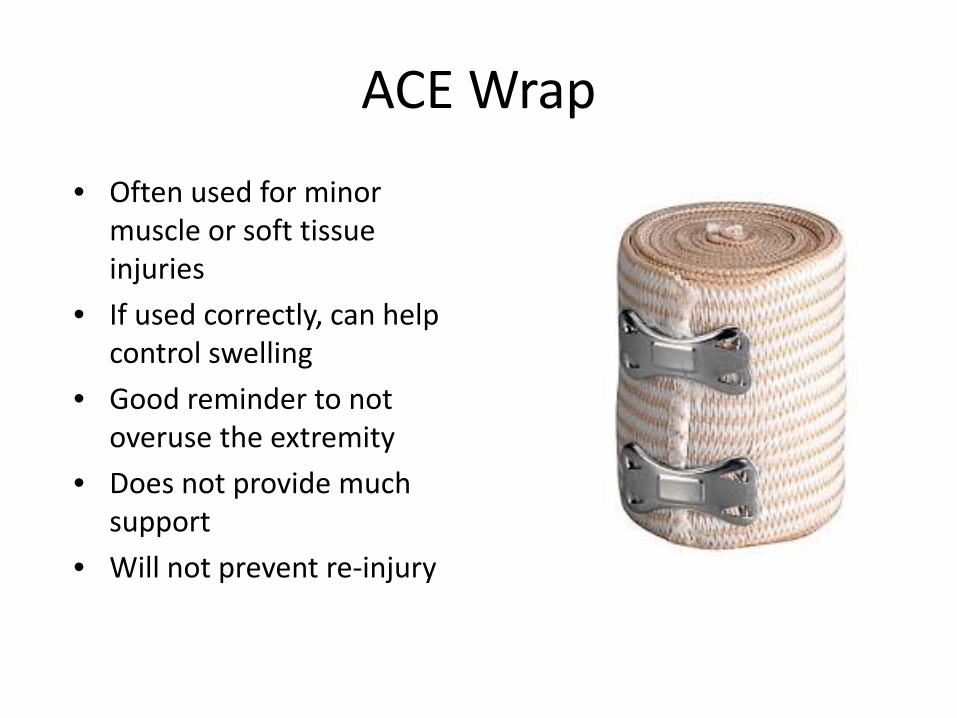
ACE Wrap
• Often used for minor muscle or soft tissue injuries
• If used correctly, can help control swelling
• Good reminder to not overuse the extremity
• Does not provide much support
• Will not prevent re-injury

Magazine, Newspaper, Cardboard
• Used in emergency settings • Immobilize the joint above and
below the fracture site • Splint the injury prior to moving the
patient in order to minimize further damage, unless the patient is in a dangerous setting that requires immediate removal
• Do not attempt to straighten severely deformed limbs as this may cause further damage

Tape • Used to stabilize and support the injury or
prevent re-injury • Provides pain relief by de-loading the
painful structure • Helps to facilitate normal movement • Avoid wrinkles in the tape, as this can
result in discomfort and blisters on the skin
• Apply the tape in angles that are natural to the body
• Should not be used in place of a rehab program that includes strengthening and proprioception

Types of Splints, Their Uses and Positioning Basics

Posterior Splint – Upper Extremity
• Used for immobilization of the wrist, forearm, elbow and distal humerus
• Positioning for Upper Extremities – Wrist and forearm in neutral position – Elbow at 90 degrees of flexion – Splint terminates 2 inches distal to the axilla
and palmar crease – Humerus – have patient lean forward,
keeping the humerus vertical to allow axilla access and prevent angulation of the humerus
– Adequately pad the olecranon due to risk of skin breakdown in this high tension area

Posterior Splint – Short Leg
• Immobilization for the foot, ankle, tibia and fibula
• Positioning for the Short Leg Splint – Neutral position of the foot – Ankle at 90 degrees – Knee flexed at 90 degrees – Splint terminates distally at the metatarsal heads
and 2 inches distal to the popliteal crease – Adequately pad the heel to avoid pressure sores – Educate patient on floating the heel when
elevating to avoid pressure sores

Posterior Splint – Long Leg
• Immobilization of the foot, ankle, tibia, fibula, knee and femur
• Positioning for the Long Leg Splint – Neutral foot position – Ankle at 90 degrees – Knee is flexed 10 -15 degrees – Splint terminates distally at the metatarsal heads and 2
inches distal to the gluteal crease – Adequately pad the heel to avoid pressure sores – Educate patient on floating the heel when elevating – Avoid bunching of the splint material behind the knee –
keep the leg in the same angle throughout application to avoid this
– Support the leg with the palms to avoid creating indentations in the splinting materials – can result in pressure sores

Sugar Tong Splint • Long, U shaped splint
– Named after a utensil used to pick up sugar cubes
• Immobilization of the wrist, forearm and elbow
• Positioning for the Sugar Tong Splint – Neutral position for wrist and forearm – Elbow in 90 degrees of flexion – Ulnar and Radial aspects of the splint should not
come in contact with one another to allow for possible swelling
– Splint terminates distally at the metacarpal heads on the dorsal aspect and palmar crease on the volar aspect
– Avoid positioning to where the patient is able to pronate and supinate

Stirrup Splint (U Splint) • Splint that has a strap that wraps around the
bottom of the foot leaving the heel exposed • Immobilization of the foot, ankle, tibia and
fibula • Positioning for Stirrup Splint
– Neutral foot position – Ankle at 90 degrees – Knee flexed at 90 degrees – Splint terminates distally at the metatarsal heads
and 2 inches distal to the popliteal crease – The stirrup portion should terminate 3 inches distal
to the popliteal crease on the medial and lateral sides
– Stirrup should not overlap anteriorly

Coaptation Splint • Immobilization of midshaft humerus fractures • Positioning for Coaptation Splint
– Humerus resting on torso supported with a sling – Elbow flexed to 90 degrees – Medial portion of splint should be 2 inches distal from
axilla – Lateral portion of splint should be 2 inches proximal to
the AC joint, well padded and molded – Natural tendency is for this fracture to drift into a varus
position – when in doubt, add a little more valgus positioning to the splint
– Avoid Radial Nerve Trauma - limit the amount of manipulation and movement to the arm, have the patient lean forward to allow gravity to assist in alignment
– Document radial nerve function before and after splinting
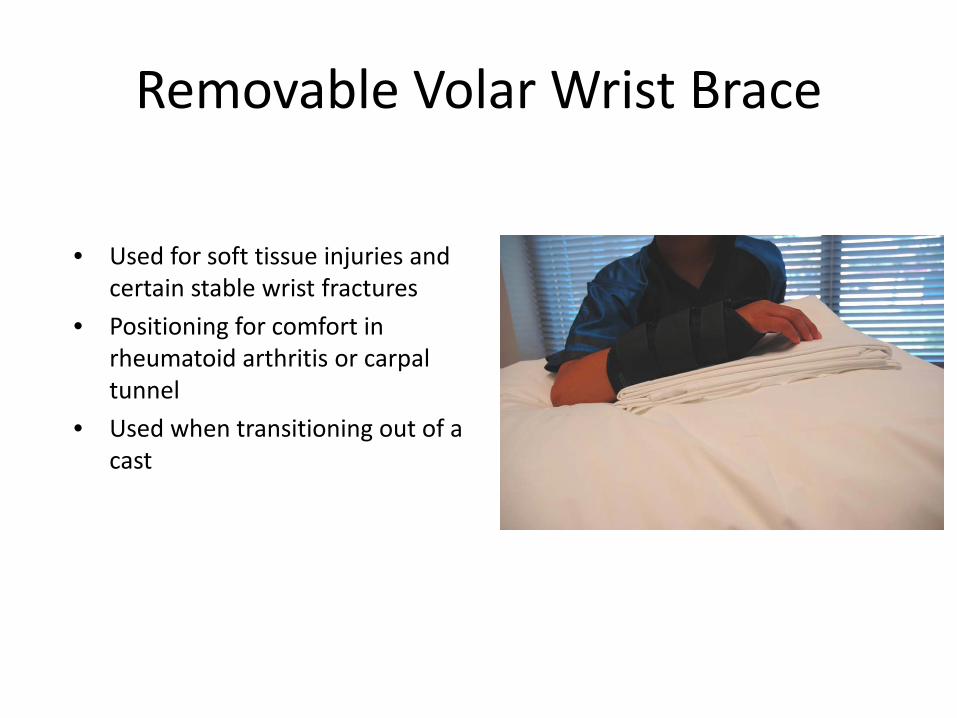
Removable Volar Wrist Brace
• Used for soft tissue injuries and certain stable wrist fractures
• Positioning for comfort in rheumatoid arthritis or carpal tunnel
• Used when transitioning out of a cast

Sling
• Provides support to the collarbone, shoulder or arm after and injury or surgery
• Positioning For The Sling – Elbow at 90 degrees – Forearm against the torso – Ensure wrist is included in the sling for forearm support – Can use a safety pin to help secure the sling in the small child
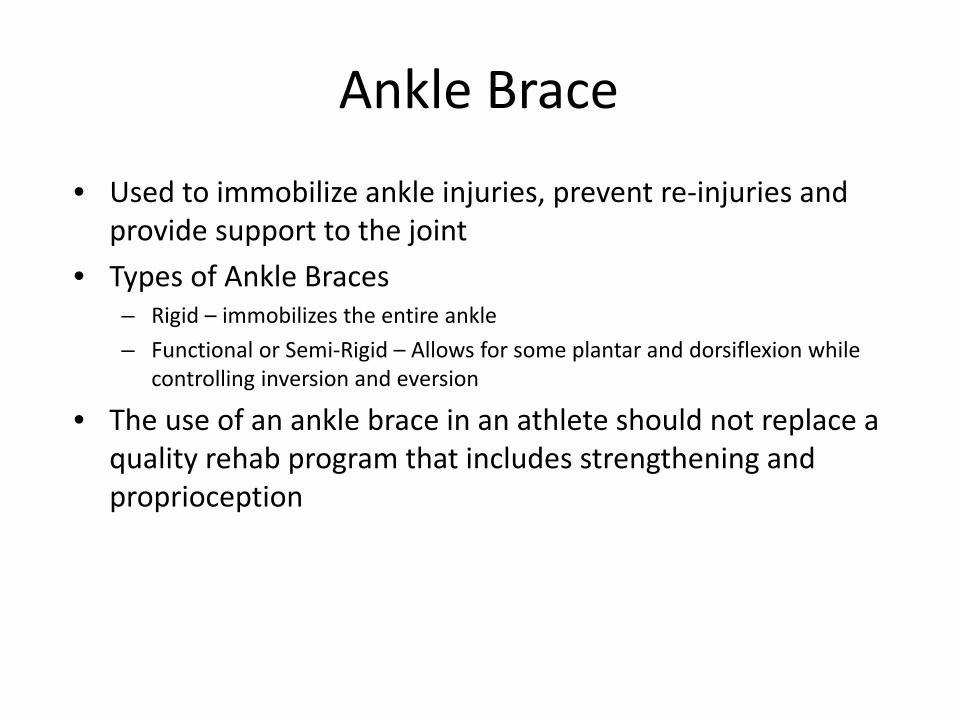
Ankle Brace
• Used to immobilize ankle injuries, prevent re-injuries and provide support to the joint
• Types of Ankle Braces – Rigid – immobilizes the entire ankle – Functional or Semi-Rigid – Allows for some plantar and dorsiflexion while
controlling inversion and eversion
• The use of an ankle brace in an athlete should not replace a quality rehab program that includes strengthening and proprioception

Stirrup Ankle Brace

Lace Up Ankle Brace

Risks and Complications Associated With Immobilization

Thermal Injury
• Plaster and fiberglass harden by an exothermic reaction which can burn the underlying skin – Plaster usually creates more heat than fiberglass
• Factors That Increase The Risk of Injury: – Temperature of the Dip Water – keep the temperature below 75 degrees
Fahrenheit and check the manufacturers recommendations – Number of Layers of Material (>24 ply) – the thicker the cast/splint, the more
heat produced – Too Little Padding – less padding allows more heat to reach the skin – Pillows/Blankets Under the Cast – keeps heat around the limb rather than
allowing it to disperse to the surrounding air – Applying Several Rolls of Material At Once – allow for heat to escape for a few
minutes after some rolls applied before applying the remainder

Compartment Syndrome • Increased pressure within the soft tissue becomes too great that blood
cannot flow to the tissue, resulting in necrosis and death of the tissue • Emergency that requires immediate treatment • Casts and splints by nature will provide some degree of compression to
the extremity – Casts create higher pressure than a non-circumferential splint – Uni-valving a cast can reduce internal pressure by as much as 40% – Fiberglass applied under tension creates the highest skin surface pressures – Fiberglass applied with stretch-relaxation technique creates the lowest skin
surface pressures

Compartment Syndrome • Signs and Symptoms
– Pain that is out of proportion to the injury – Worsening pain over time that is non-responsive to analgesics – Numbness – Tingling – Swelling – Blue/gray color to the skin or nail beds distal to the cast – Sluggish capillary refill
• For very early presentation, loosen or remove the cast/splint

Pressure Sores • Focal areas of pressure (pressure points) that damages the skin being
pressed upon, ultimately resulting in an ulcer • Risk Factors – Application Technique
– Do not use fingertips – Rough edges can cause pressure sores – Excess padding – causes cast to be loose and the limb inside can move, resulting in skin
irritation from the cast sliding up and down – Molding over bony prominences and not molding uniformly
• Risk Factors – Patient Population – No or decreased sensation – spinal cord injuries, neuropathic or diabetic patients – Communication Issues – young age, developmental delay, sedated or comatose patients – Spastic Limbs – cerebral palsy, spina bifida

Pressure Sores

Wound Infection • Inspect extremity being immobilized for
the presence of wounds that occurred at time of injury and use caution splinting around these areas
• Iatrogenic wounds can be caused by abrasions or pressure sores from improperly padding the ends of the splints and casts
• Wounds with subsequent infection can also be caused by the patient when they attempt to scratch under the cast/splint with a foreign object
• Can occur if a wet cast goes unreported, causing skin irritation and breakdown

Cast Saw Burn • If used correctly, the oscillation of the cast saw blade should only cut
through rigid material • Use an in-and-out drop motion when cutting the cast • Never drag the blade across the cast surface • The blade can become hot enough to cause full thickness burns
– More heat produced in a thicker cast – Fiberglass creates more heat than plaster
• Prevention of Cast Saw Burns – Good control over the saw to keep it from plunging through the cast – Take breaks frequently as the blade becomes hot or use a cool cloth over the blade – Can use a protective strip that goes into the cast between the material and the patient’s
skin. The saw is then used directly over the strip to protect the underlying skin

Cast Saw Burn
Deep Vein Thrombosis (DVT)
• Occurs when a blood clots forms in one or more of the deep veins of the body – Usually in the legs
• More common in the adult population than in children • The longer the length of immobilization, the higher the risk of
DVT development • Anticoagulation may be used in high risk patient populations
Loss Of Reduction
• Can occur with both splints and casts • Decrease in swelling after the acute phase can result in a
more loose fitting cast/splint, resulting in loss of reduction – Properly applied and molded casts reduce the risk
• Weekly in cast x-rays are recommended for unstable fractures until risk of loss of position has abated
• Cast wedging or modification, re-reduction or operative interventions can be considered for loss of reduction

Care of the Immobilized Extremity
General Splint and Cast Care • Elevate the extremity at a level above the heart in the first 48-72 hours
after the cast is placed and then as needed for swelling • Keep the splint/cast dry • Do not break or trim cast edges
– For rough patches, you can apply a band-aid over the site • Do not pull out the padding • Do not remove the splint or cast yourself unless instructed by the
orthopedic provider to do so • Do not stick anything inside the cast • Do not use powder or lotion under the cast – powder can form into
clumps that cause skin sores
General Splint and Cast Care
• Check At Least Twice Daily For: – Movement and feeling in the fingers or toes and above and below the cast or
splint – Change in color to fingers or toes – Swelling above and below the cast or splint – compare with the opposite side – Rashes, bruising or red raw areas around cast edges
• Full activity restrictions unless otherwise specified by the orthopedic provider

Splint/Cast Troubleshooting Tips
• Swelling – Evaluate the extremity for blood flow and sensation – Elevate the extremity higher than the heart – Encourage frequent movement of the fingers or toes while elevated – Loosen the splint or the cast
• Loosen/unwrap the outer bandage layer of the splint, taking care to leave the slab in place • Remove the tape and/or widen the space in the cast that is uni-valved or bi-valved
– Look for indents on the cast that may be causing focal pressure areas – If compartment syndrome is suspected, refer to the emergency room immediately
• Wet Splint/Cast – Use a blow dryer on cool setting to blow cool air into the cast – Call the Orthopedic Clinic if the padding does not dry within 12 hours or if the
extremity was completely submerged in water

Splint/Cast Troubleshooting Tips
• Skin Irritation – Apply material to cast edge to create a barrier between the skin and the cast
• Mole skin • Band-Aid • Duct tape
– If concerned for infection or worsening of site, call the orthopedic clinic
• Itching – Decrease activity that would raise body temperature – Use a hair dryer on a cool setting and blow cold air into the cast – Gently tap on the outside with a pencil – Oral Benadryl at night – Never stick anything in the cast to scratch
• Foreign Object in the Cast – Call the orthopedic clinic immediately – Do not try to retrieve the object yourself
When To Call The Orthopedic Clinic
• Soft spots or cracks in the cast • Skin looks raw or red around cast edges • Pain that will not go away • Numbness/tingling in the fingers or toes • Color changes to the fingers or toes • Swelling that is not relieved • Cast too tight or too loose • Odor from the cast • Drainage from the cast • Burning or stinging sensation • Unexplained fevers • If you suspect or know that something is in the cast • Toes that disappear into the cast • Increased fussiness in a young child without an explanation
References Baecher, MD, N. B. (2016, March 11). Volar Splinting: Background, Indications, Contraindications. Retrieved from http://emedicine.medscape.com/article/109769-overview Boyd, MD, A., Benjamin, MD, H., & Asplund, MAJ, MC, USA, C. (2009). American Family Physician. Principles of Casting and Splinting, 79(1), 16-22. Retrieved March 30, 2017, from http://www.aafp.org/afp/2009/0101/p16.html Brown, S. A., & Radja, F. E. (2015). Orthopaedic immobilization techniques: A step-by-step guide for casting and splinting. Urbana, IL: Sagamore Publishing. Cascade. (2017). BSN Medical Delta-Cast® Soft Fiberglass-Free Cast Tape. Retrieved from https://www.cascade-usa.com/bsn-delta-cast-c2-ae-soft-fiberglass-free-cast-tape-12815.html Conney Safety. (2017). North Cardboard Arm Splint: 18"L [Cardboard splint]. Retrieved from https://www.conney.com/product/north-cardboard-arm-splint-18-l Cook Children's Medical Center. (2011, December). Fiberglass Cast Care [PDF Document]. Cook Children's Medical Center. (2011, December). Soft Cast Care [PDF Document].
References First Aid Product.Com. (2001). 2" x 5 yd Elastic (Ace) Bandage with 2 Fasteners - 1 Each [Ace Wrap]. Retrieved from http://first-aid-product.com/first-aid-supplies/bandaging-wraps-and-tapes/elastic-bandages/2-x-5-yd-elastic-ace-bandage-with-2-fasteners-1-each.html Physio Works. (2015, March 24). Supportive Taping & Strapping. Retrieved from http://physioworks.com.au/treatments-1/supportive-taping-or-strapping Gravelee, M.D, J. R., & Van Durme, M.D, D. J. (2007). Braces and Splints for Musculoskeletal Conditions. American Family Physician, 75(3), 342-348. Retrieved from http://www.aafp.org/afp/2007/0201/p342.html Reeves, Jr, MD, D. A. (2015, July 27). Ankle Taping and Bracing: Overview, Periprocedural Care, Technique. Retrieved from http://emedicine.medscape.com/article/86495-overview Takayesu, MD, J. K. (2016, May 31). Splinting Material & Techniques for Broken Bones. Retrieved from http://www.emedicinehealth.com/wilderness_splinting/article_em.htm


