Do Plants Need Water? Objective: Determine whether plants will grow if they are watered with various liquids. The purpose of this experiment is to find out whether plants really need water to grow or whether they just need to be kept wet. What is the purpose of a plant’s roots? What types of nutrients do plants need in order to survive? Why do plants need water? What happens to a plant that does not get enough water? How do plants create energy? Plants need sunlight, nutrient rich soil and water to grow. Though the quality of the water has an effect on the plant’s health, there are many plants that are able to grow even when they are given water that is polluted or that has some salt content. Most plants are unable to grow out of water that is as salty as the ocean, though there are a few varieties that can. Water is not always in abundant supply, and when it comes down to making sure that people have enough to drink, sometimes plants are asked to go without. Farmers have turned to using brackish water, or water that has a low salt content, for their crops. Understanding what types of fluids plants can use can help scientists learn more about how to meet the needs of plants as well as people in times of draught. Seeds (green bean seeds work well because they grow quickly and are hardy.) 5 Containers A marker Potting soil Milk Juice Cola
Transcript
Do Plants Need Water?
Objective:Determine whether plants will grow if they are watered with various liquids.
The purpose of this experiment is to find out whether plants really need water to grow or whether they just need to be kept wet.
What is the purpose of a plant’s roots? What types of nutrients do plants need in order to survive? Why do plants need water? What happens to a plant that does not get enough water? How do plants create energy?
Plants need sunlight, nutrient rich soil and water to grow. Though the quality of the water has an effect on the plant’s health, there are many plants that are able to grow even when they are given water that is polluted or that has some salt content. Most plants are unable to grow out of water that is as salty as the ocean, though there are a few varieties that can. Water is not always in abundant supply, and when it comes down to making sure that people have enough to drink, sometimes plants are asked to go without. Farmers have turned to using brackish water, or water that has a low salt content, for their crops. Understanding what types of fluids plants can use can help scientists learn more about how to meet the needs of plants as well as people in times of draught.
Seeds (green bean seeds work well because they grow quickly and are hardy.) 5 Containers A marker Potting soil Milk Juice Cola Sports Drink Water A measuring cup
1. Label the containers, “Water/Control,” “Milk,” “Juice,” “Cola,” and “Sports Drink.”2. Fill the containers with potting soil.3. Plant three seeds in each of the pots as directed on the back of the seed package.4. Measure out ½ cup of water and give it to the plants in the “Water/Control” container.5. Measure out ½ cup of milk and give it to the plants in the “Milk” container.6. Measure out ½ cup of juice and give it to the plants in the “Juice” container.7. Measure out ½ cup of cola and give it to the plants in the “Cola” container.8. Measure out ½ cup of sports drink and give it to the plants in the “Sports Drink” container.9. Place the plants in a warm, sunny place outdoors or in a window.
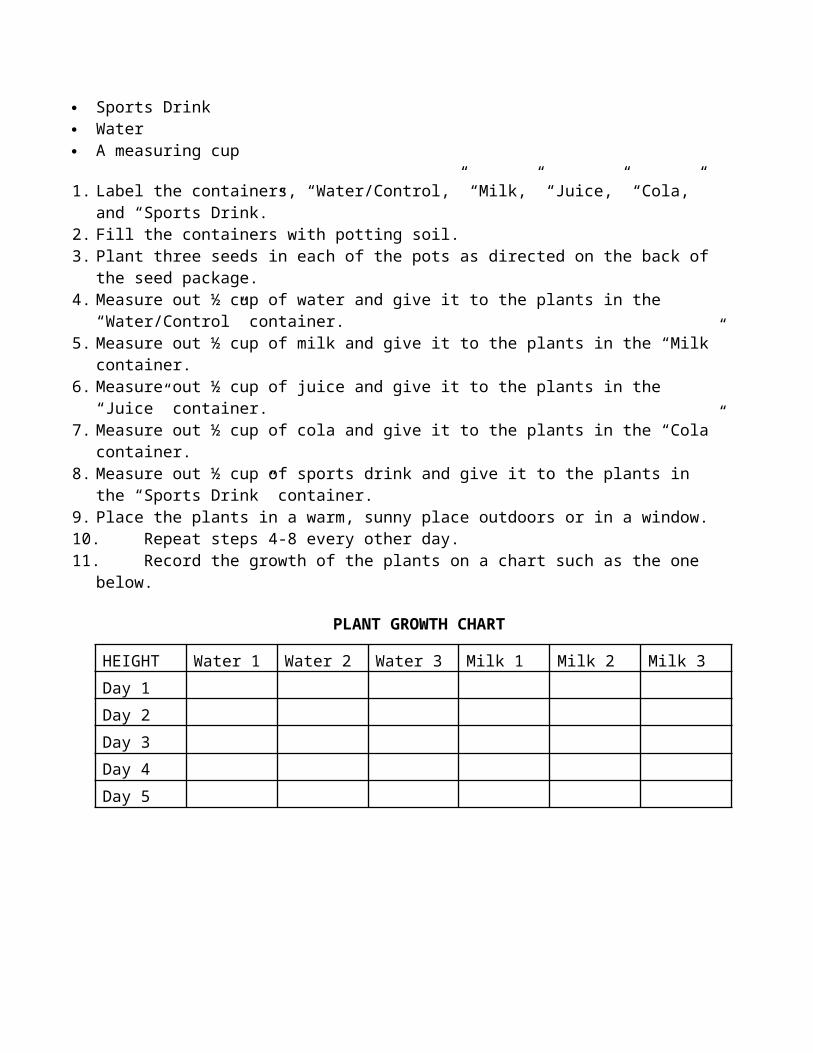
10. Repeat steps 4-8 every other day.11. Record the growth of the plants on a chart such as the one below.
PLANT GROWTH CHART
HEIGHT Water 1 Water 2 Water 3 Milk 1 Milk 2 Milk 3Day 1Day 2Day 3Day 4Day 5
PLANT GROWTH CHART
NUMBER OF LEAVES
Water 1 Water 2 Water 3 Milk 1 Milk 2 Milk 3
Day 1Day 2Day 3Day 4Day 5
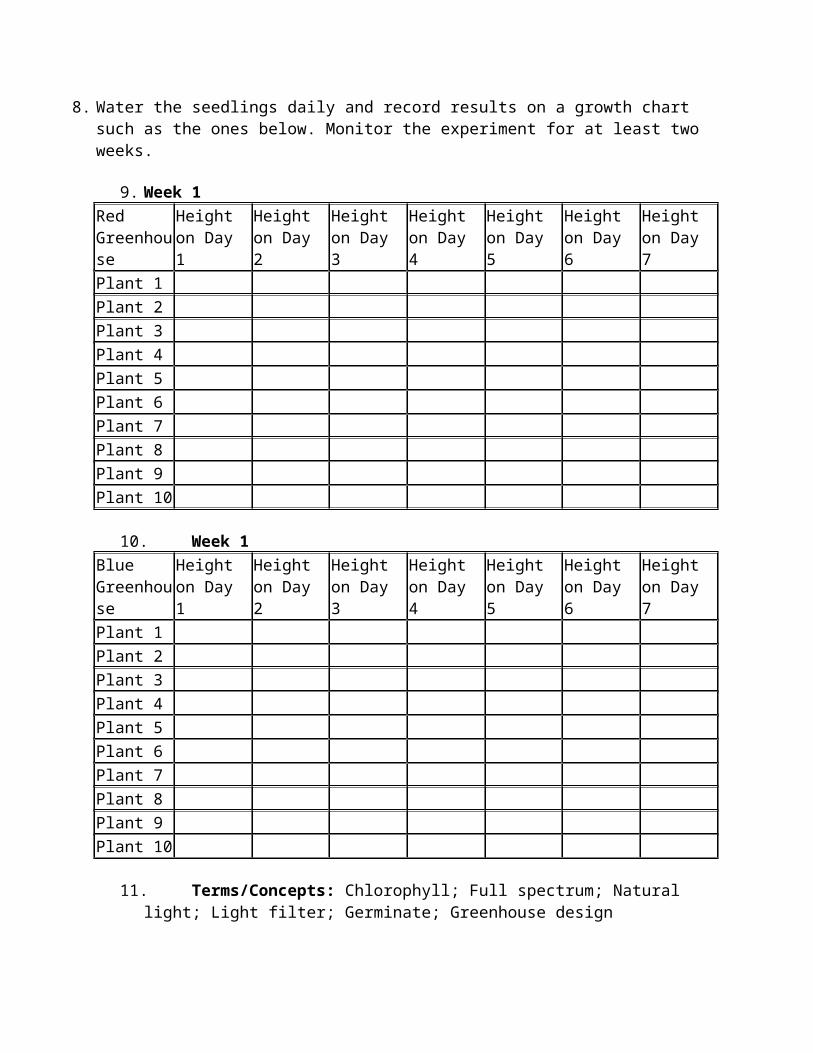
12. Terms/Concepts: Germinate;Growth; Photosynthesis; Roots; Stems; Leaves; Flowers; Fruit
Why Do Apples Turn Brown?
Problem:Which liquid do you think will prevent the food from turning brown the best? Why?
Materials
Baking sheet or wax paper Labeling tape Pen or marker Tongs Bowl Knife Lemon juice Vinegar Clear soda Olive oil Water Saltwater Potato Apple Banana Avocado Any other liquid you want to test Any other fruit or vegetable you want to test Camera (optional)
Procedure
1. Use the tape to create labels for each type of liquid you will test.2. Place your labels on the baking sheet or wax paper. This is where you will set down your
samples for observation.3. Cut each fruit or vegetable into slices at least 1-cm thick. Make sure you have as many slices of
each food item as you do liquids to test, plus one morefor a control. Have an adult help you cut your samples! Why should the food samples be cut?
4. Set out a slice of each food item on the baking sheet or was paper under the heading “Control.” Why is it important to have a control?
5. Fill the bowl with enough liquid to fully submerge each sample.6. For each fruit or vegetable you are testing, dip a slice into the liquid with tongs. Be sure to cover
the whole slice! Let the extra liquid drip off before placing it under the correct label on the baking sheet or wax paper.
7. Rinse out the bowl and repeat until you have made samples with each liquid.8. Record all your observations, taking note of the time. You can also take pictures to document
how the food turns brown over several hours.
Is It Safe To Eat Something Dropped On The Floor As Long As You Pick It Up Within 5-Seconds?
Objective:To discover whether the “five-second rule” is effective in determining if food is still safe to eat after being dropped on the ground.
Research Questions:Shoes harbor bacteria and help transfer dirt and germs from one location to another, which means we probably shouldn't eat food that's been dropped on the floor. However, people have come up with a “five-second rule,” which says that if food has been dropped on the ground for five seconds or less, it can still be consumed safely. But is this true?
Materials:
Chunks of bread Microscope Well slide Pen and paper for notes
Experimental Procedure
1. Put a piece of fresh, untouched bread under a well slide and view it under a microscope. Look for bacteria and record what you see.
2. Drop another piece of bread on the floor for one minute. Pick it up and put it under a well slide, again for viewing under a microscope. Record the amount of bacteria that you see.
3. Now drop a third piece of bread and leave it on the ground for 30 seconds. Once again, record the amount of bacteria.
4. Finally, drop a piece of bread for less than 5 seconds and view it under the microscope. What do you see?
5. Compare the four pieces of bread and how much bacteria you saw on each one.
Terms: bacteria; dirt; germ transfer; timer
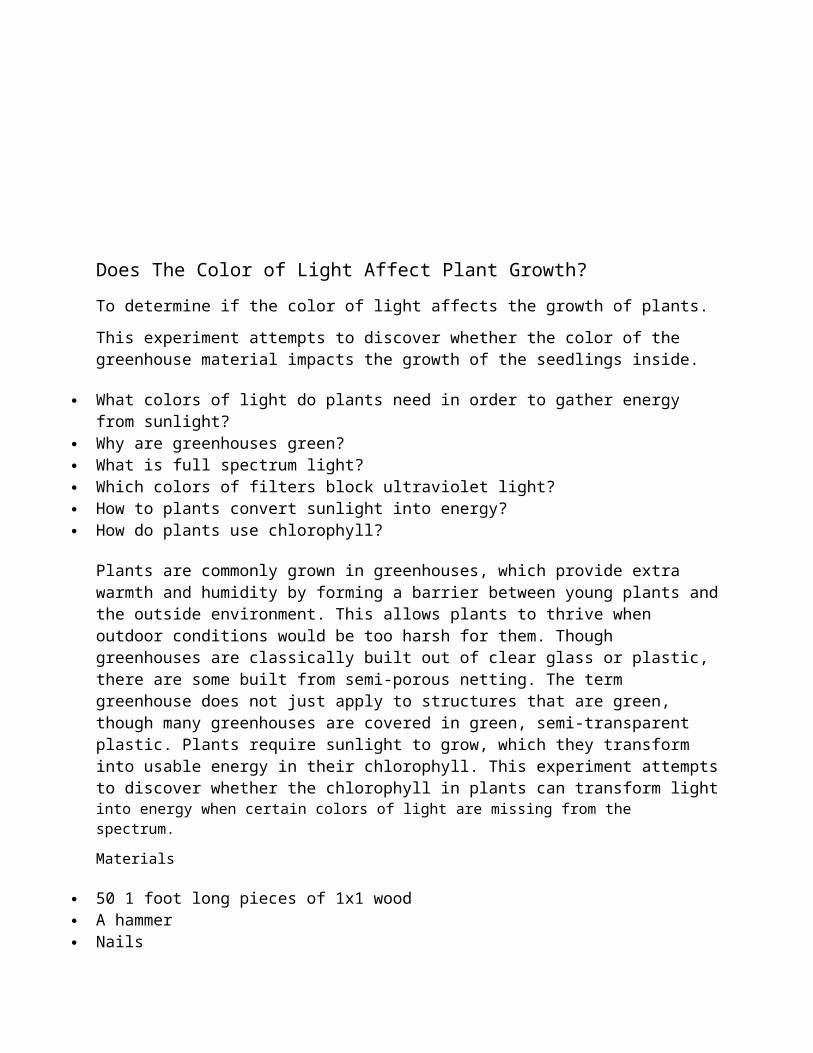
Does The Color of Light Affect Plant Growth?
To determine if the color of light affects the growth of plants.
This experiment attempts to discover whether the color of the greenhouse material impacts the growth of the seedlings inside.
What colors of light do plants need in order to gather energy from sunlight? Why are greenhouses green? What is full spectrum light? Which colors of filters block ultraviolet light? How to plants convert sunlight into energy? How do plants use chlorophyll?
Plants are commonly grown in greenhouses, which provide extra warmth and humidity by forming a barrier between young plants and the outside environment. This allows plants to thrive when outdoor conditions would be too harsh for them. Though greenhouses are classically built out of clear glass or plastic, there are some built from semi-porous netting. The term greenhouse does not just apply to structures that are green, though many greenhouses are covered in green, semi-transparent plastic. Plants require sunlight to grow, which they transform into usable energy in their chlorophyll. This experiment attempts to discover whether the chlorophyll in plants can transform light into energy when certain colors of light are missing from the spectrum.
Materials
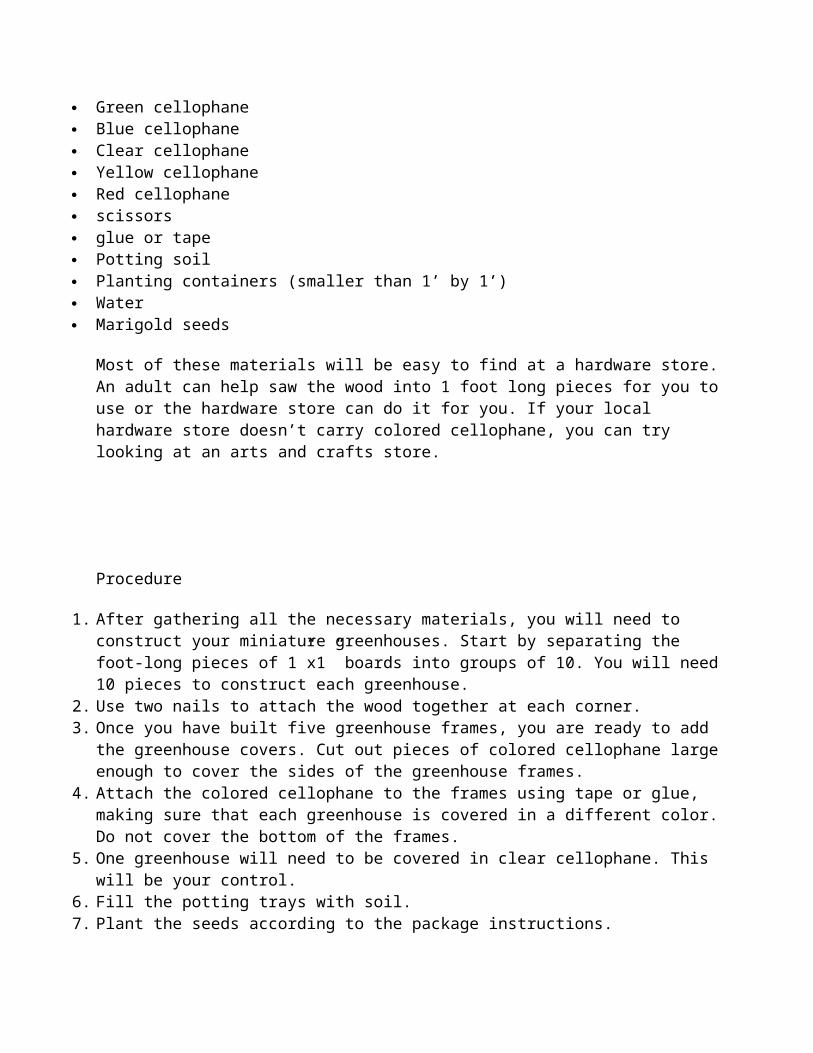
50 1 foot long pieces of 1x1 wood A hammer Nails Green cellophane Blue cellophane Clear cellophane Yellow cellophane Red cellophane scissors glue or tape Potting soil Planting containers (smaller than 1’ by 1’) Water Marigold seeds
Most of these materials will be easy to find at a hardware store. An adult can help saw the wood into 1 foot long pieces for you to use or the hardware store can do it for you. If your local hardware store doesn’t carry colored cellophane, you can try looking at an arts and crafts store.
Procedure
1. After gathering all the necessary materials, you will need to construct your miniature greenhouses. Start by separating the foot-long pieces of 1”x1” boards into groups of 10. You will need 10 pieces to construct each greenhouse.
2. Use two nails to attach the wood together at each corner. 3. Once you have built five greenhouse frames, you are ready to add the greenhouse covers. Cut out
pieces of colored cellophane large enough to cover the sides of the greenhouse frames.4. Attach the colored cellophane to the frames using tape or glue, making sure that each greenhouse
is covered in a different color. Do not cover the bottom of the frames. 5. One greenhouse will need to be covered in clear cellophane. This will be your control.6. Fill the potting trays with soil. 7. Plant the seeds according to the package instructions.8. Water the seedlings daily and record results on a growth chart such as the ones below. Monitor
Objective:This project explores whether people’s choice of a “random” number is not so random after all.
Research Question:
Will a disproportionately high percentage of people, when asked to randomly choose a number between one and 20 inclusive, select the number 17?
Apparently the answer to the above question is a resounding “yes.” In trial after trial, the number 17 always gets chosen most often. Don’t believe it? Experiment on your friends.
Materials:
Test subjects Paper and pencil for recording and analyzing data
Experimental Procedure
1. Ask as many people as possible to randomly select a number between one and twenty. Record answers.
2. Analyze results. What percentage of people choose the number 17?3. Assuming the number 17 did indeed occur most frequently, consider possible reasons for this
bias. In doing so you might consider factors such as odd/even, prime, and cultural significance.
Terms/Concepts: 17, random, odd/even, prime, cultural significance
Does Vinegar Kill Germs?
To investigate if natural preservatives like vinegar and salt can prevent bacteria from growing.
Masking tape Pen 3 clear drinking glasses 3 chicken bouillon cube 3 spoons 3 cups hot tap water 1 tablespoon vinegar 1 tablespoon salt Measuring spoons Measuring cups
Helping food to stay fresh is important to keeping people well-fed and healthy. People have discovered many ways to preserve foods including refrigeration, dehydration, and canning. Scientists have also learned that preservatives can be added to foods to slow the spoiling process. Some of the most common preservatives for slow the spoiling process include sulfites, benzoates, and nitrates. These preservatives can be found on the ingredient labels of many different foods today. Sulfites found vinegar help to slow the growth of bacteria. Sodium, such as salt, is also used as a preservative.
In this investigation, vinegar and salt act as preservatives keeping bacteria from growing in the bouillon mixtures.
Termsbacteria: small organisms that grow sometimes causing disease or sickness
preservative: something that keeps a food from spoiling
ConceptsPreservatives are used in foods to slow down the growth of bacteria and keep foods fresh. There are many different types of preservation techniques including refrigeration, freezing, canning, dehydration, salting, carbonation, and the addition of chemicals.
Research Questions
Why are preservatives added to foods? What are preservatives? What is bacteria? How does bacteria grow?
1. Gather the necessary materials.2. Using the masking tape, label one glass “Salt,” another glass “Vinegar,” and the third glass “Water,”3. Place one bouillon cube and spoon in each glass. 4. Carefully pour one cup of hot tap water in each glass. Stir until the bouillon cube is completely dissolved.
5. Add one tablespoon of salt to the glass labeled “Salt.”Add one tablespoon vinegar to the glass labeled “Vinegar.” Record the appearance of each liquid.
6. Place all three glasses in a warm place that receives sunlight such as a window. 7. After three days, record the appearance of each liquid.
Articles“Focusing on Preservatives: How They Keep Food Fresh” Science Daily, 2002
“How Food Preservation Works” by Marshall Brain, 2006
The Best Stain Remover for Clothes: Testing Laundry Stain Removal
Find out what household cleaner does the best job of removing stains from fabric.
Materials:
Old white socks or shirt Large, old towel Scissors Grape juice Ketchup Access to a patch of grass 3 eyedroppers 5 medium-sized plastic containers Masking tape Permanent marker Water Hand soap Bleach Dawn dishwashing soap Hydrogen peroxide
Spray bottle 2 different brands of stain remover
Procedure
1. To get out of a mess, you need to get into one in the first place! Cut out eighteen 2x2 inch squares from the old socks or shirt and place the cloth pieces on a table that’s easy to clean. This is the fabric that you’re going to stain.
2. Lay out an old towel and use the waterproof marker to write the word “control” on a piece of masking tape, and stick it on the top left corner of the towel.
3. Use one of the eyedroppers to add a few drops of grape juice to one square of the fabric.4. Use the other eyedropper to add a few drops of ketchup to a second piece.5. Rub the third control cloth on a patch of grass so that the fabric is streaked bright green.6. Line these controls underneath the “control” label.7. Using the same process, stain the other fifteen pieces of cloth (5 grape juice, 5 ketchup, and 5
grass).8. For the next set of three stained cloths (grape, ketchup, and grass), dip the fabric into a container
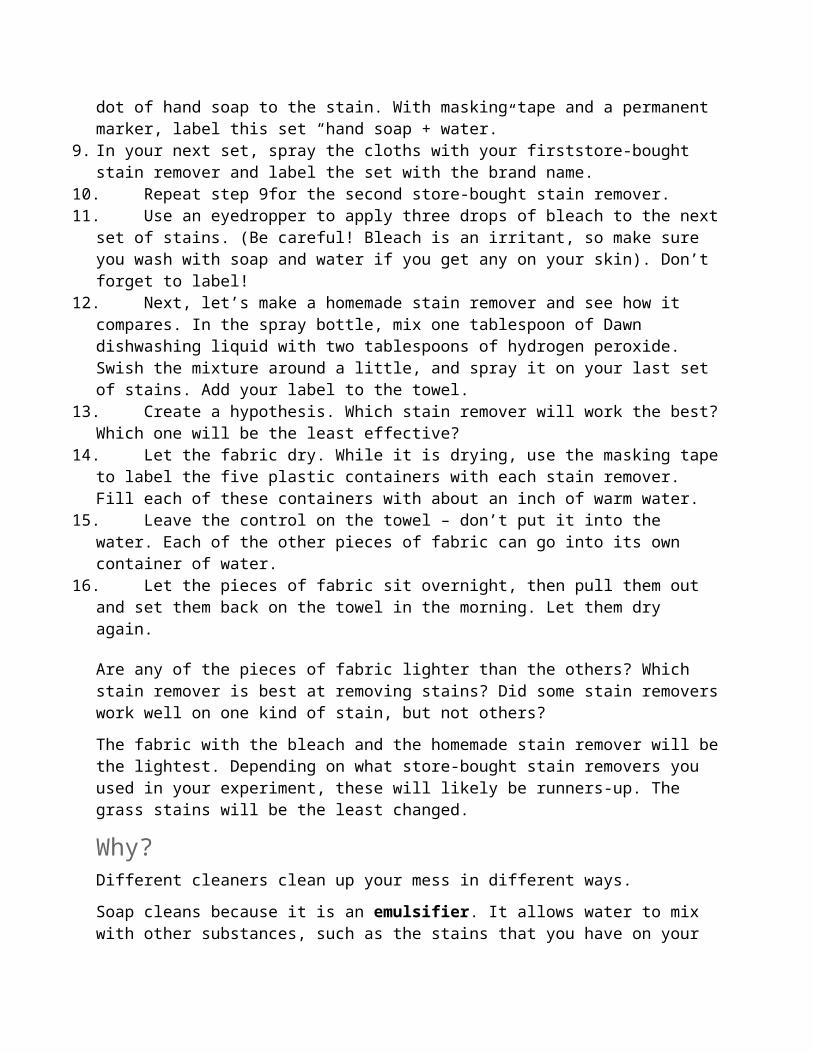
of water, and rub in a dot of hand soap to the stain. With masking tape and a permanent marker, label this set “hand soap + water.”
9. In your next set, spray the cloths with your firststore-bought stain remover and label the set with the brand name.
10. Repeat step 9for the second store-bought stain remover.
11. Use an eyedropper to apply three drops of bleach to the next set of stains. (Be careful! Bleach is an irritant, so make sure you wash with soap and water if you get any on your skin). Don’t forget to label!
12. Next, let’s make a homemade stain remover and see how it compares. In the spray bottle, mix one tablespoon of Dawn dishwashing liquid with two tablespoons of hydrogen peroxide. Swish the mixture around a little, and spray it on your last set of stains. Add your label to the towel.
13. Create a hypothesis. Which stain remover will work the best? Which one will be the least effective?
14. Let the fabric dry. While it is drying, use the masking tape to label the five plastic containers with each stain remover. Fill each of these containers with about an inch of warm water.
15. Leave the control on the towel – don’t put it into the water. Each of the other pieces of fabric can go into its own container of water.
16. Let the pieces of fabric sit overnight, then pull them out and set them back on the towel in the morning. Let them dry again.
Are any of the pieces of fabric lighter than the others? Which stain remover is best at removing stains? Did some stain removers work well on one kind of stain, but not others?
The fabric with the bleach and the homemade stain remover will be the lightest. Depending on what store-bought stain removers you used in your experiment, these will likely be runners-up. The grass stains will be the least changed.
Why?Different cleaners clean up your mess in different ways.
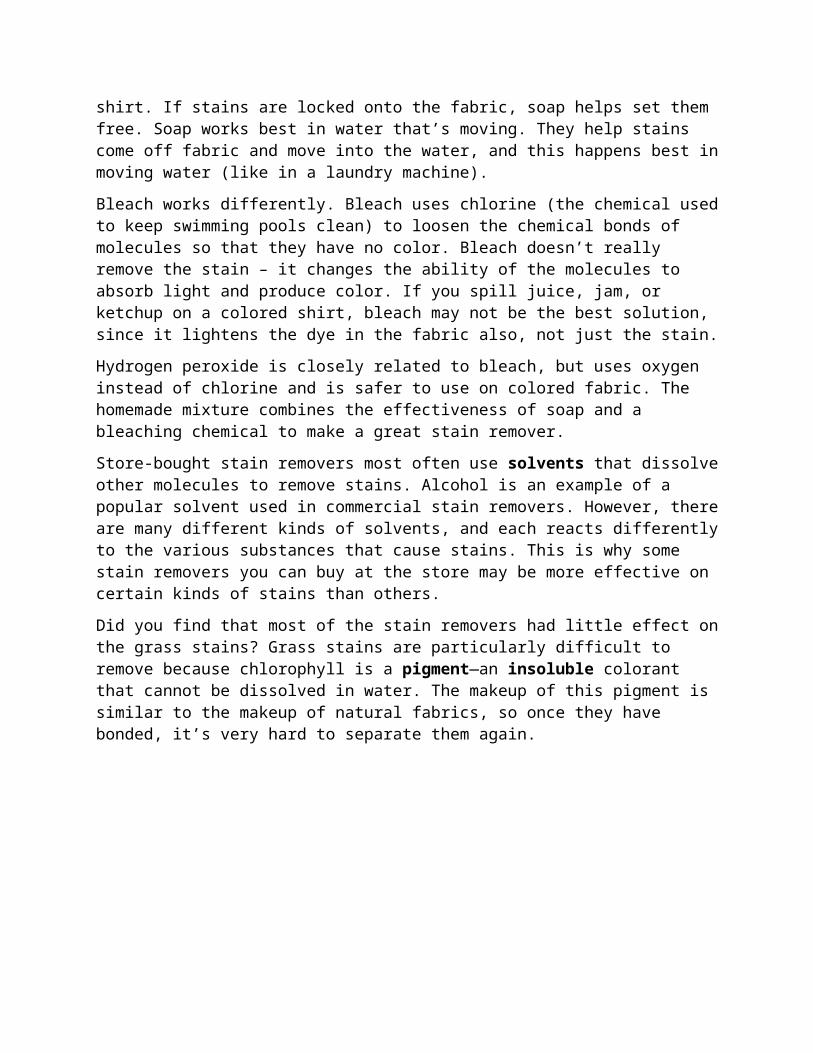
Soap cleans because it is an emulsifier. It allows water to mix with other substances, such as the stains that you have on your shirt. If stains are locked onto the fabric, soap helps set them free. Soap works best in water that’s moving. They help stains come off fabric and move into the water, and this happens best in moving water (like in a laundry machine).
Bleach works differently. Bleach uses chlorine (the chemical used to keep swimming pools clean) to loosen the chemical bonds of molecules so that they have no color. Bleach doesn’t really remove the stain – it changes the ability of the molecules to absorb light and produce color. If you spill juice, jam, or ketchup on a colored shirt, bleach may not be the best solution, since it lightens the dye in the fabric also, not just the stain.
Hydrogen peroxide is closely related to bleach, but uses oxygen instead of chlorine and is safer to use on colored fabric. The homemade mixture combines the effectiveness of soap and a bleaching chemical to make a great stain remover.
Store-bought stain removers most often use solvents that dissolve other molecules to remove stains. Alcohol is an example of a popular solvent used in commercial stain removers. However, there are many different kinds of solvents, and each reacts differently to the various substances that cause stains. This is why some stain removers you can buy at the store may be more effective on certain kinds of stains than others.
Did you find that most of the stain removers had little effect on the grass stains? Grass stains are particularly difficult to remove because chlorophyll is a pigment—an insoluble colorant that
cannot be dissolved in water. The makeup of this pigment is similar to the makeup of natural fabrics, so once they have bonded, it’s very hard to separate them again.
Candy pH
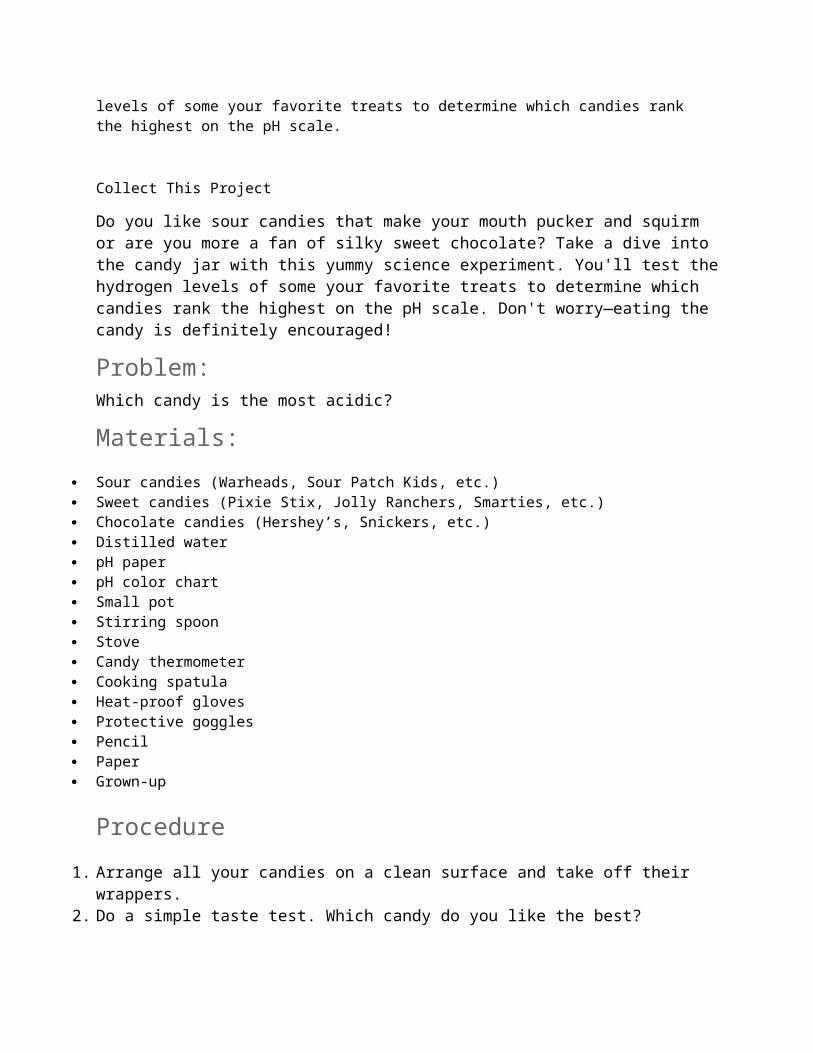
Do you like sour candies that make your mouth pucker and squirm or are you more a fan of silky sweet chocolate? Take a dive into the candy jar with this yummy science experiment. You'll test the hydrogen levels of some your favorite treats to determine which candies rank the highest on the pH scale.
Collect This Project
Do you like sour candies that make your mouth pucker and squirm or are you more a fan of silky sweet chocolate? Take a dive into the candy jar with this yummy science experiment. You'll test the hydrogen levels of some your favorite treats to determine which candies rank the highest on the pH scale. Don't worry—eating the candy is definitely encouraged!
Problem:Which candy is the most acidic?
Materials: Sour candies (Warheads, Sour Patch Kids, etc.) Sweet candies (Pixie Stix, Jolly Ranchers, Smarties, etc.) Chocolate candies (Hershey’s, Snickers, etc.) Distilled water pH paper pH color chart Small pot Stirring spoon Stove Candy thermometer Cooking spatula Heat-proof gloves Protective goggles Pencil Paper Grown-up
Procedure
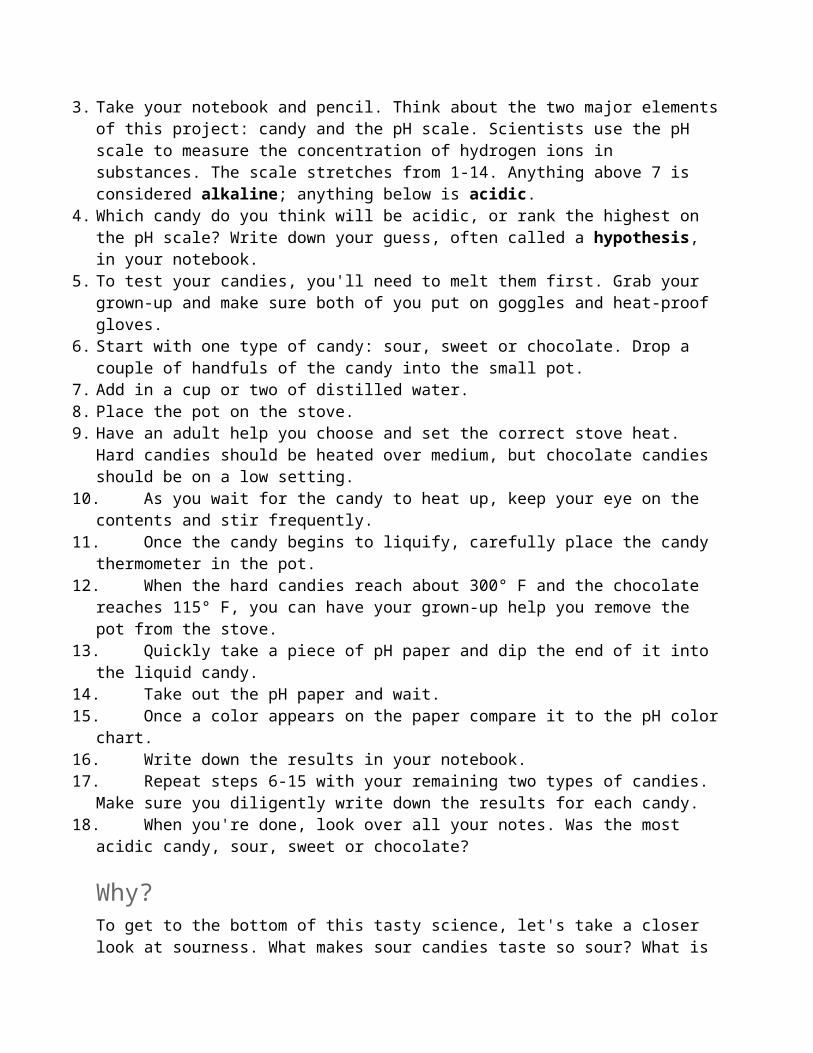
1. Arrange all your candies on a clean surface and take off their wrappers.2. Do a simple taste test. Which candy do you like the best?3. Take your notebook and pencil. Think about the two major elements of this project: candy and
the pH scale. Scientists use the pH scale to measure the concentration of hydrogen ions in substances. The scale stretches from 1-14. Anything above 7 is considered alkaline; anything below is acidic.
4. Which candy do you think will be acidic, or rank the highest on the pH scale? Write down your guess, often called a hypothesis, in your notebook.
5. To test your candies, you'll need to melt them first. Grab your grown-up and make sure both of you put on goggles and heat-proof gloves.
6. Start with one type of candy: sour, sweet or chocolate. Drop a couple of handfuls of the candy into the small pot.
7. Add in a cup or two of distilled water.8. Place the pot on the stove.9. Have an adult help you choose and set the correct stove heat. Hard candies should be heated over
medium, but chocolate candies should be on a low setting.10. As you wait for the candy to heat up, keep your eye on the contents and stir frequently.11. Once the candy begins to liquify, carefully place the candy thermometer in the pot.12. When the hard candies reach about 300° F and the chocolate reaches 115° F, you can have your
grown-up help you remove the pot from the stove.13. Quickly take a piece of pH paper and dip the end of it into the liquid candy.14. Take out the pH paper and wait.15. Once a color appears on the paper compare it to the pH color chart.16. Write down the results in your notebook.17. Repeat steps 6-15 with your remaining two types of candies. Make sure you diligently write
down the results for each candy.18. When you're done, look over all your notes. Was the most acidic candy, sour, sweet or
chocolate?
Why?To get to the bottom of this tasty science, let's take a closer look at sourness. What makes sour candies taste so sour? What is sour? Well, sourness is actually the taste that helps us detect acidity. Now it makes sense that the sour candies were the most acidic! Get out the sour candy package and check the ingredients. You should see types of acid listed right in the ingredients.
What Kinds of Water Yield Fastest Plant Growth?Objective:Students will discover whether distilled water, spring water, or regular tap water yield faster plant growth; in this case, we will use beans. Beans have a fast germination time (2-5 days depending on conditions) so we won't be waiting too long to see results.
Research Questions:
What is condensation? What happens during this process? What do plants need to grow?
Materials:(from the grocery store/gardening store)
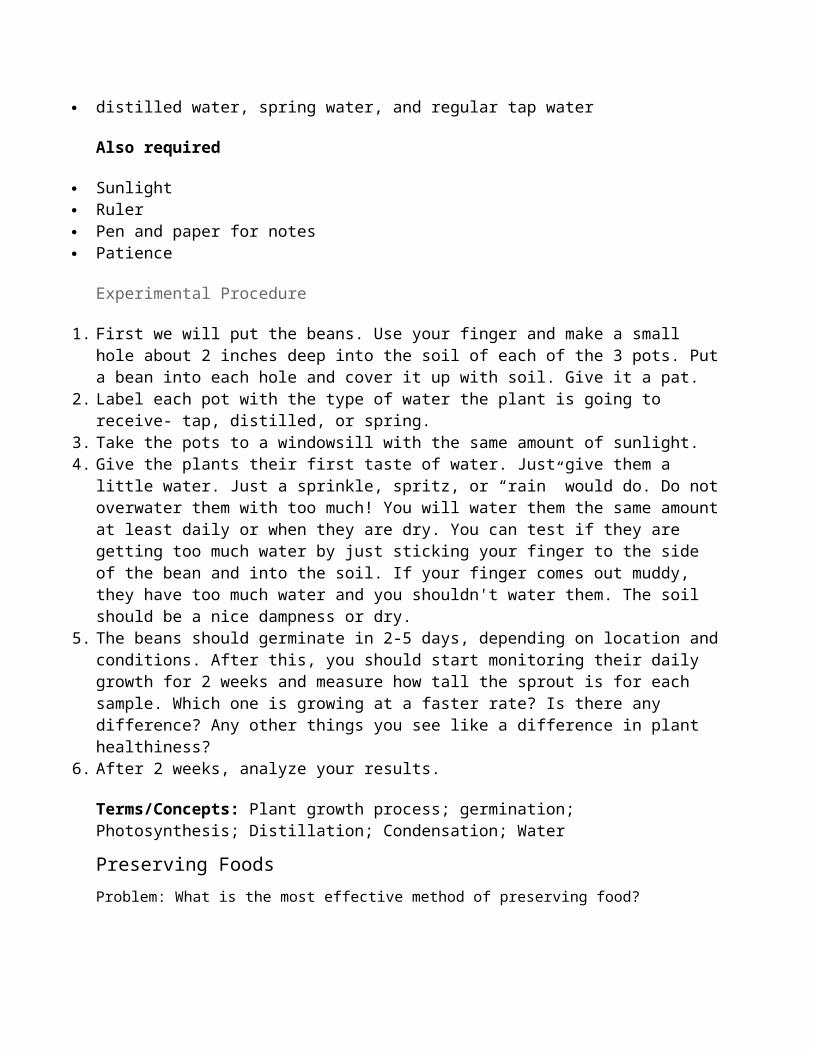
3 beans (i.e. lima beans, lentils, pinto beans) 3 pots with soil distilled water, spring water, and regular tap water
Also required
Sunlight Ruler Pen and paper for notes Patience
Experimental Procedure
1. First we will put the beans. Use your finger and make a small hole about 2 inches deep into the soil of each of the 3 pots. Put a bean into each hole and cover it up with soil. Give it a pat.
2. Label each pot with the type of water the plant is going to receive- tap, distilled, or spring.3. Take the pots to a windowsill with the same amount of sunlight.4. Give the plants their first taste of water. Just give them a little water. Just a sprinkle, spritz, or
“rain” would do. Do not overwater them with too much! You will water them the same amount at least daily or when they are dry. You can test if they are getting too much water by just sticking your finger to the side of the bean and into the soil. If your finger comes out muddy, they have too much water and you shouldn't water them. The soil should be a nice dampness or dry.
5. The beans should germinate in 2-5 days, depending on location and conditions. After this, you should start monitoring their daily growth for 2 weeks and measure how tall the sprout is for each sample. Which one is growing at a faster rate? Is there any difference? Any other things you see like a difference in plant healthiness?
6. After 2 weeks, analyze your results.
Terms/Concepts: Plant growth process; germination; Photosynthesis; Distillation; Condensation; Water
Preserving FoodsProblem: What is the most effective method of preserving food?
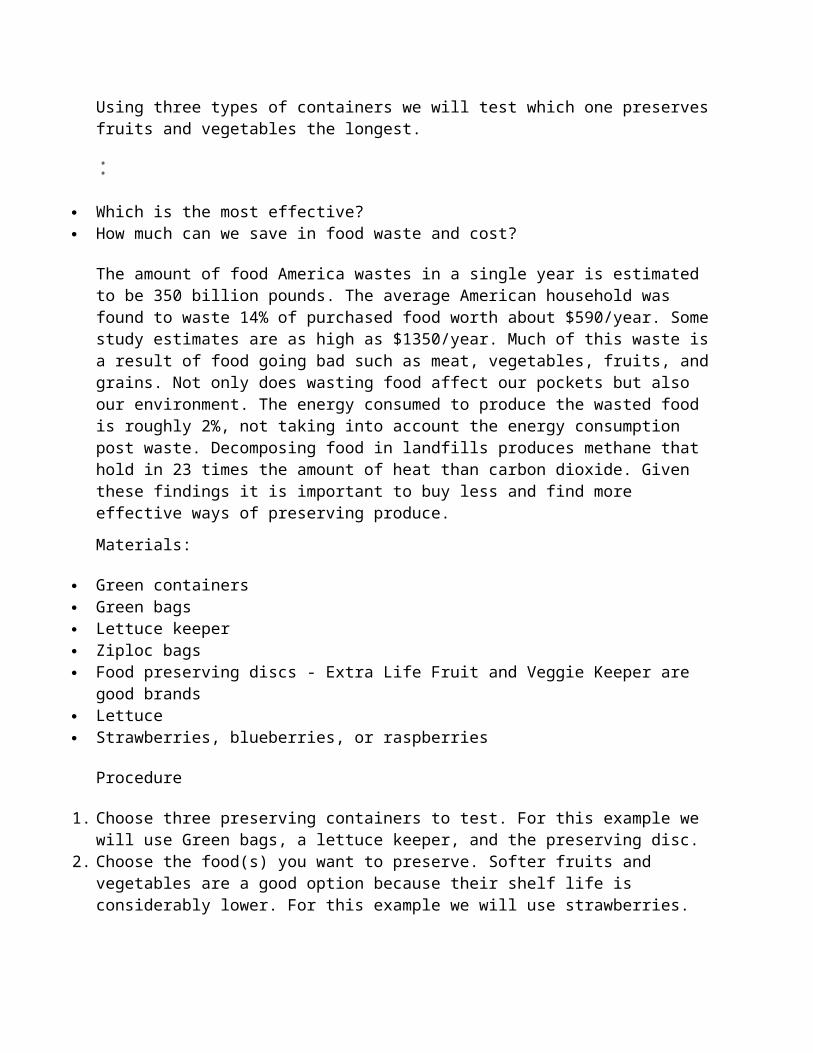
Using three types of containers we will test which one preserves fruits and vegetables the longest.
:
Which is the most effective? How much can we save in food waste and cost?
The amount of food America wastes in a single year is estimated to be 350 billion pounds. The average American household was found to waste 14% of purchased food worth about $590/year. Some study estimates are as high as $1350/year. Much of this waste is a result of food going bad such as meat, vegetables, fruits, and grains. Not only does wasting food affect our pockets but also our environment. The energy consumed to produce the wasted food is roughly 2%, not taking into account the energy consumption post waste. Decomposing food in landfills produces methane that hold in 23 times the amount of heat than carbon dioxide. Given these findings it is important to buy less and find more effective ways of preserving produce.
Materials:
Green containers Green bags Lettuce keeper Ziploc bags Food preserving discs - Extra Life Fruit and Veggie Keeper are good brands Lettuce Strawberries, blueberries, or raspberries
Procedure
1. Choose three preserving containers to test. For this example we will use Green bags, a lettuce keeper, and the preserving disc.
2. Choose the food(s) you want to preserve. Softer fruits and vegetables are a good option because their shelf life is considerably lower. For this example we will use strawberries.
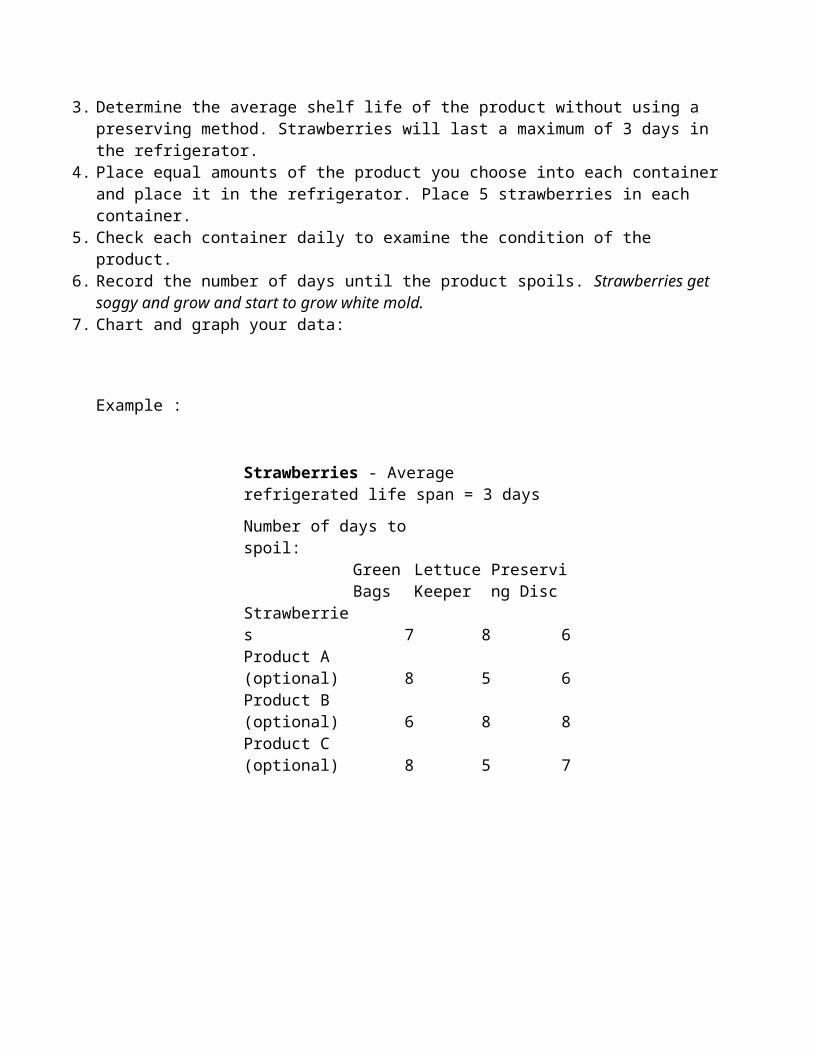
3. Determine the average shelf life of the product without using a preserving method. Strawberries will last a maximum of 3 days in the refrigerator.
4. Place equal amounts of the product you choose into each container and place it in the refrigerator. Place 5 strawberries in each container.
5. Check each container daily to examine the condition of the product. 6. Record the number of days until the product spoils. Strawberries get soggy and grow and start to
grow white mold.7. Chart and graph your data:
Example :
Strawberries - Average refrigerated life span = 3 days
Number of days to spoil:Green Bags
Lettuce Keeper
Preserving Disc
Strawberries 7 8 6Product A (optional) 8 5 6Product B (optional) 6 8 8Product C (optional) 8 5 7
How Solar Energy Heats Liquids of Different Colors?Objective:Students will discover how liquids with the colors along the spectrum respond when heated by the sun.
Research Questions:
How do frequencies correlate with wavelengths? How is color temperature applied to applications such as lighting and photography? Why is it
important? Why does the sun appear to “change colors” depending on its position in the sky?
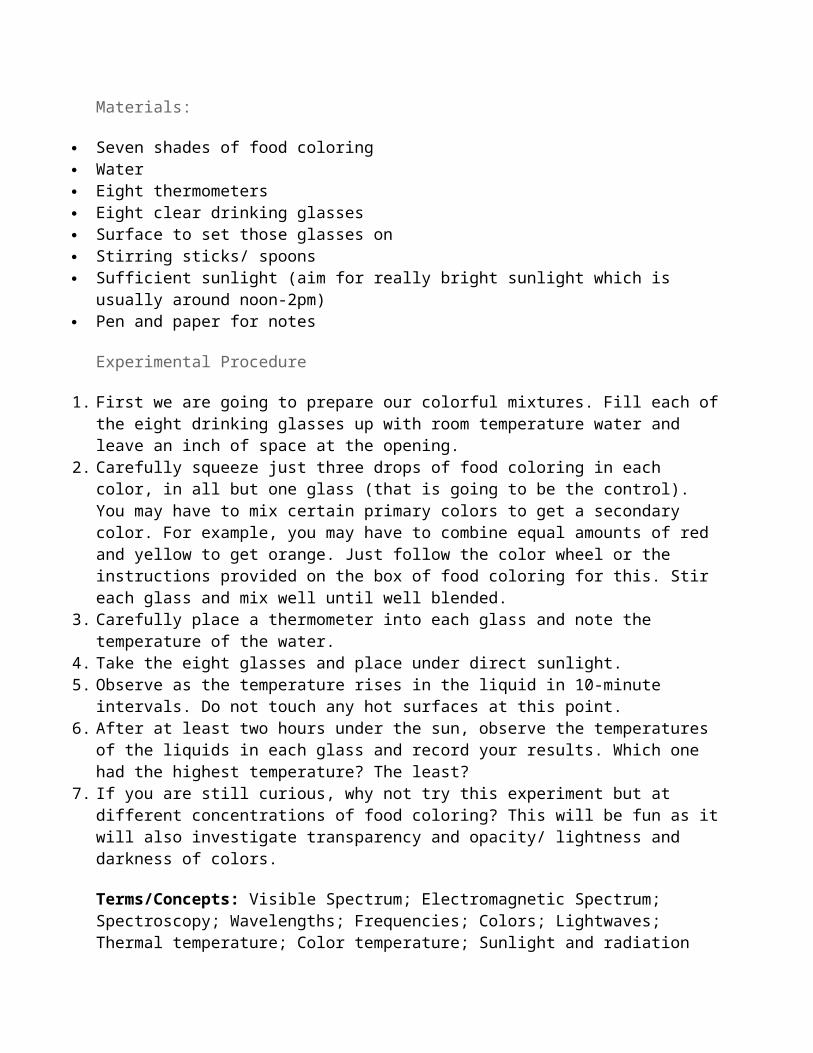
Materials:
Seven shades of food coloring Water Eight thermometers Eight clear drinking glasses Surface to set those glasses on Stirring sticks/ spoons Sufficient sunlight (aim for really bright sunlight which is usually around noon-2pm) Pen and paper for notes
Experimental Procedure
1. First we are going to prepare our colorful mixtures. Fill each of the eight drinking glasses up with room temperature water and leave an inch of space at the opening.
2. Carefully squeeze just three drops of food coloring in each color, in all but one glass (that is going to be the control). You may have to mix certain primary colors to get a secondary color. For example, you may have to combine equal amounts of red and yellow to get orange. Just follow the color wheel or the instructions provided on the box of food coloring for this. Stir each glass and mix well until well blended.
3. Carefully place a thermometer into each glass and note the temperature of the water.4. Take the eight glasses and place under direct sunlight.5. Observe as the temperature rises in the liquid in 10-minute intervals. Do not touch any hot
surfaces at this point.6. After at least two hours under the sun, observe the temperatures of the liquids in each glass and
record your results. Which one had the highest temperature? The least?7. If you are still curious, why not try this experiment but at different concentrations of food
coloring? This will be fun as it will also investigate transparency and opacity/ lightness and darkness of colors.
Terms/Concepts: Visible Spectrum; Electromagnetic Spectrum; Spectroscopy; Wavelengths; Frequencies; Colors; Lightwaves; Thermal temperature; Color temperature; Sunlight and radiation
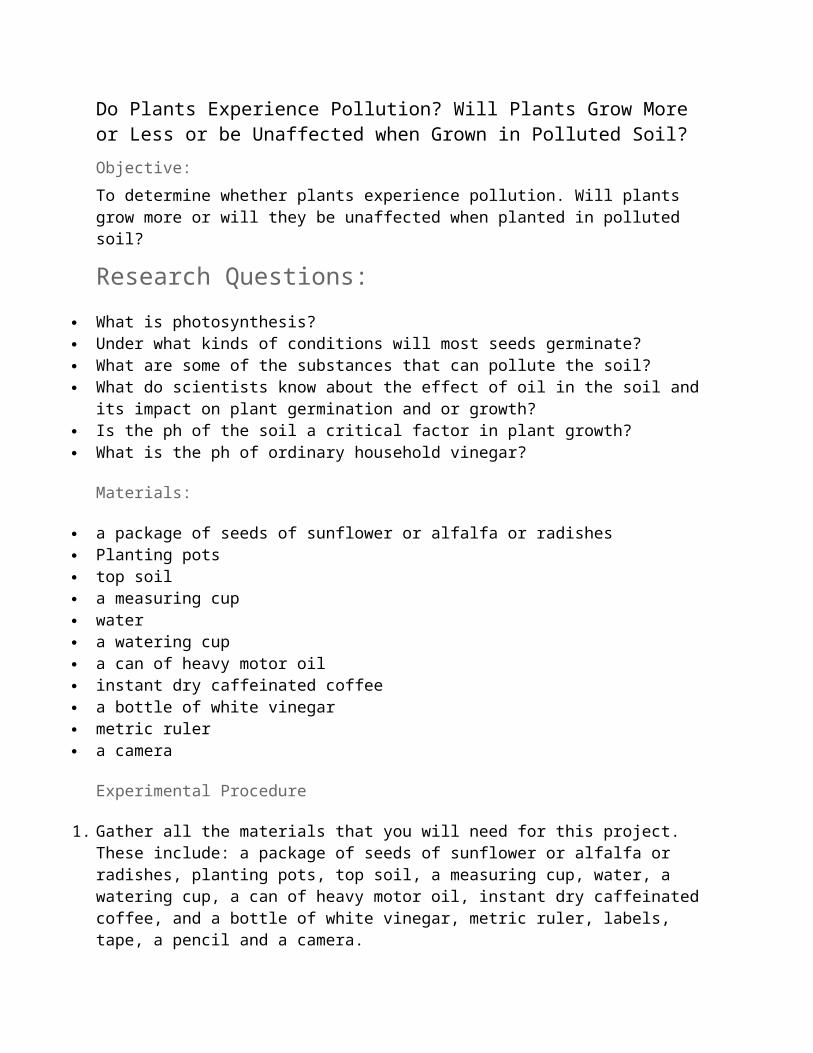
Do Plants Experience Pollution? Will Plants Grow More or Less or be Unaffected when Grown in Polluted Soil?Objective:To determine whether plants experience pollution. Will plants grow more or will they be unaffected when planted in polluted soil?
Research Questions:
What is photosynthesis? Under what kinds of conditions will most seeds germinate? What are some of the substances that can pollute the soil? What do scientists know about the effect of oil in the soil and its impact on plant germination and
or growth? Is the ph of the soil a critical factor in plant growth? What is the ph of ordinary household vinegar?
Materials:
a package of seeds of sunflower or alfalfa or radishes Planting pots top soil a measuring cup water a watering cup a can of heavy motor oil instant dry caffeinated coffee a bottle of white vinegar metric ruler a camera
Experimental Procedure
1. Gather all the materials that you will need for this project. These include: a package of seeds of sunflower or alfalfa or radishes, planting pots, top soil, a measuring cup, water, a watering cup, a can of heavy motor oil, instant dry caffeinated coffee, and a bottle of white vinegar, metric ruler, labels, tape, a pencil and a camera.
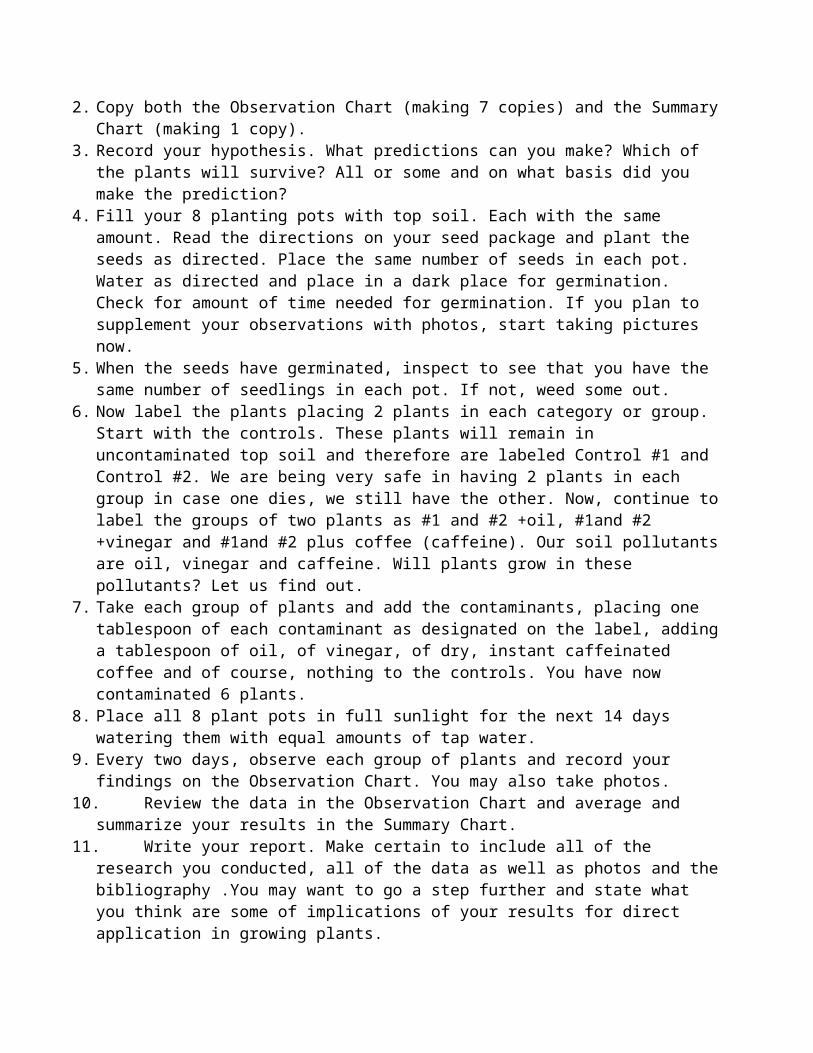
2. Copy both the Observation Chart (making 7 copies) and the Summary Chart (making 1 copy).3. Record your hypothesis. What predictions can you make? Which of the plants will survive? All
or some and on what basis did you make the prediction?4. Fill your 8 planting pots with top soil. Each with the same amount. Read the directions on your
seed package and plant the seeds as directed. Place the same number of seeds in each pot. Water as directed and place in a dark place for germination. Check for amount of time needed for germination. If you plan to supplement your observations with photos, start taking pictures now.
5. When the seeds have germinated, inspect to see that you have the same number of seedlings in each pot. If not, weed some out.
6. Now label the plants placing 2 plants in each category or group. Start with the controls. These plants will remain in uncontaminated top soil and therefore are labeled Control #1 and Control #2. We are being very safe in having 2 plants in each group in case one dies, we still have the other. Now, continue to label the groups of two plants as #1 and #2 +oil, #1and #2 +vinegar and #1and #2 plus coffee (caffeine). Our soil pollutants are oil, vinegar and caffeine. Will plants grow in these pollutants? Let us find out.
7. Take each group of plants and add the contaminants, placing one tablespoon of each contaminant as designated on the label, adding a tablespoon of oil, of vinegar, of dry, instant caffeinated coffee and of course, nothing to the controls. You have now contaminated 6 plants.
8. Place all 8 plant pots in full sunlight for the next 14 days watering them with equal amounts of tap water.
9. Every two days, observe each group of plants and record your findings on the Observation Chart. You may also take photos.
10. Review the data in the Observation Chart and average and summarize your results in the Summary Chart.
11. Write your report. Make certain to include all of the research you conducted, all of the data as well as photos and the bibliography .You may want to go a step further and state what you think are some of implications of your results for direct application in growing plants.
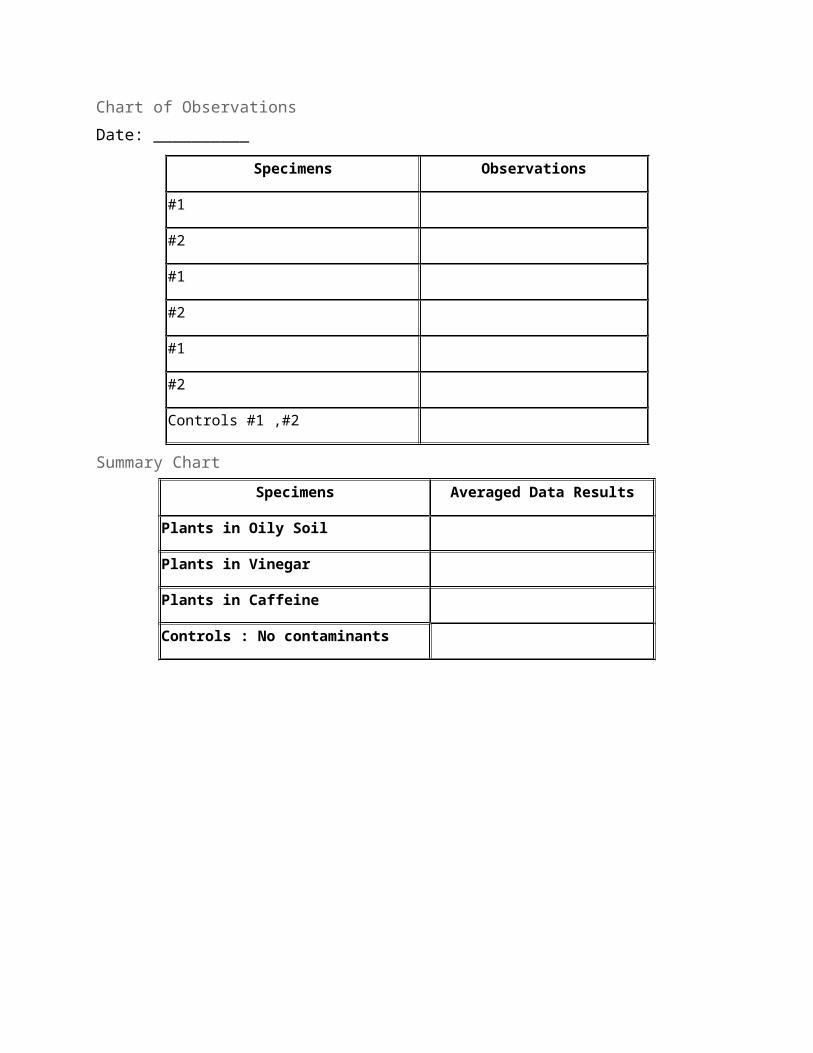
Chart of ObservationsDate: __________
Specimens Observations
#1
#2
#1
#2
#1
#2
Controls #1 ,#2
Summary Chart
Specimens Averaged Data Results
Plants in Oily Soil
Plants in Vinegar
Plants in Caffeine
Controls : No contaminants
Talking to PlantsTo find out whether plants respond to human speech.
The purpose of this experiment is to learn whether talking to a plant will help it grow.
How do plants communicate? What types of plants communicate with each other? What types of messages do plants send to each other? How do vibrations affect plants?
Is it possible for plants to sense chemical messages sent by other creatures? Do humans communicate through chemical signals as well?
Many people talk to their plants while they water them. Usually, people who talk to their plants believe that plants can pick up on their good intentions. This is a relatively common practice, as human beings tend to anthropomorphize, or give human qualities to non-human life forms or objects. While there is no evidence to suggest that plants respond to affection, some plants do have a limited ability to communicate with one another. Though plants lack the ability to receive and process sound waves, evidence suggests that some plants can communicate with each other through the use of chemical signals. Additionally, vibrations that travel through the soil or in the air may have an effect on plant growth. It may be possible for plants to pick up on the vibrations created by human speech and maybe even by the chemical signals that humans release without knowing it.
Materials:
Seeds (bean seeds work well because they grow quickly and are hardy) Containers Potting soil Water
Procedure:
1. Label one of the containers “control.”
2. Label one of the containers “kind words.”
3. (optional) Label one of the containers “neutral words.”
4. (optional) Label one of the containers “angry words.”
5. Plant three seeds in each container, following the package directions as to planting depth and spacing.
6. Place each of the containers outdoors (if it’s warm out) or in a sunny window (if it’s cold).
7. Water the plants.
8. Take one of the containers into a separate room.
9. Talk to the plant for 15 minutes.
10. Water the plant.
11. Move the plant back to its window.
12. Repeat steps 8-11 with any other experimental plants you may have.
13. In order to subject the control plant to the same variables, move it into the other room for the same amount of time but do not talk to it.
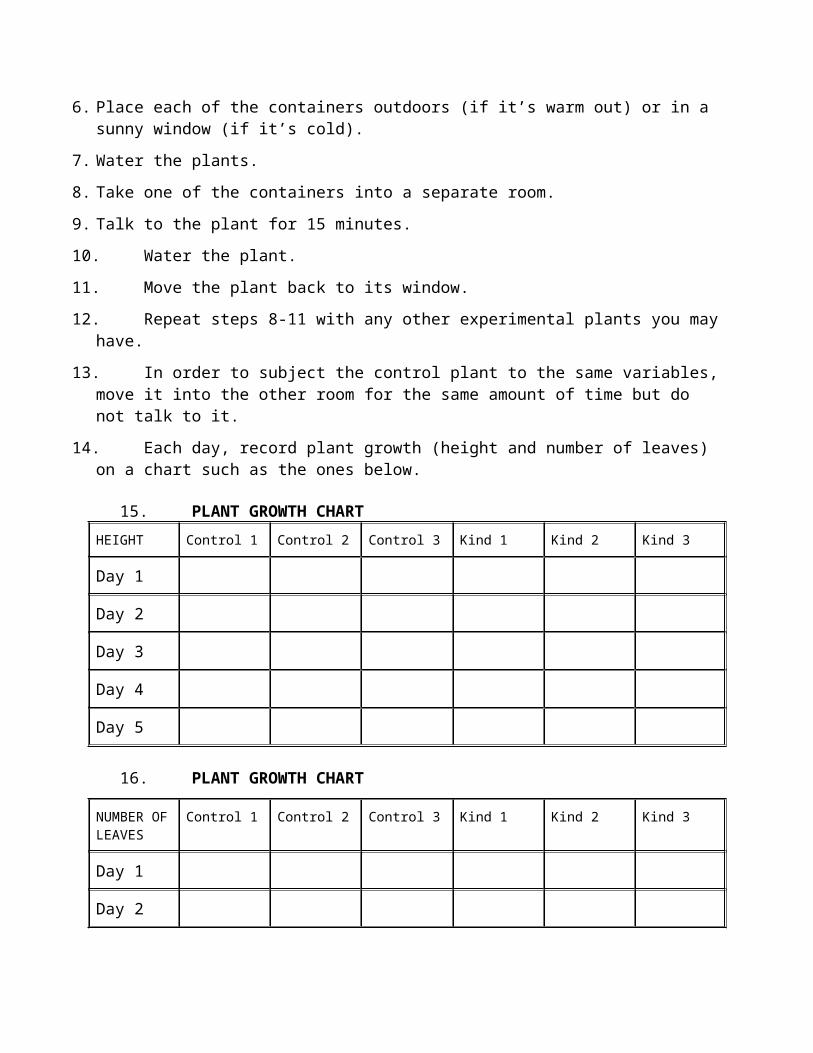
14. Each day, record plant growth (height and number of leaves) on a chart such as the ones below.
15. PLANT GROWTH CHARTHEIGHT Control 1 Control 2 Control 3 Kind 1 Kind 2 Kind 3
Day 1
Day 2
Day 3
Day 4
Day 5
16. PLANT GROWTH CHART
NUMBER OF LEAVES
Control 1 Control 2 Control 3 Kind 1 Kind 2 Kind 3
Chemical IndicatorsThe goal of this experiment is to make different chemical indicators and use them to identify solutions containing vitamin C, starch or that have a high pH.Students will consider how analytical chemists identify the properties of matter.
What substances can be used to identify starches? Vitamin C? Basic solutions? What other types of chemical indicators do chemists routinely use? What properties of matter are useful in identifying the matter? What is Benedict’s solution? Bromophenol blue? How are they used as chemical indicators?
Chemical indicators are substances that are used to identify a property of matter or to identify the material itself. Common chemical indicators are Benedict’s solution, which indicates the presence of some sugars, and bromophenol blue, which is used to measure pH.In this experiment students will make their own chemical indicators to identify basic solutions and test for the presence of starches and vitamin C.
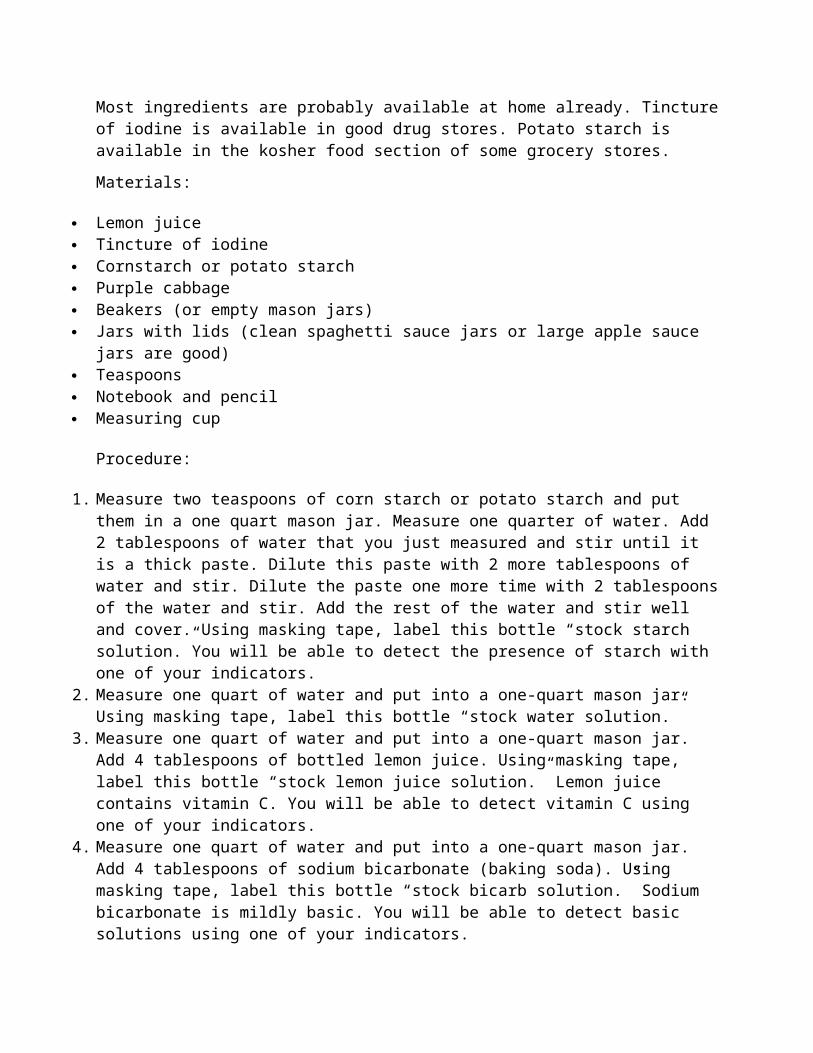
Most ingredients are probably available at home already. Tincture of iodine is available in good drug stores. Potato starch is available in the kosher food section of some grocery stores.
Materials:
Lemon juice Tincture of iodine Cornstarch or potato starch Purple cabbage Beakers (or empty mason jars) Jars with lids (clean spaghetti sauce jars or large apple sauce jars are good) Teaspoons Notebook and pencil Measuring cup
Procedure:
1. Measure two teaspoons of corn starch or potato starch and put them in a one quart mason jar. Measure one quarter of water. Add 2 tablespoons of water that you just measured and stir until it is a thick paste. Dilute this paste with 2 more tablespoons of water and stir. Dilute the paste one more time with 2 tablespoons of the water and stir. Add the rest of the water and stir well and cover. Using masking tape, label this bottle “stock starch solution.”You will be able to detect the presence of starch with one of your indicators.
2. Measure one quart of water and put into a one-quart mason jar. Using masking tape, label this bottle “stock water solution.”
3. Measure one quart of water and put into a one-quart mason jar. Add 4 tablespoons of bottled lemon juice. Using masking tape, label this bottle “stock lemon juice solution.” Lemon juice contains vitamin C. You will be able to detect vitamin C using one of your indicators.
4. Measure one quart of water and put into a one-quart mason jar. Add 4 tablespoons of sodium bicarbonate (baking soda). Using masking tape, label this bottle “stock bicarb solution.” Sodium bicarbonate is mildly basic. You will be able to detect basic solutions using one of your indicators.
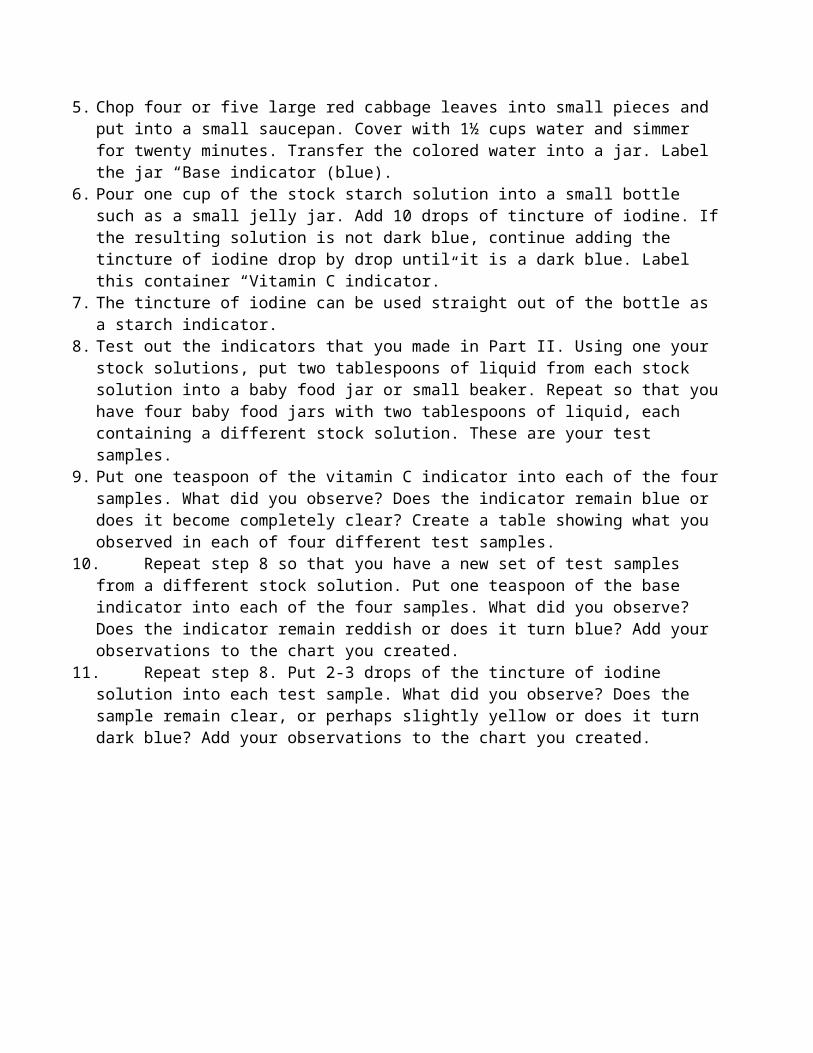
5. Chop four or five large red cabbage leaves into small pieces and put into a small saucepan. Cover with 1½ cups water and simmer for twenty minutes. Transfer the colored water into a jar. Label the jar “Base indicator (blue).
6. Pour one cup of the stock starch solution into a small bottle such as a small jelly jar. Add 10 drops of tincture of iodine. If the resulting solution is not dark blue, continue adding the tincture of iodine drop by drop until it is a dark blue. Label this container “Vitamin C indicator.”
7. The tincture of iodine can be used straight out of the bottle as a starch indicator.8. Test out the indicators that you made in Part II. Using one your stock solutions, put two
tablespoons of liquid from each stock solution into a baby food jar or small beaker. Repeat so that you have four baby food jars with two tablespoons of liquid, each containing a different stock solution. These are your test samples.
9. Put one teaspoon of the vitamin C indicator into each of the four samples. What did you observe? Does the indicator remain blue or does it become completely clear? Create a table showing what you observed in each of four different test samples.
10. Repeat step 8 so that you have a new set of test samples from a different stock solution. Put one teaspoon of the base indicator into each of the four samples. What did you observe? Does the indicator remain reddish or does it turn blue? Add your observations to the chart you created.
11. Repeat step 8. Put 2-3 drops of the tincture of iodine solution into each test sample. What did you observe? Does the sample remain clear, or perhaps slightly yellow or does it turn dark blue? Add your observations to the chart you created.
Music and Plants
Material AvailabilityPlants can be purchased at a garden store. The rest of the materials should be readily available.
Approximate Time Required to Complete the Project One week to collect the data; one day to prepare the science fair display.
To investigate the affect music has on plants
Materials:
3 small potted plants (the plants should be the same type and about the same size) 2 small CD players or M3P players 1 CD of hard rock music 1 CD of classical music Masking Tape Pen
Simply put plants need water, food, and sunlight to grow. But other factors such as the amount and quality of water, food, and sunlight affect the way a plant grows. The plant needs water and sunlight to get food from photosynthesis and respiration. But do other factors affect plant growth?
In this investigation, plants are exposed to different types of music to see if music affect plant growth.
Termsphotosynthesis: the process by which a plant makes food
respiration: the process where the oxygen in plants combines with food to release energy
ConceptsPlants need water, food, and sunlight to grow. Music also affects plant growth.
Research Questions
What makes a plant grow? Does music affect plant growth? Does the type of music affect plant growth?
Procedure:
1. Gather the necessary materials.2. Using the masking tape label the plants: 1) Classical Music, 2) Rock Music, and 3) No Music.
3. Place each plant in a different room with similar temperature and light. Water each plant exactly the same. For one week play classical music and rock music for the appropriate plants. Leave the third plant with no music.
4. Keep a daily record of how each of the plants is doing. 5. At the end of the week, compare the results.
Articles“All About Plants” at http://library.thinkquest.org/3608/plantsgrow.html
“How Plants Grow” at http://library.thinkquest.org/3715/root2.html
“What Makes Plants Grow” at http://www.buzzle.com/articles/what-makes-plants-grow.html
ObjectiveEating salad is refreshing because we get to eat living vegetables. However, it is unappetizing to have green leaves turn brown and wilt on your plate. In a series of experiments, students will learn about why fresh vegetables age so quickly, and what factors speed up the browning process. They will learn how the surface tension of the salad oil, the permeability of the waxy leaf cuticle, and the spongy air spaces in the leaf all affect browning and wilting.
Project GoalThe goal is for young children to examine browning and wilting of salad greens.
Materials and Equipment Green lettuce Red lettuce Microscope (optional) Knife for cutting the greens Paper towels Vinegar (Use any kind of clear vinegar. Darker vinegars such as apple cider vinegar will work, but the
color will make it harder to distinguish plant pigments from the vinegar on paper towels.) Salad oil (peanut, olive, canola or other vegetable oils are fine)
Research Questions
Does cutting the salad greens make them brown faster than tearing? Is there a difference between fragile greens such as basil and sturdier greens such as romaine?
Does a mild acid such as the vinegar found in salad dressing affect the speed of browning and wilting? Is the surface tension of salad dressing related to the speed of browning? Why? How does the waxy cuticle found in leaves relate to browning? How so? How does the spongy structure of leaves relate to wilting?
Terms, Concepts and Questions to Start Background Research
Browning Enzymatic action Polyphenol oxidase Cuticle Cellular structure of a leaf Surface tension
Experimental Procedure
Experiment #1
1. Cut up some sturdy romaine leaves. Put them in a place where they will not be disturbed for two days. 2. Tear some sturdy romaine leaves. Try tearing along the ridges of leaves and wherever the tear seems
most natural. Put the torn leaves in place where they will not be disturbed for two days.3. Leave some untouched romaine leaves undisturbed for two days. These are your controls.4. Repeat steps one, two, and three with fragile basil leaves.5. Inspect your leaves at six hours, 12 hours, 18 hours, 24 hours, 36 hours and 48 hours. Which has
browned the most? Is there a difference between the controls and the other leaves? Is there a difference between the cut and torn leaves? What about between the basil and the romaine leaves? Write up your observations. Take pictures.
Experiment #2
1. Lightly dress some red lettuce leaves with vinegar. Any kind of clear vinegar will do. Leave the vinegar-dressed leaves on white paper towels. Leave some undressed leaves on white paper towels as controls.
2. Inspect the lettuce leaves at twenty minutes, a half hour, 1 hour, and 2 hours. Look at the paper towels closely. Is there any evidence of paper towels getting stained by pigments leaking out of damaged cells?
3. Inspect a portion of the control leaves and the vinegar-soaked leaves under a microscope. Draw what you see.
Experiment #3
1. Lightly dress some lettuce leaves with vegetable oil (any kind of lettuce work well for this). Dress some other lettuce leaves with water.
2. Inspect the lettuce leaves immediately after dressing them, and at 10 minutes and 20 minutes Do the water and oil bead up or spread out on the leaves? What happens to the texture of the leaves?
3. Inspect the leaves under a microscope. Using a pin, poke a hole into one of the oil-soaked leaves and watch carefully under the microscope for several minutes. What do you see?
4. Write up your observations. Take pictures!
What Animals are Most Popular? A Data Analysis ProjectThis project investigates what animals are most popular and whether there are trends within age and gender groups. In so doing it affords practice in data-collection, record-keeping, and data-analysis.
What animals are most popular? Do boys tend to favor certain animals? Girls? Do younger kids favor certain animals? Older?
Materials:
Paper Pencil Clipboard Two or more mixed-gender classes of different grades, preferably one class on the younger side
and one on the older
Procedure:
1. Make a data chart with 3 columns.2. Label one column "grade," one column "gender," and one column "animal."3. Interview the members of your class and/or a younger class and an older class. Ask each person
what his/her favorite animal is. On your chart record the interviewee's grade, gender, and favorite animal.
4. When you have interviewed at least two classes, analyze the data. You will need a large sheet of paper on which to record the names of animals and the numbers of votes in each category and sub-category. In your evaluation you may want to answer these questions: • What animals are most popular? • Which are most popular among boys? • Which are most popular among girls? • Which are most popular among younger kids? • Which are most popular among older kids? • Which are most popular among younger boys? (Continuing the pattern above, devise your own sub-groups to study.)
5. Now notice: Did any patterns emerge? If so, you might ask yourself and your friends: Why might certain animals be more popular with certain groups? There is no right answer, but it’s something to think about, to take it a step further.
6. As an extension: Interview and evaluate the results for a group of adults.
Does Skin Thickness Decrease Fruit Spoilage Rate?
Objective:In this experiment, we will see if skin thickness decreases fruit spoilage rate.
Research Questions:Does the thickness of the peel of the orange also affect its juiciness?
Many fruits have a peel or a skin, sometimes also called a rind. The peel protects the fruit during its growth period and while it is being transported to the market. In this experiment, we'll compare different kinds of oranges to see how important thickness is to slowing spoilage.
1. The oranges you pick should be the same age and freshness. You should bring them home on the same day.
2. Set the different oranges on a table.3. Observe what happens to the oranges daily and see which one seems to decompose the fastest.4. Note the skin thickness.5. Record your results.6. You may want to conduct different trials for accuracy.
Suggested Chart
Day 1 Day 2 Day 3 Day 4 Day 5
Navel
Valencia
Mandarin
Regular orange
Terms/Concepts: Oranges; Fruits; Fruit spoilage/ decomposition; Fruit Skin/Peel
Do You Need To Plant Seeds a Certain Direction for Them to Germinate?
Objective:Find out whether planting seeds in certain directions will affect how fast it germinates... or whether it germinates at all.
Research Questions:What factors affect seed germination?
Plants grow through a process called photosynthesis, when the chlorophyll located in the chloroplast of the plant cells grabs sunlight and starts the reactions that are needed to make the plant grow. Water is also needed in the growth equation, because like humans and animals, plants need moisture to quench their thirst. But does the angle of the seed in the soil affect the plant's ability to absorb sun and water? Let's find out.
Materials:
Twelve bean seeds (same age) Four plant pots Soil Water Sunlight
Experimental Procedure
1. Put some soil in each plant pot up to the ledge.2. Poke three spaced-out holes into each of the four pots.3. In the first pot, insert three seeds (one in each hole) vertically. Close the holes up and give it a
pat. Label the pot “Vertical-Up.”4. In the second pot, insert three seeds in there vertically, but inversed. Close the holes up and give
it a pat. Label the pot “Vertical-Down.”5. In the third pot, insert three seeds in there horizontally, with the concave part up. Cover the holes
with soil and give it a pat. Label this pot “Horizontal-Up.”6. In the fourth pot, insert four seeds in horizontally, with the convex part up. Cover the holes with
soil and give it a pat. Label this pot “Horizontal-Down.”7. Take these pots to a spot with adequate sunlight and give each a little water (measure the same
Identify the stages of bean seed germination.html Gardening Basics
What Do Ants Eat?
Objective:What do ants eat? Scientists observe animals to see what their preferences are. You can do the same with this science project by examining which foods ants love best.
Research Questions:
What types of human foods do ants prefer? Would ants rather have: a cookie, an apple, a piece of bread, a carrot, or a piece of meat?
When you’re hungry, do you prefer an orange or a fudge brownie? Pizza or a hamburger? Now that you’ve answered that question, what do you think ants prefer to eat? A cookie, an apple, or a piece of meat? You can figure it out based on this science project.
Materials:
Five small plastic plates Cookie Apple Piece of bread Carrot Piece of meat Anthill
Experimental Procedure
1. Set out five small plastic plates.2. Put a cookie on one plate, an apple on a second, a piece of bread on the third, a carrot on a
fourth, and a piece of meat on a fifth. Try to make sure that the pieces of food are about the same size.
3. Find an anthill that seems to contain many ants. Make sure that the anthill does not contain fire ants, which have a reddish-brown head and thorax, but a darker abdomen.
4. Place the five plates near the anthill.5. Leave the area for about an hour.6. When you come back, count the number of ants on each plate, and insert the result into a table
such as the one below.7. Repeat the previous step after 1.5 hours and after two hours.8. Calculate the averages of each column and insert them into the table.9. Examine your data. Which foods did the ants like the best? The least? Why do you think that was
so?
Terms/Concepts: What do ants normally eat? Where do ants live?
Do Packaged Seeds Expire?
Objective:Discover whether packaged seeds, despite having an expiration date printed, actually do expire.
Research Questions:
What are the parts of a plant seed? What causes a seed to germinate?
Seed packages have expiration dates--but does that mean they'll no longer grow if planted? In this experiment, we'll find out.
Materials:
Packages of old, expired seeds: You'll need to ask friends and family, or ask your local gardening supply store
Packages of new seeds that are the same kind/variety as the expired seeds Soil with fertilizer Water Sunlight Ruler Patience
Experimental Procedure
1. Pick a location rich in equal amounts of sunlight to plant your seeds.2. Separate two spots for your two groups of seeds, at least six inches apart.3. Dig holes for your seeds- insert your expired seeds in one section and the new seeds in the other.
Cover the hole(s) up.4. Give the seeds their first taste of water- you should water it a bit everyday or when it looks dry
and the soil feels dry. You don't need to water them when it rains.5. Observe the seeds daily and see which one germinates first.6. If growth is spotted, measure the height with your ruler and record the measurement.7. Compare the heights when several weeks have passed and note any significant differences.
Suggested Chart
Day 1 Day 2 Day 3 Day 4 Day 5 Day 6 Day 7
Old Seeds
New Seeds
Terms/Concepts: Plant growth process; germination; Photosynthesis; Seeds; Water