27
FishCam Margrit Höhme Karsten Ehm Sarah Amin π++ and more June 28, 2014 Trier, Germany

FishCam
Margrit HöhmeKarsten EhmSarah Amin
π++ and more
June 28, 2014Trier, Germany

Motivation
Raspberry Pi spurs new ideas. The low-cost camera is an invitation to explore the environment, for example the fish pond in our garden.
Interdisciplinary project
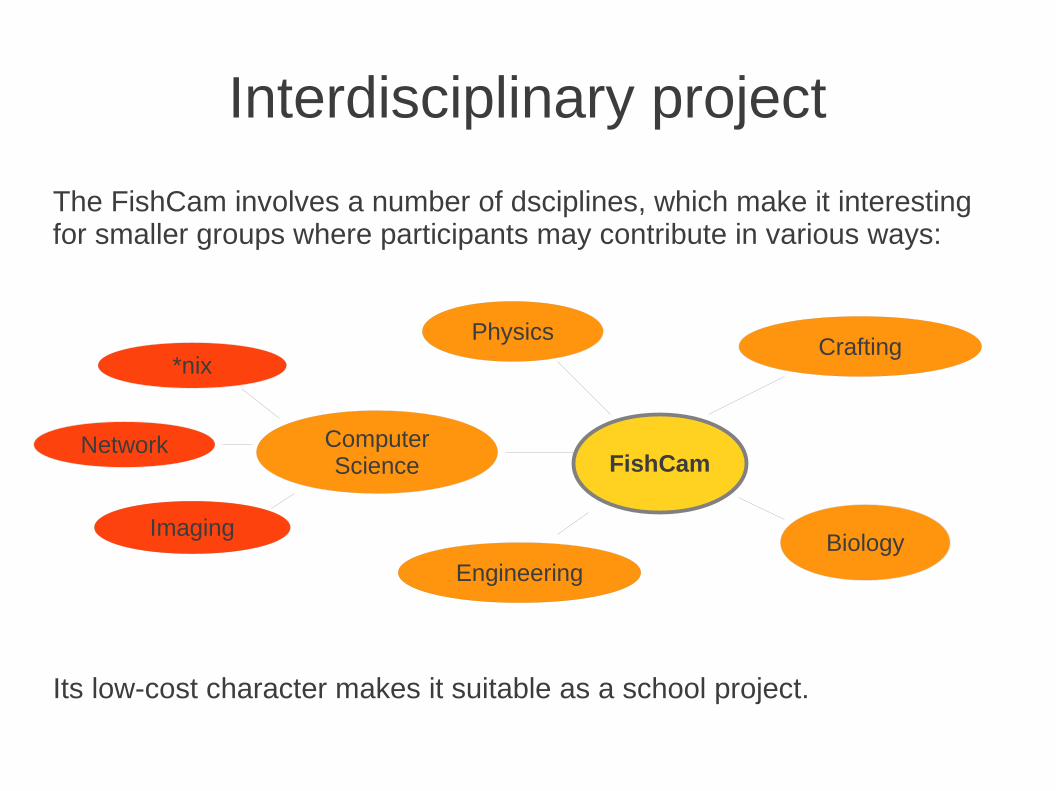
The FishCam involves a number of dsciplines, which make it interesting for smaller groups where participants may contribute in various ways:
Its low-cost character makes it suitable as a school project.
CraftingPhysics
ComputerScience
*nix
Network
ImagingBiology
FishCam
Engineering

Similar projects
There are a number of projects using the Raspberry Pi camera.
For example as a timelapse camera. I liked the idea of using a coffee tin as a housing for the camera.
http://www.fotosyn.com/simple-timelapse-camera-using-raspberry-pi-and-a-coffee-tin/

Bird cams
Famous projects are the bird box with a NoIR Raspberry cam and the BBC spring watch.
http://ww
w.rasp berryp i.org/lea rning/i nfrared- bird-bo x/
http://riscpi.co.uk/raspberry-pi-bird-box-from-bbcs-springwatch/
Raspberry Pi in deep water
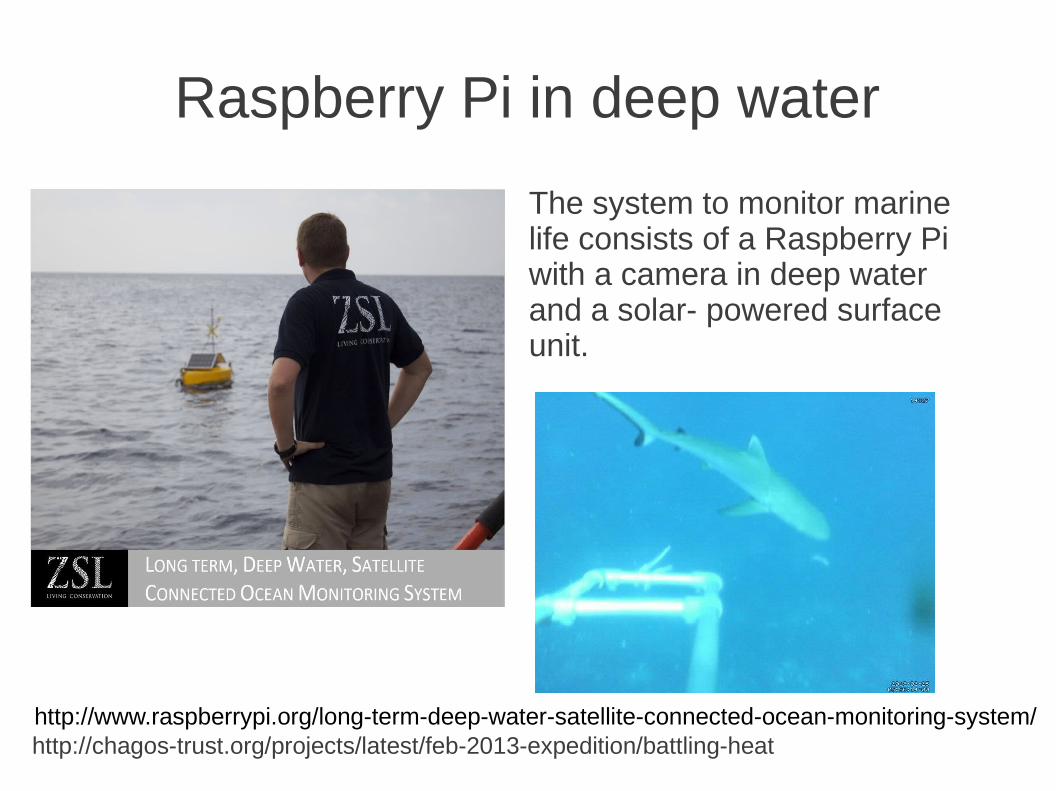
The system to monitor marine life consists of a Raspberry Pi with a camera in deep water and a solar- powered surface unit.
http://www.raspberrypi.org/long-term-deep-water-satellite-connected-ocean-monitoring-system/http://chagos-trust.org/projects/latest/feb-2013-expedition/battling-heat

The FishCam

DIY video camera housing
Underwater camera cases are ridiculously expensive. But we wanted an affordable case.
On the Internet, we found a DIY camera housing that seemed perfect for our project.
http://www2.mrc-lmb.cam.ac.uk/personal/pdh/housing/
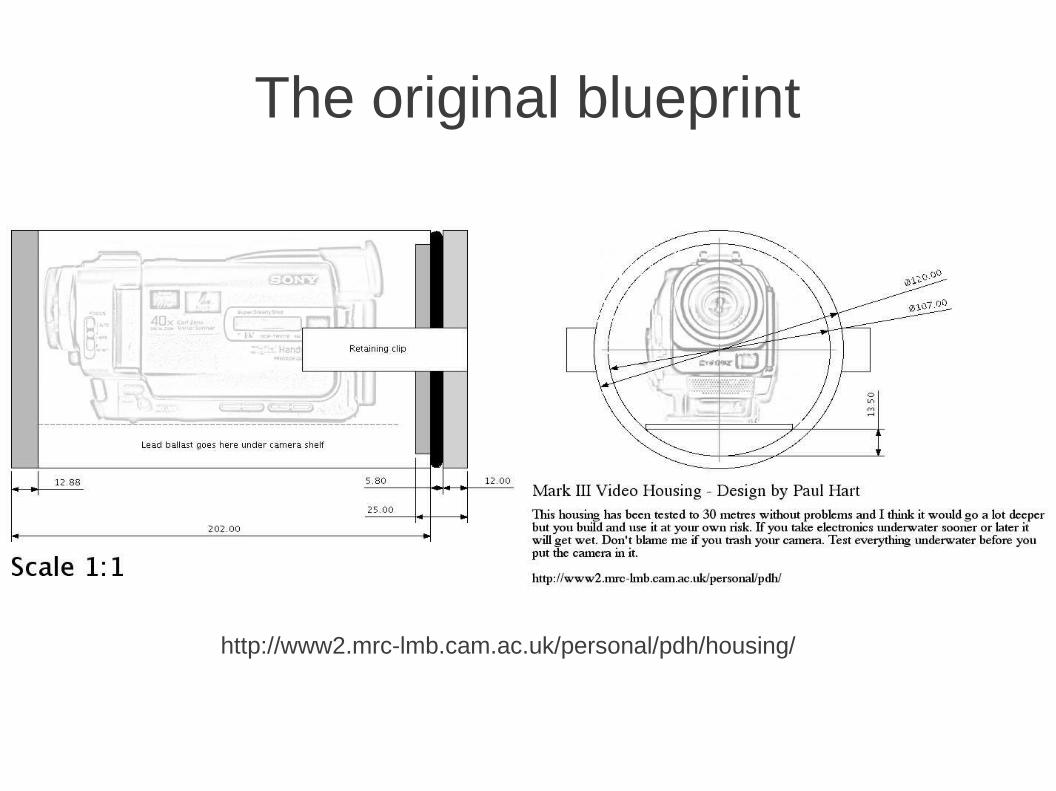
The original blueprint
http://www2.mrc-lmb.cam.ac.uk/personal/pdh/housing/

Our first attempt
Since our pond is about 1 m deep, we modified the original blueprint and used cheaper and smaller standard sizes. At the front side, we had 6 mm, to avoid light being absorbed, and the lid had 8 mm (Paul Hart's lid is 25 mm thick).
However, the first attempt failed: Our lid was not strong enough and bent under the tension of the two clips and was leaky. Applying more force to squeeze the o ring would have risked cracking the lid.
Acrylic glass is surprisingly resistant to torque. Cracks are not always visible. Sometimes they can only be detected under tension.
Cracks can be mended with acrylic glue.
A word on glueing acrylic glass: We did not pay particular attention on how to glue the parts together. However, it worked. But the recommended way to glue acrylic glass is to leave a small gap between the parts and fill the glue into the gap.

The flange
We tried to fix the problem with a different design:
Closing and opening
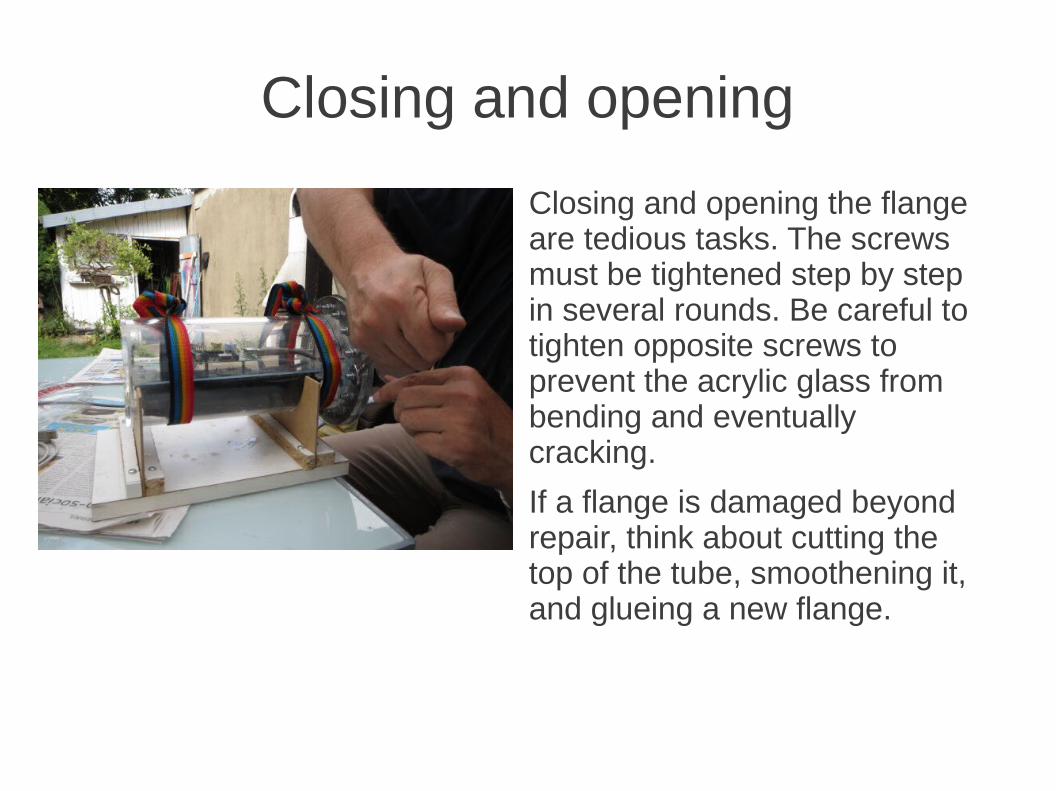
Closing and opening the flange are tedious tasks. The screws must be tightened step by step in several rounds. Be careful to tighten opposite screws to prevent the acrylic glass from bending and eventually cracking.
If a flange is damaged beyond repair, think about cutting the top of the tube, smoothening it, and glueing a new flange.

Water-proofing the flange
Both parts of the flange should be rather strong (8 mm works fine).
8 screws are not enough, but 16 screws are fine. Unlike rubber, gasket paper deforms only minimally under pressure. Large washers on the top help to minimize distortions. At the bottom, smaller washers must not be too close to the tube's edge to prevent cracks.

Water-proofing the flange (2)
Tension is less when the reference circle of holes is closer to the tube rather than to the edge of the flange.
Finding leaks is much easier and much simpler to handle when we do not submerge the tube, but fill it with water.

List of materials
Items Cost
Acrylic glass tube (110/120 mm, 250 mm)* 10.00 €
Acrylic glass round (6 mm/120 mm for the front) 4.00 €
Acrylic glass rim (8 mm/110/170 mm) 6.00 €
Acrylic glass round (8 mm/170 mm) 6.00 €
Acrylic glue (Acrifix 192) 6.00 €
Screws, washers, nuts 8.00 €
Gasket paper, 0.25 mm (Abil N) 2.00 €
Cable gland IP 68 3.00 €
USB cable A/B, 3m long 5.00 €
USB plug A (for soldering) 0.50 €
Simple acrylic glass plane (4 mm/108 mm/245 mm for the tray) 4.00 €
Acrylic screws 0.50 €55.00 €
* We opted for cost-efficient standard sizes.The prices are only reference amounts for a singe individual housing. Buying larger quantities may cut down costs up 50 percent.

Calculation of weight
The FishCam needs diving lead weights are used to get pinned down under water. Archimedes' Principle shows how to calculate the required weights:
The volume V of the FishCam is
V = G * h
= π * r² * h
= π * 60 * 250 mm³
= 0.002827350 m³
The FishCam displaces about 0.0028 m³ of water, that is about 2.8 kg of water (the specific weight of water at 4° C is 1 kg per litre).
Thus an additional weight of about 2.5 kg is required to compensate the buoyant force.
http://co
mm
on
s.wikim
ed
ia.o
rg/w
i ki/File
:PS
M_
V7
8_
D3
37
_A
rchim
ed
es.p
ng

Model A or Model B?
The most importent difference of both models is the available memory: 256 KB versus 512 KB. Interestingly, this difference has no impact on the camera operation.
As operating system I prefer standard Raspbian with no extras. The same SD card can be used in both models.
To get most out of my Raspberries, I run them in headless mode.
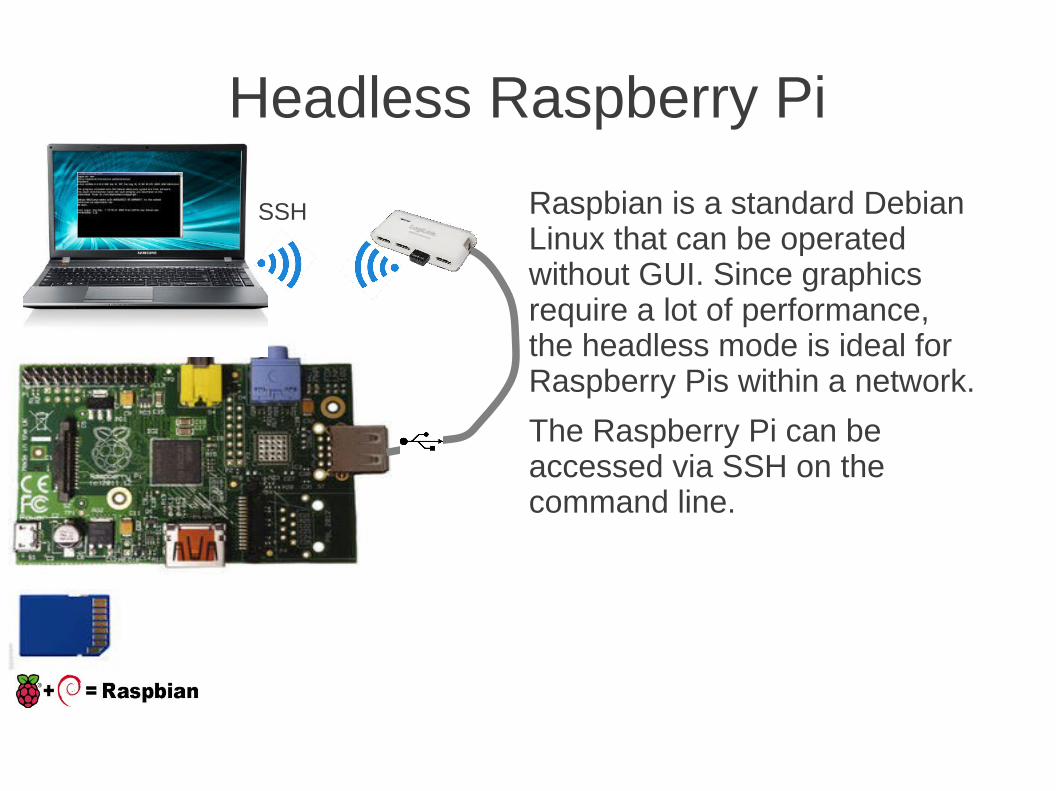
Headless Raspberry Pi
SSH Raspbian is a standard Debian Linux that can be operated without GUI. Since graphics require a lot of performance, the headless mode is ideal for Raspberry Pis within a network.
The Raspberry Pi can be accessed via SSH on the command line.

Wifi connection
It is not possible to send WLAN under water (not even 1 cm below the surface for physical reasons). To operate and control the Raspberry Pi, we opted for a single USB cable connected to a USB hub at the surface. The cable serves as power supply as well as data connection.
The USB hub is equipped with a Wifi dongle to connect to a network.
Since the USB cables should not exceed 3 m, the reach of the FishCam is limited to this distance.
PowerSupply
Raspberry Pi + cameraIn acrylic glass tube
No WLANunderwater
Max. 5 m

Raspberry Pi camera
There are several ways to use the camera: ● Still photography● Timelapse photography and videos● Video capturing● Live video streaming (within a network/over the Internet)● Motion detection (surveillance camera)
Video is a very complex data format, and different modes require completely different setups.

Camera setup
The installation of the camera and the software setup is easy. How-tos can be found on the Internet.
There are basically two programs to control the camera: raspistill and raspivid. Both of them provide a variety of options. Their output can be saved to disk or piped to some other program.

Video capturing
Raspberry Pi (Server)
raspivid -o - -rot 180 | nc -l 3333
Laptop (Client)
nc 192.168.0.100 3333 > video.h264
Result: a video limited only by the size of your hard disk.
ATTENTION: It is not a good idea to save the output of raspivid on the Raspberry itself. The length of the video is limited, and the amount of data may block your Raspberry, or even damage your SD card. The latter is particularly annoying when the Raspberry is locked into its underwater housing!

Android RaspiCam Remote
This app can be downloaded from Google Play. It connects to the Raspberry Pi without any further installation.
It is nice for ad-hoc live videos and has various filters to modify the video.
Very simple to install.
http://www.redrobe.com/mike/raspicam-remote-for-android/https://play.google.com/store/apps/details?id=com.pibits.raspberrypiremotecam
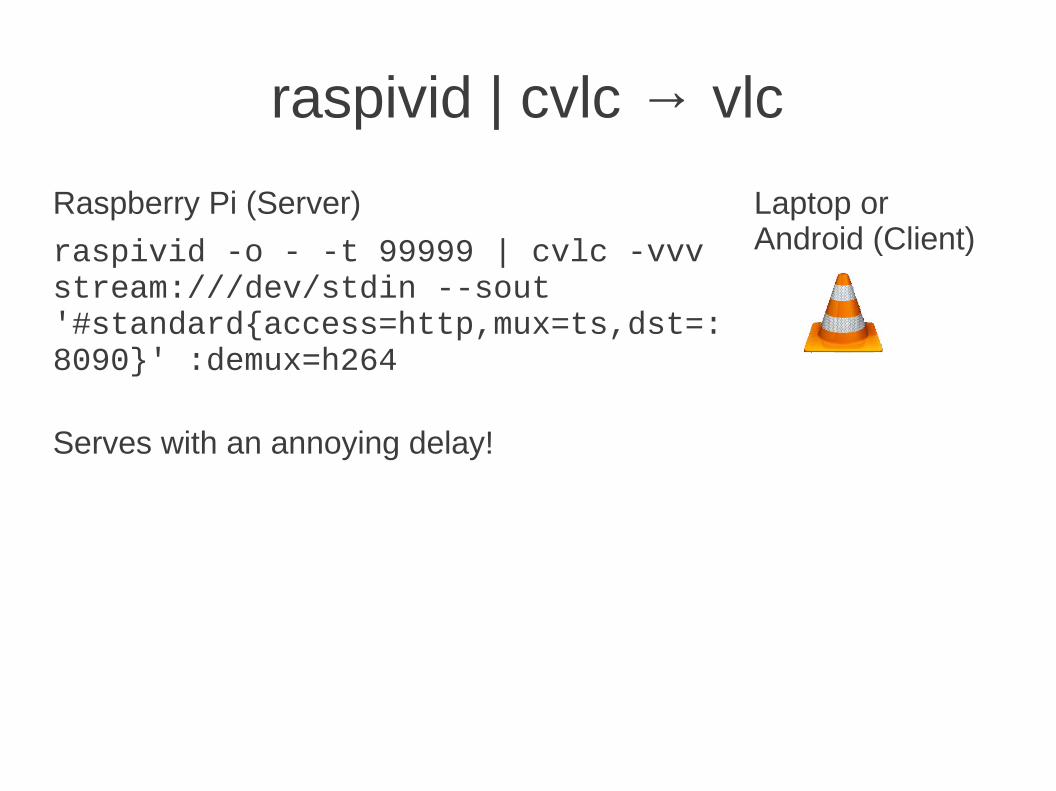
raspivid | cvlc → vlc
Raspberry Pi (Server)
raspivid -o - -t 99999 | cvlc -vvv stream:///dev/stdin --sout '#standard{access=http,mux=ts,dst=:8090}' :demux=h264
Laptop or Android (Client)
Serves with an annoying delay!
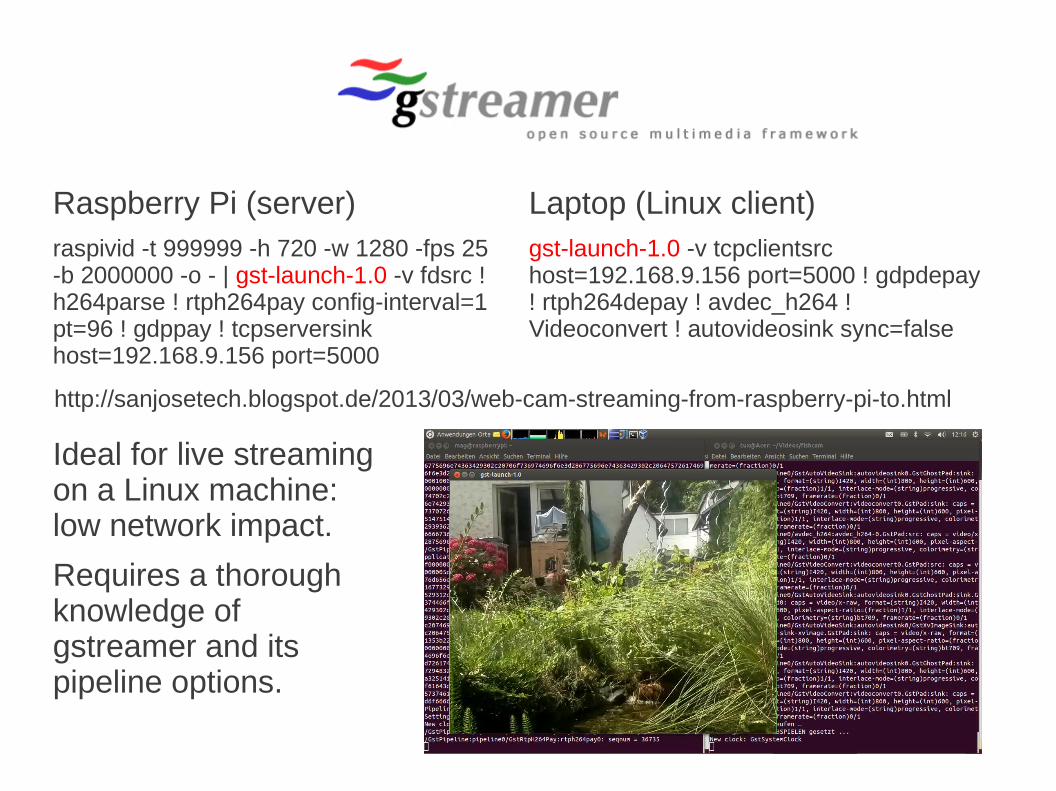
Raspberry Pi (server)raspivid -t 999999 -h 720 -w 1280 -fps 25 -b 2000000 -o - | gst-launch-1.0 -v fdsrc ! h264parse ! rtph264pay config-interval=1 pt=96 ! gdppay ! tcpserversink host=192.168.9.156 port=5000
Laptop (Linux client)gst-launch-1.0 -v tcpclientsrc host=192.168.9.156 port=5000 ! gdpdepay ! rtph264depay ! avdec_h264 ! Videoconvert ! autovideosink sync=false
http://sanjosetech.blogspot.de/2013/03/web-cam-streaming-from-raspberry-pi-to.html
Ideal for live streaming on a Linux machine: low network impact.
Requires a thorough knowledge of gstreamer and its pipeline options.

Pi-Cam-Web-Interface
The Raspberry Pi runs a small server that creates a sequence of images on an HTML page that can be viewed with any JavaScript-enabled web browser.
The web page has controls for all camera options.
http://elinux.org/RPi-Cam-Web-Interface
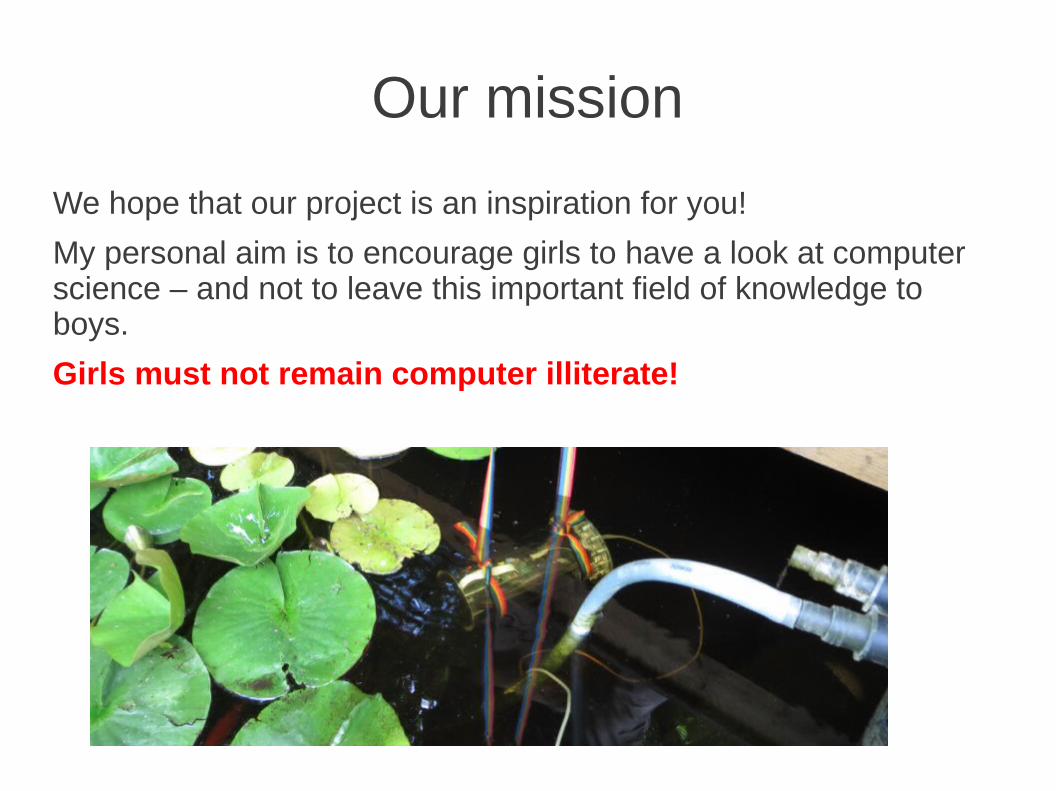
Our mission
We hope that our project is an inspiration for you!
My personal aim is to encourage girls to have a look at computer science – and not to leave this important field of knowledge to boys.
Girls must not remain computer illiterate!


