19
Properly Installing the Confined Space Equipment. ANY QUESTIONS PLEASE CALL Sto-Away Power Cranes, Inc. 1-800-622-9797 / 219-942-9797

Properly Installing the Confined
Space Equipment.
ANY QUESTIONS PLEASE CALL
Sto-Away Power Cranes, Inc.
1-800-622-9797 / 219-942-9797

Step 1: Inspect the Bumper Crane
before each use
It’s mandatory before any entry that
a full inspection of the crane is
completed before its use. There is
an inspection report located in
section 4.0 and a maintenance
schedule located in section 9.0 in
your owner’s manual, please review
these. If you cannot locate these call
and we can fax these to you.

Inspect all of your Equipment
before an Entry.
Review the Owner’s Manual that came
with your Manual Retractable Life Line for
the inspection and maintenance steps.
You would need to inspect it before every
entry. Inspect the load cell, check and see
if the calibration is set at 350 LBS. If the
load cell does not shut down at 350 LBS.
Then it needs to come back to the factory
for re-calibration.

Step 2: Put your Lock/Out
Tag/Out into place.
It is mandatory to
Place the steering
wheel cover onto
the steering wheel
of the truck and
using a wire tie
place your lock out
tag/out securely
through the hole in
the cover.

Step 3: Fill out Lock/Out
Tag/Out
The Supervisor onsite
will fill out their permit
required entry form
and included should
be the lock/out
Tag/out of the vehicle.
Follow your
company’s JSA (Job
Safety Analysis) for
this procedure.
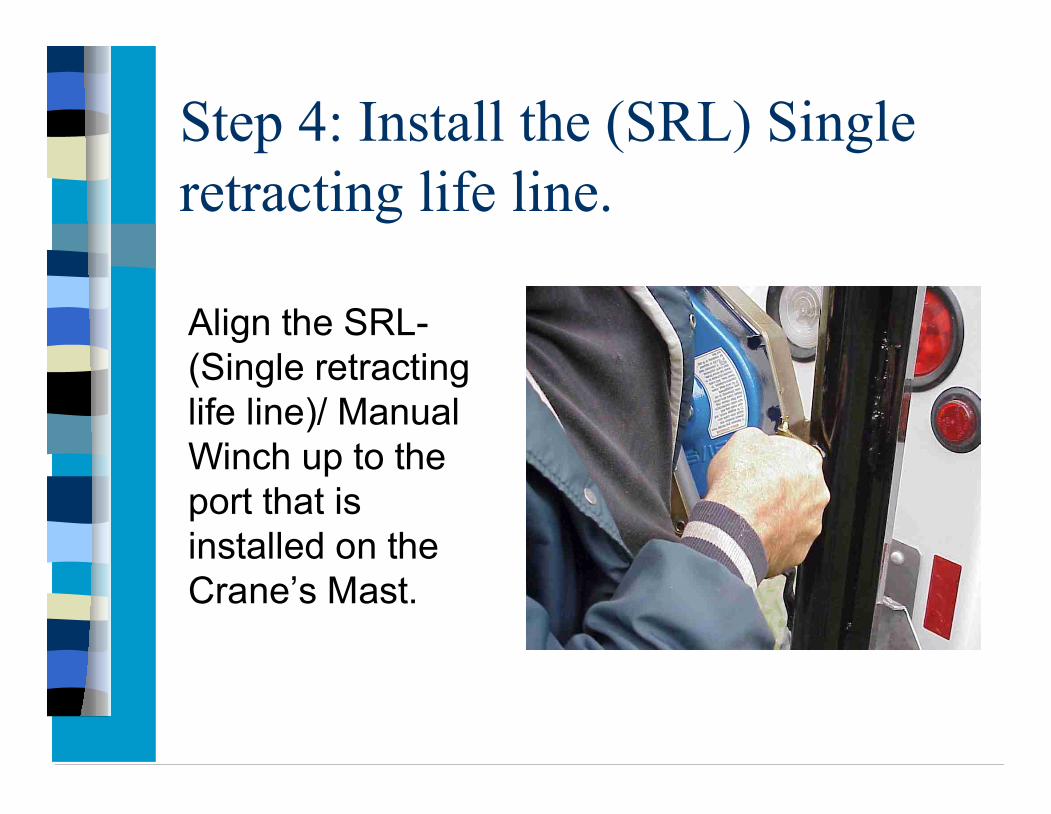
Step 4: Install the (SRL) Single
retracting life line.
Align the SRL-
(Single retracting
life line)/ Manual
Winch up to the
port that is
installed on the
Crane’s Mast.

Step 5: Install the (SRL),
Continued.
Insert the lock pin
through the
bracket that is
attached to the
SRL and through
the port in the
Crane’s Mast.
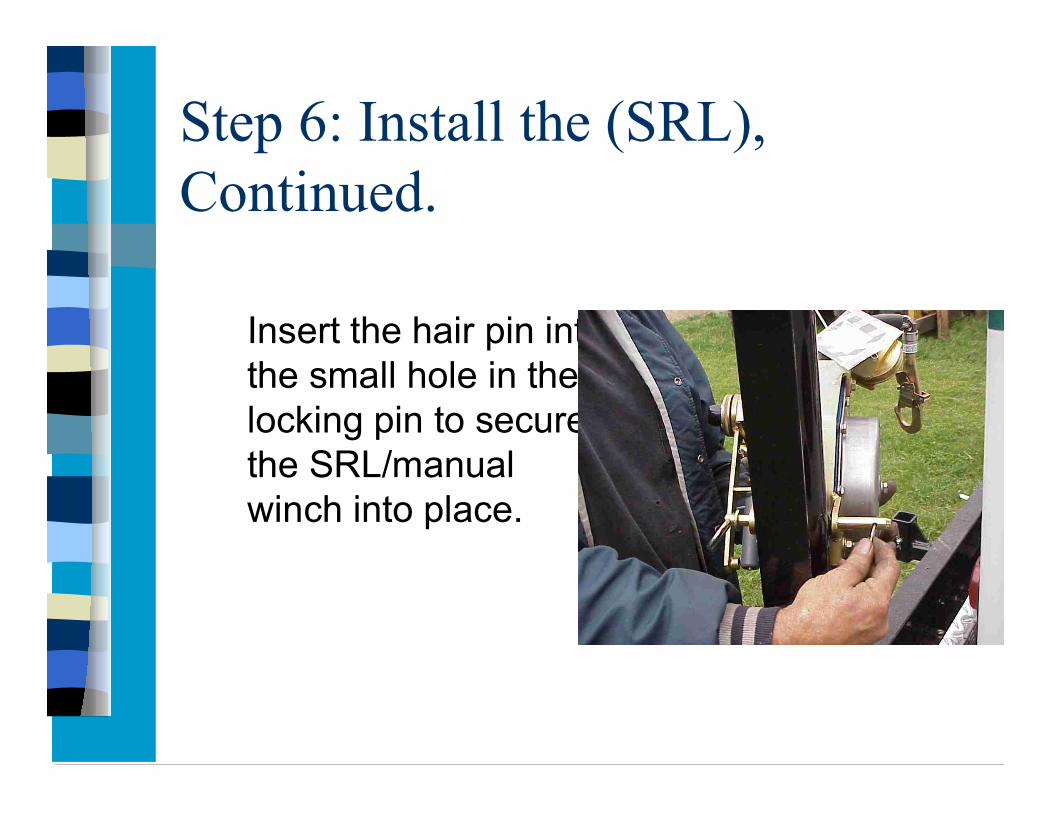
Step 6: Install the (SRL),
Continued.
Insert the hair pin into
the small hole in the
locking pin to secure
the SRL/manual
winch into place.

Step 7: Attaching the Load Cell to
the Crane’s Boom.
Take the cable, and
with the hook first; run
it through the back side
of the load cell. With
two fingers lift the
tension spring up
against the top of the
metal shell and place
the cable between the
tension spring and over
the top of the end
pulley.

Step 8: Attaching the Load Cell
to the Crane’s Boom, continued.
Make sure the cable
rides on the pulley
and is between the
level wind spring
and the pulley.

Step 9: Attaching the Load Cell
to the Crane’s Boom, continued.
With the boom in the
up position, slide the
load cell onto the
boom.

Step 10: Attaching the Load Cell
to the Crane’s Boom, continued.
Once you get the
load cell lined up
with the hole on the
boom, insert the
lock pin into the
hole. Make sure that
the steel cable is
above the lock pin.

Step 11: Attaching the Man-
Rated Snatch Block.
Here are two snatch
blocks. The one on the
left has a double
locking hook and must
be used for confined
space. Do not confuse
it with the one on the
right which can be
purchased for double
lining the crane for
pulling cargo.

Step 12: Attaching the Man-
Rated Snatch Block.
Dis-assemble the snatch
block by removing the
locking pin keepers, take
the cable from the SRL /
Manual Winch and run it
over the pulley and re-
assemble the snatch
block. Hook the snatch
block onto the loadcell’s
D-ring.

Step 13: The Completion of the
SRL/ Manual Winch Installation.
This is how the SRL
/ Manual Winch
should be attached
to the mast.

Step 14: Where to Attach the
Cables
Do not connect the
cranes hook to the
harness unless the
harness is
specifically designed
for supporting a
man’s weight for
extended periods of
time.

Using a Boatswain’s Chair
Connect the crane’s
hook to the Boatswains
Chair or to a seat sling.

Step 15: Attaching the SRL / Manual
Winch’s Hook to your Harness.
Attach the double
locking hook from
the SRL / Manual
Winch to the D-ring
located on the back
of the harness.

Step 16: Your Installation is
Complete
After installing all of
the component’s this
is how your unit
should look.


